
Guide
First Adult Tricycle Buying Guide
Choose your first adult tricycle by checking rider fit, storage, weight limits, gears, brakes, assembly, and service before buying.
We research everything we recommend. When you buy through our links, we may earn a commission. Learn more
Guide
A recumbent seat can offer useful storage locations, but it is not a universal bag rack. Mesh, hard-shell structures, straps, headrests, controls, and.

Updated · 11 min read
A recumbent seat can offer useful storage locations, but it is not a universal bag rack. Mesh, hard-shell structures, straps, headrests, controls, and nearby wheels create different attachment and clearance requirements. A bag that hangs neatly behind one seat may interfere with another trike's steering, suspension, folding, or rider access. Start with the exact seat and supported mounting system rather than the bag's advertised volume.
This guide helps evaluate small seat-related bags and organize their everyday use. It is separate from choosing conventional rack panniers or loading a trailer. It does not approve attaching weight to seat fabric, drilling a shell, or improvising a bracket. Vehicle, seat, bag, and mount instructions all matter. If the proposed combination is not documented, ask the relevant makers before treating a convenient strap route as a suitable attachment.
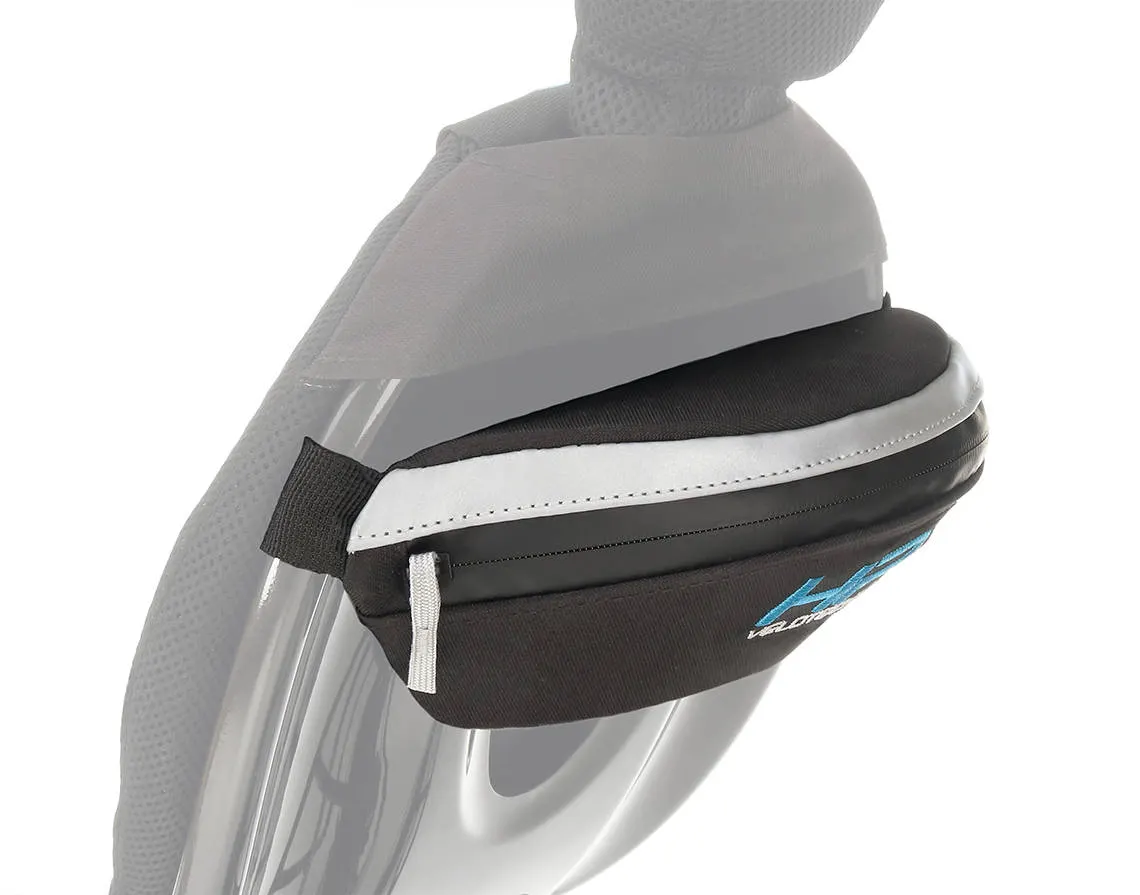
Record the trike model, seat type, version, and installed options. A mesh seat and a hard-shell seat can have very different structures, and similar-looking seats may use different interfaces. The maker's accessory list should be checked against the actual installed equipment rather than a catalog image of the model in another configuration.
HP Velotechnik's luggage page provides examples of seat-related bags and dedicated mounts. Those examples illustrate the value of a specific interface; they do not establish that the products fit every recumbent. Record the exact supported seat or mount and any limitations before comparing capacity or color.
The mesh-seat care guide covers the seat itself. A fabric tension strap should not be assumed to be a cargo anchor, and a shell opening should not be assumed to accept a bag fastener. Ask the maker which features are intended to support an accessory rather than inferring their purpose from appearance.
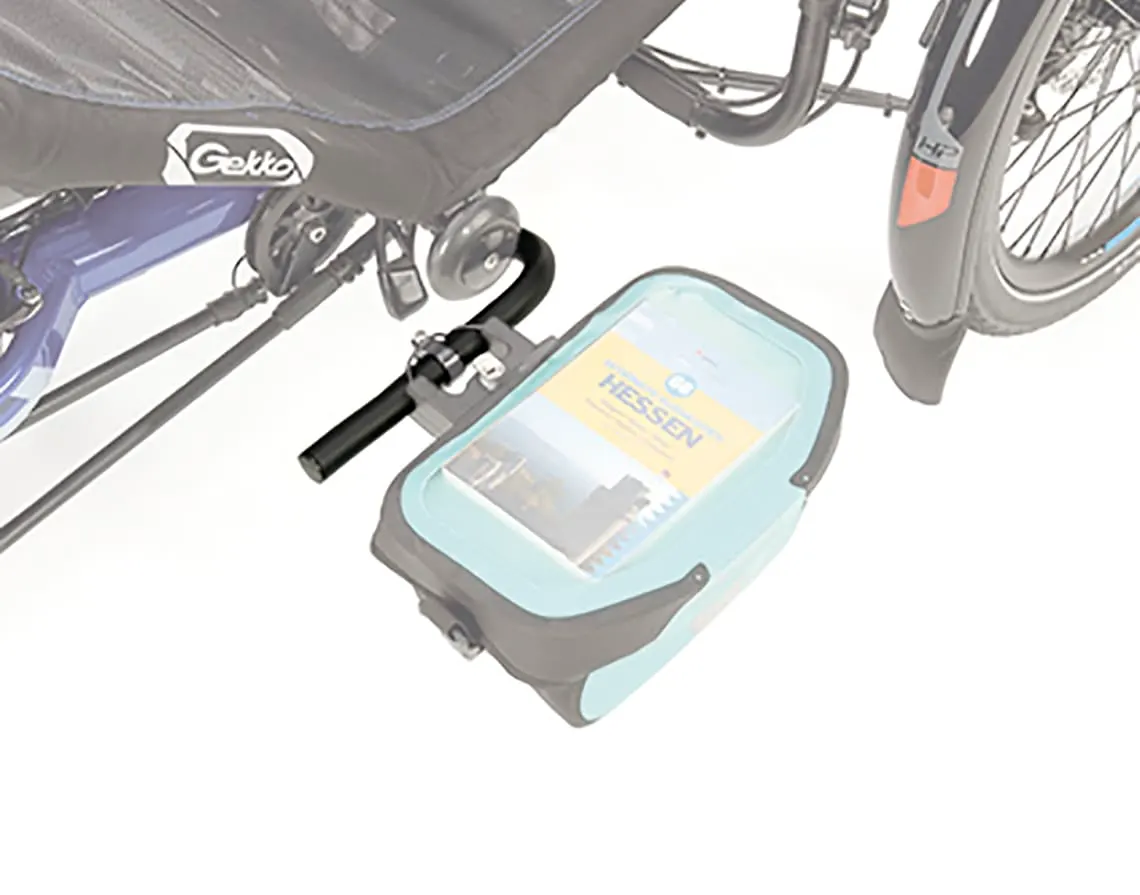
A bag attached directly through a supported seat interface is different from a bag held on a frame-mounted side support. The two arrangements can place weight and protrusions in different locations. Read the intended system description carefully. A seller's general phrase recumbent bag may conceal a requirement for additional hardware.
The pannier guide explains conventional rack interfaces. Do not transfer those assumptions to a seat pocket or side mount. A bag that works on an ordinary handlebar mount may still need a specific approved adapter before it can be used beside a recumbent seat.
Create a package list: bag, mount, fasteners, adapters, and any required seat option. Check what is included and what is sold separately. A lower bag price may not describe the complete installed arrangement. Compare the full supported system rather than a photograph that happens to show every optional component together.
List what the bag needs to hold: phone, keys, glasses case, a light garment, small tools, or another ordinary item. Distinguish items needed during a stop from those carried only as a reserve. A small bag can be more useful when its contents have a clear purpose than when it becomes a storage place for everything left over from other compartments.
Measure bulky items and account for their cases. Advertised liters do not establish whether a particular rigid object fits through the opening. Check the usable dimensions and closure shape. A bag that holds a phone without its protective case may not suit the actual device arrangement the rider uses.
Do not select a larger bag merely because the seat has room around it. Load limits, supported mounting, clearance, and access still apply. The payload guide explains why a generous total vehicle rating does not make each accessory unlimited. The smallest suitable supported bag may create a simpler routine.
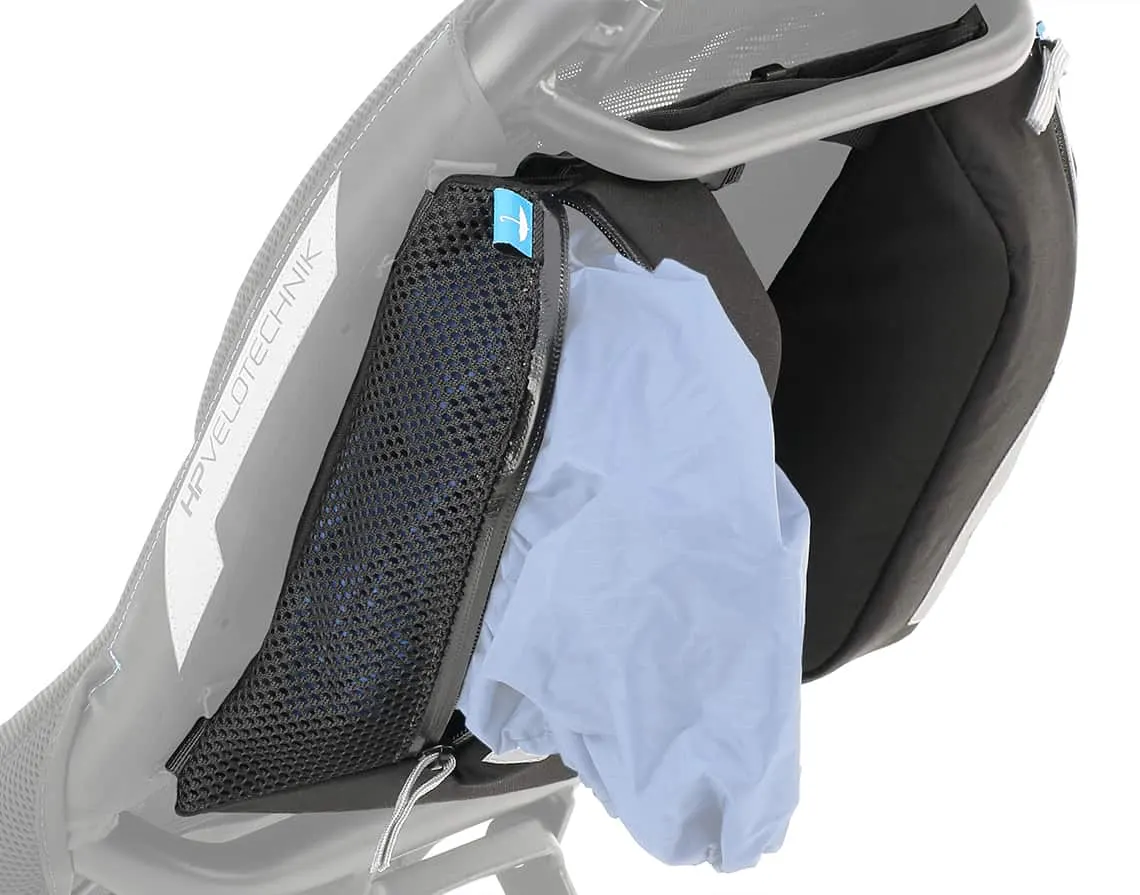
Secure the trike appropriately and assess the bag's intended access while stationary. The rider should not need to reach near a wheel, twist awkwardly, or lean on an unsupported part. A bag easy to reach while standing beside the trike can be difficult to use from the actual seat. Keep the observations specific to that posture.
Do not access a storage bag while riding unless the maker explicitly provides an intended operation and it is appropriate; this guide recommends planning ordinary retrieval as a stopped task. Stop in a suitable place, secure the vehicle, and then handle the item. A convenient pocket should not become a reason to divide attention in traffic.
The handlebar-layout guide helps evaluate nearby controls. A side bag should not obstruct a brake lever, gear control, or hand movement. Check the complete control task rather than only the space between the bag and the frame while the rider's hands are absent.
A bag can occupy the same space used to approach or leave the seat. Follow the trike's intended mounting method and test the ordinary sequence with the bag in its loaded shape. An empty soft bag may lie flat while the full bag projects into the rider's route. Use the actual configuration as the reference.
The mounting guide addresses that sequence. Do not assume a bag or mount can be used as a handhold. Its purpose may be cargo support rather than supporting the rider. If an access conflict appears, select another supported location or bag rather than compensating through an unapproved movement.
Include clothing and ordinary personal equipment. A jacket, pocket, or mobility-related item can change the access task. If individual limitations affect the decision, obtain appropriate fitting advice. A product described as easy access does not establish suitability for every rider or medical need.
Check the bag and mount through the vehicle's intended steering, suspension, and folding movements using the manufacturer's procedure. A stationary straight-ahead gap does not show the complete range. Do not create an unsafe support arrangement or run a motor to test clearance. If the owner cannot assess it appropriately, ask a competent provider.
Look at wheels, tires, brake components, chain tubes, idlers, cables, and seat straps where relevant. The chain-tube guide explains the neighboring drivetrain. A soft bag should not be allowed to contact it simply because the contact seems light or the bag fabric appears durable.
Loose ends need their own management. A long strap can reach a moving component even when the bag body remains clear. Use the product's intended method and avoid restrictive ties around controls or cables. The cargo-retention guide provides the broader distinction between an anchor and a convenient loop.
A bag near the upper seat can interact with a headrest, its supports, or the rider's normal position. The headrest guide addresses the fit component. Do not change a suitable headrest arrangement merely to fit an unsupported bag. Assess the complete supported configuration instead.
If the seat is adjusted between riders, recheck the bag in every intended position. The shared-trike guide explains why one person's setup is not automatically another's. A bag clear of a wheel in one configuration may create a different task after an approved seat movement.
Record the confirmed arrangement with photographs and instructions. A reference can help restore the bag after cleaning or transport, but it does not replace the required checks. If the seat or mount changes, update the record rather than treating the original installation as permanently applicable.
Follow the bag and mount limits and include contents in the complete vehicle load. Do not put dense tools in a small pocket merely because they fit physically. The intended use and support still matter. A bag's available volume is not a weight rating.
Keep sharp or heavy items contained through a suitable internal arrangement. A tool should not press against seat fabric, an electrical component, or the rider. Separate items that can leak or damage other contents. A small dedicated pouch may improve organization if it fits the bag's intended use and does not create an overfilled closure.
Avoid hanging additional items from the bag's handles or external loops without documented permission. A handle intended for carrying a removed bag by hand is not necessarily an extra riding attachment. The installed system should remain within its intended configuration rather than growing through a series of convenient add-ons.
Water resistance, waterproofing, and an accessory rain cover describe different arrangements. Check the maker's actual wording and any closure conditions. A bag may require a particular roll or fastening sequence to meet its intended use. Do not infer protection from the fabric appearance or a photograph taken in the rain.
Keep sensitive items appropriately protected under their own instructions. A bag claim does not automatically describe a phone, camera, or medical item inside. The photography guide illustrates why internal protection and external retention are separate tasks. Avoid treating one accessory as a universal solution for every content type.
After wet use, follow the bag and seat care requirements before storage. Do not assume an attached bag can be left damp against mesh indefinitely. The cover guide addresses a related moisture question. A cover over the whole trike should not conceal an unresolved drying or inspection task.
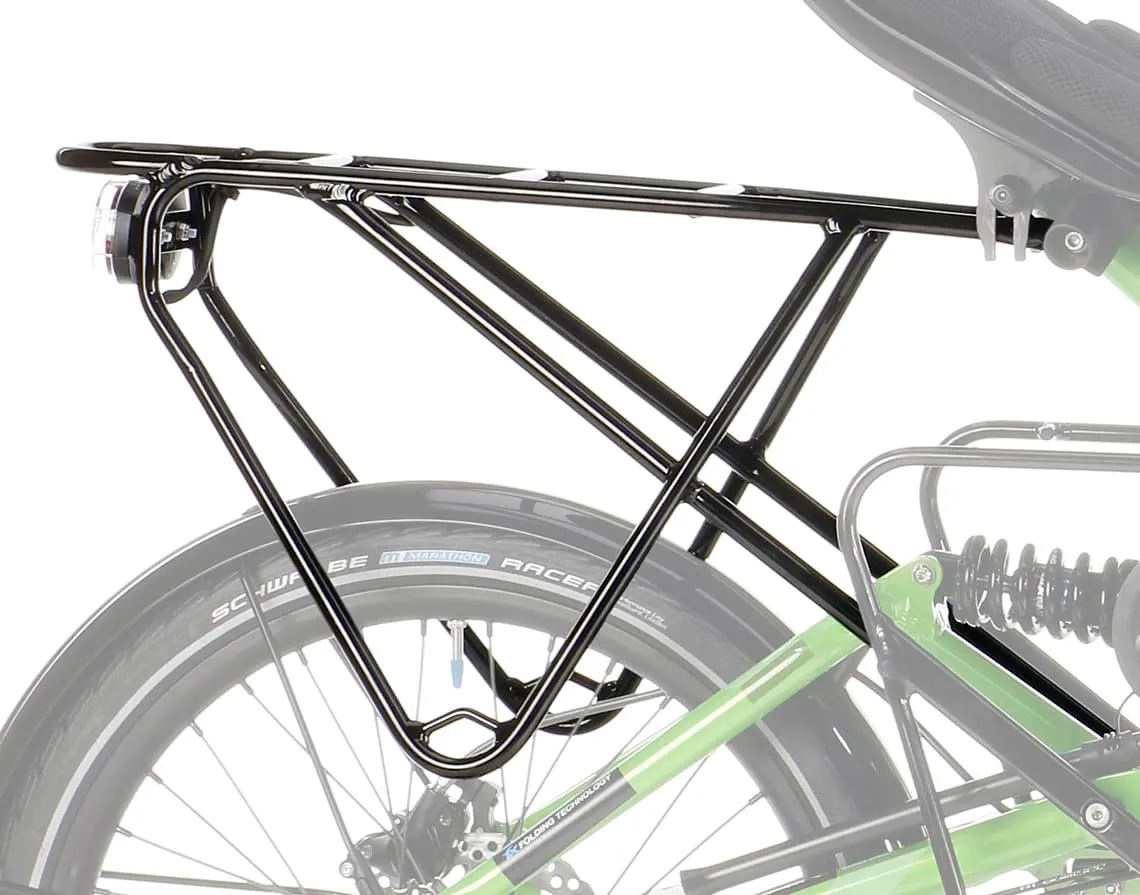
Ask whether the bag or mount affects the trike's approved folding procedure or stored shape. Some accessories can limit a function even when they fit for riding. Record the exact limitation and removal sequence. The folding guide explains why a complete accessory configuration needs checking.
Do not assume a removable bag means a removable mount. Hardware may remain in place and change clearance inside a car or doorway. The apartment-access guide helps evaluate the full route. Include the actual mount outline rather than measuring only the frame after the bag is taken away.
Keep removed fasteners or adapters identified if the approved process involves them. Do not leave a half-installed bracket or loose strap near a wheel. Before riding again, restore the supported arrangement and complete the required checks. A bag returned to its general location is not necessarily fully engaged through its intended mount.
A small seat bag may be easy to remove, which can be convenient at a stop and relevant to security. Decide what travels with the rider and what remains secured. The locking guide addresses the vehicle, but a locked trike does not automatically protect every portable item.
Keep essential communication items accessible without dismantling the whole load. The accessory-power guide explains power planning where a phone or small device is carried. Do not add an unsupported charging lead through the bag opening simply because the device fits inside.
Use a repeatable departure check after every stop: contents closed, bag engaged, ends managed, controls clear, and visibility equipment unobstructed. Follow the exact system instructions rather than treating this general list as a replacement. A simple bag routine is useful because it can be repeated correctly, not because it has many compartments.
Compare supported seat, mount, capacity, access, clearance, removal, weather requirements, and complete price. Keep unresolved questions visible. A bag that looks ideal but requires an unavailable or unsupported adapter is not ready for use. Ask the supplier before ordering rather than assuming the missing interface can be fabricated later.
After installation, record the part references and current configuration in the ownership file. Recheck after seat changes, service, or new accessories. The best seat-storage system is a documented practical arrangement that fits the rider and vehicle, not the largest bag that can be made to hang behind the seat.
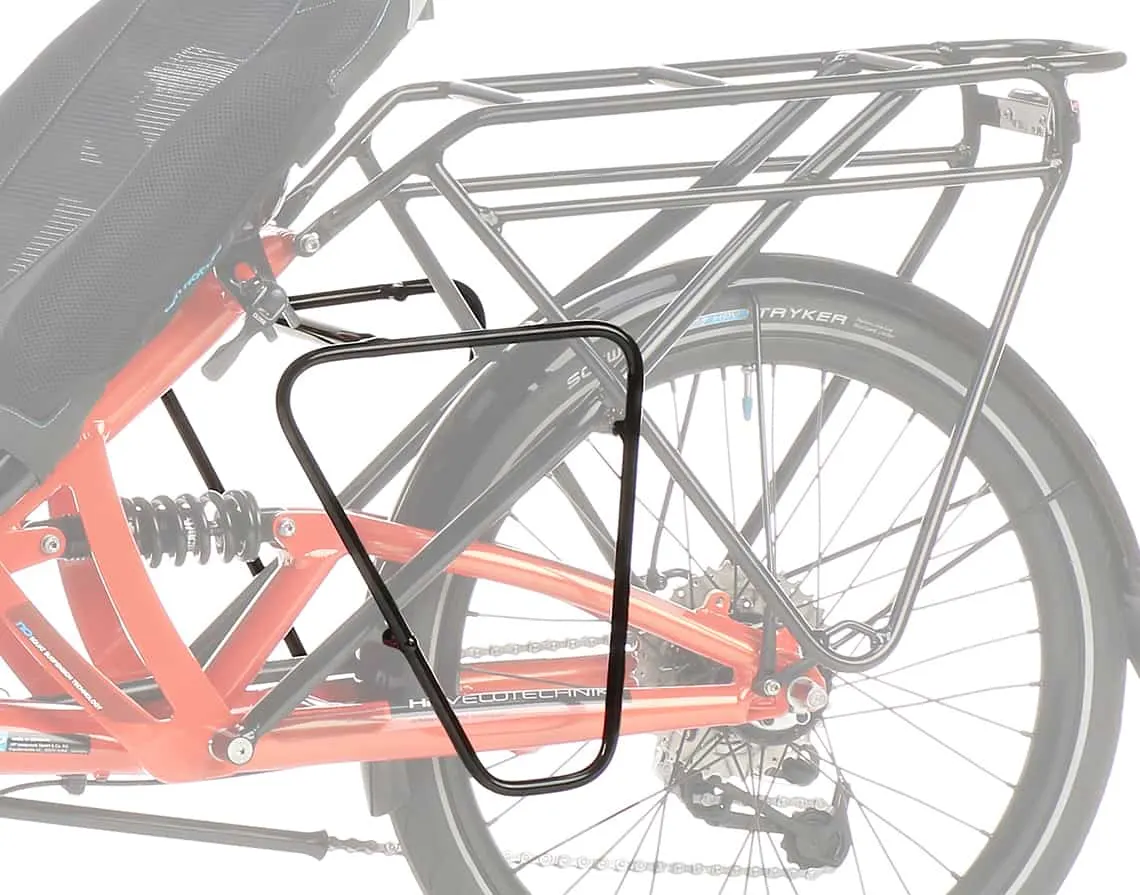
Use a stationary session to rehearse arriving, securing the trike, removing an item, closing the bag, and restoring the riding arrangement. Include the rider's normal clothing and the bag's representative permitted contents. This reveals access problems that a simple capacity comparison misses. A pouch can be spacious enough for a phone while its opening is awkward beside the seat or difficult to close without reaching toward a wheel.
Record which items need frequent access and which are only reserves. The first group should be reachable through a safe stopped routine, while the second can occupy a less convenient supported location. Do not keep enlarging the bag because everything has been placed in the same compartment by habit. A smaller organized system can reduce interference and make the installed load easier to understand.
Consider a mesh-seat trike with a maker-supported add-on bag and a separate side mount. The products have different functions and interfaces. The seat bag may suit small personal items while the side mount supports a specified bag system. Neither should inherit the other's capacity or attachment rules. The comparison record should identify the complete actual combination rather than calling both products generic recumbent storage.
If sharing the trike, check the same bag with each approved rider configuration. A seat movement can alter access and nearby clearance, while different clothing can change the mounting sequence. The solution may be a common supported location or separate removable bags. Do not assume the first rider's convenient setup is suitable for the second without the appropriate assessment.
Keep the loaded shape in the reference photographs. An empty soft bag can appear clear of a tire while the full bag sags differently. The maker's permitted support and retention should control that behavior; adding an improvised tie to a cable is not a suitable correction. If the loaded arrangement cannot remain within the intended clearance, choose another supported product or reduce the contents.
Check what remains after removal for storage or security. A bracket, adapter, or loose strap can still affect a doorway or wheel clearance. The owner should know whether the bag is fully released and how it is correctly re-engaged. A convenient quick-removal claim should be assessed as a real repeated task, not only a feature mentioned on the product page.
After a few appropriate uses, note what actually improved the routine. Perhaps the closure is easier at stops, or a personal item no longer needs the entire rear bag to be opened. Keep those observations modest. They do not establish waterproofing or load-test performance. The useful ownership result is a supported storage arrangement with understandable access, condition checks, and a current record of its interfaces.
Keep the bag and mount model references together. A later replacement bag may look similar while requiring a different interface, and the current vehicle record should make that difference visible before another purchase.
Research-based buying guide, 15 October 2026. No mounting, load, waterproofing, or hands-on bag testing was performed.
Guide
Choose your first adult tricycle by checking rider fit, storage, weight limits, gears, brakes, assembly, and service before buying.

Guide
Learn how to compare adult electric tricycles for control, fit, batteries, braking, transport, and ownership support.

Guide
Understand the leg and hip muscles used when pedaling a tricycle, plus how fit, resistance, and electric assistance change the effort.