



Guide
First Adult Tricycle Buying Guide
Choose your first adult tricycle by checking rider fit, storage, weight limits, gears, brakes, assembly, and service before buying.
We research everything we recommend. When you buy through our links, we may earn a commission. Learn more
Guide
Assess getting on and off an adult tricycle through parking, power state, frame access, approved support, clothing, and a repeatable routine.

Updated · 12 min read
A tricycle that stands on three wheels can still move while a rider gets on or off. Entry also involves the frame opening, seat position, shoes, controls, and the surface. A low-step label does not prove that the complete task is manageable for every rider.
Use the exact manufacturer's mounting and parking instructions as the starting point. This guide helps assess and rehearse the routine rather than prescribing one transfer method for every body and frame. If the rider needs physical assistance or has significant mobility limitations, an appropriate adaptive cycling assessment is more useful than an improvised grab handle.
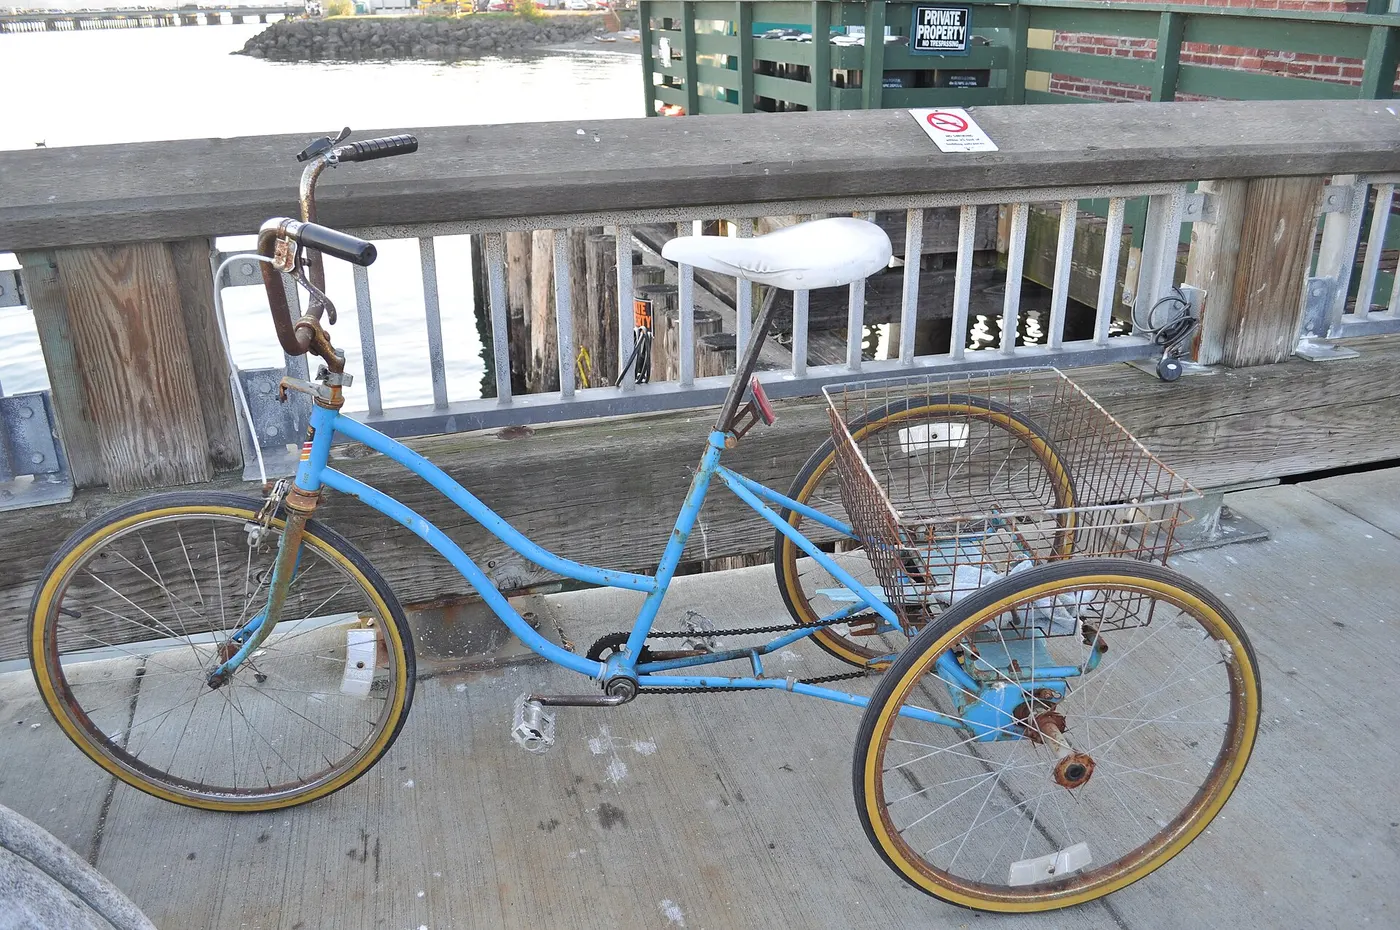
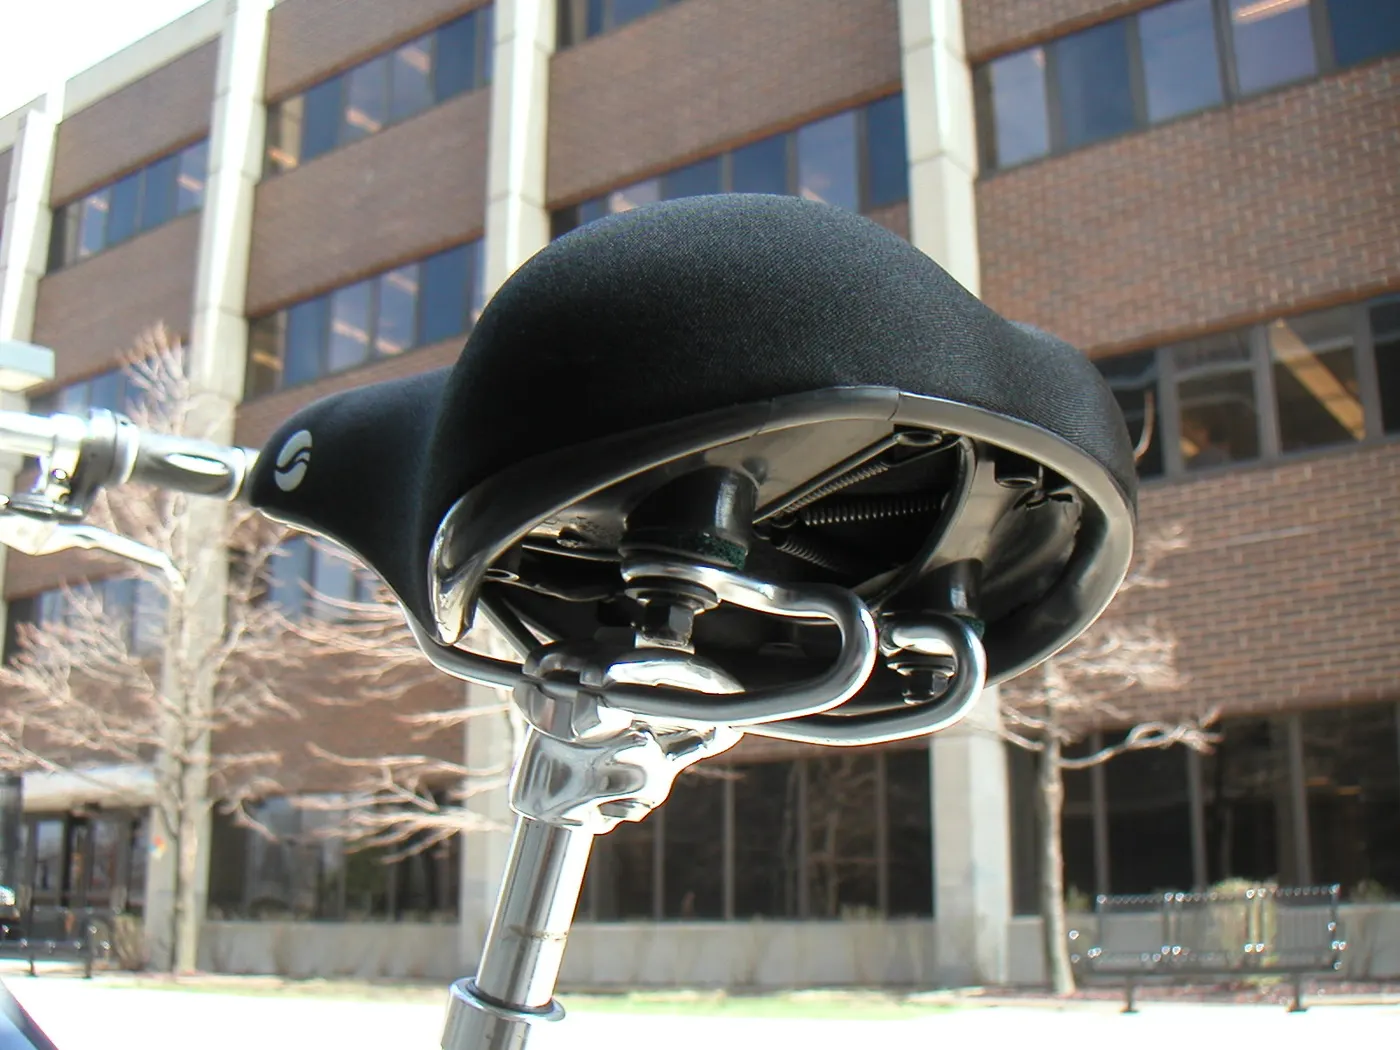
A seat positioned for comfortable pedaling may be harder to reach while standing. Lowering it can change the riding fit, so do not treat that as a universal entry solution. Use the adjustment limits and the prescribed method for the model.
Check whether the rider can approach the opening, place their body as instructed, reach the seat, and establish control without excessive strain. Then assess pedal reach, steering, and braking while seated. Both tasks must work; success at one does not settle the other.
The fit guide covers the broader relationship. A different frame or seating layout may be preferable to repeated adjustments that make entry easier but pedaling unsuitable.
Use a stable, level, permitted place with enough room around the complete vehicle. Avoid learning the routine on a sloping driveway, narrow pavement, or beside moving traffic. Surface condition matters even while the vehicle is stationary.
Check all wheels are supported on sound ground and that the frame opening is unobstructed. A curb beneath one wheel can change the vehicle's position. Loose gravel, wet tiles, and a drainage edge can also make the rider's footing unreliable.
Identify where you will get off at the destination and after returning. A shop entrance or home gate may offer less room than the practice area. The clearance guide helps make those places part of the route plan.
Read how the parking brake or retention function engages and how the manufacturer verifies it. Do not assume it holds every slope or load. A brake lever latch can differ from a dedicated mechanism, and its correct operation should be demonstrated during handover.
Apply the documented parking method before entry or exit where the instructions require it. If it does not function as described, stop and arrange service. Holding a lever briefly is not necessarily an equivalent independent routine when the rider needs both hands for another task.
The brake guide separates service braking and parking. Do not use an electric motor, a wall, or a loose object behind a wheel as an improvised substitute for the prescribed arrangement.
On an electric tricycle, learn the shutdown or assistance-disabling sequence before practicing entry. A hand supporting the rider on a twist grip or a foot moving a pedal can interact with power controls. The system should be in the documented state for the task.
Do not rely on an automatic sleep timer while someone mounts or handles the vehicle. Know which control turns the system off and what remains active. The assist-and-throttle guide develops that control map.
Keep helpers and bystanders from operating buttons or pedals during the process. Restart only after the rider is positioned and ready under the manufacturer's sequence. Entry should not include an unexpected powered movement.
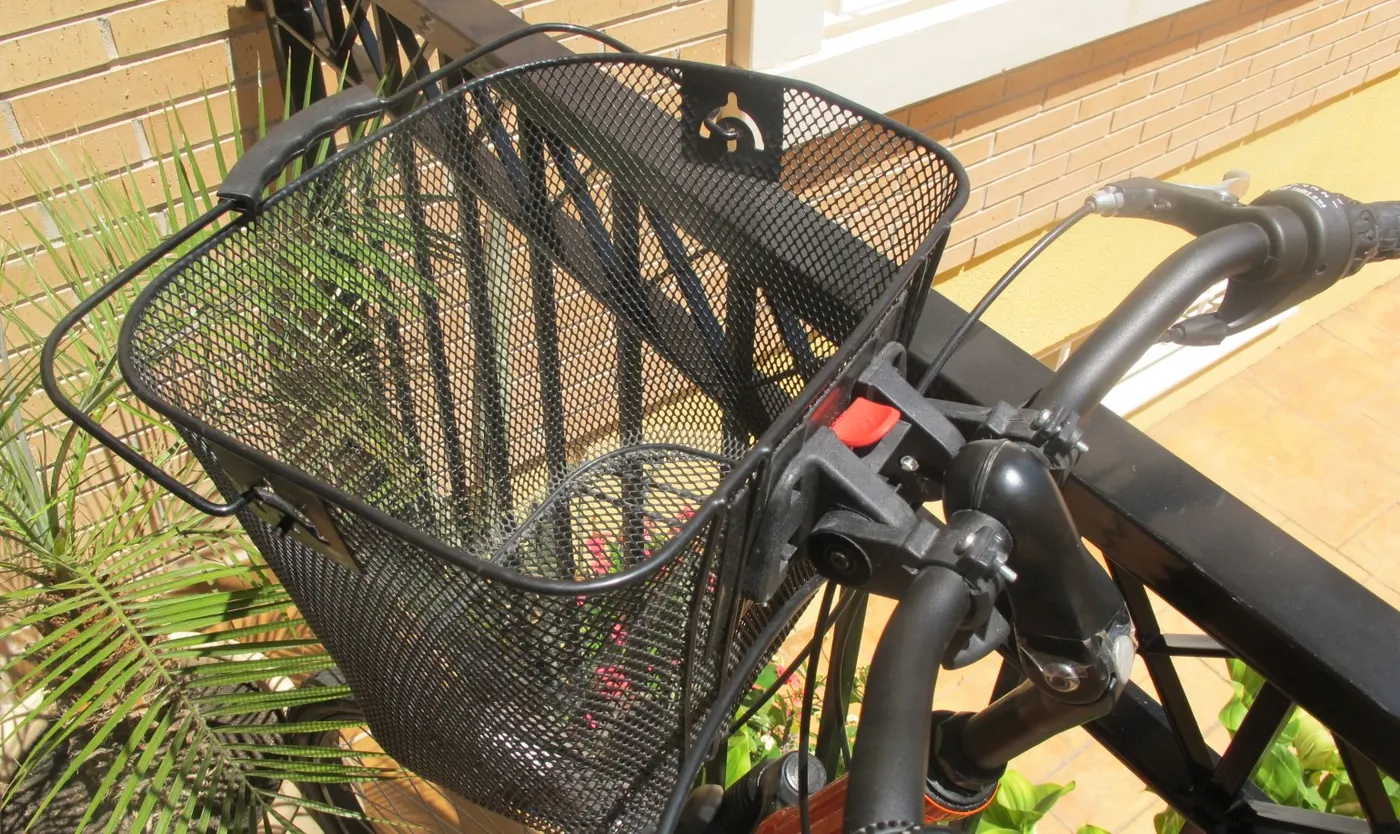
Ask the manufacturer or dealer which parts are intended to support the rider during entry. A mirror stalk, basket rim, flag pole, brake lever, or battery handle should not automatically be used as a grab point. An accessory can attach securely for its normal function without being rated for body support.
If a dedicated support handle is available, verify exact compatibility and intended use. Do not assume any backrest is a transfer aid. The accessory guide explains the difference between physical attachment and structural permission.
Where the task needs substantial assistance, seek individualized instruction. A helper pulling the rider or holding an unapproved component can create new movement and strain. A professional plan should specify the support arrangement and who controls the vehicle.
Have the current instructions available and use the permitted entry sequence. Start without cargo or accessory clutter that complicates the task. Wear the shoes and clothing expected on ordinary rides, not a simplified outfit that hides the real constraints.
Move slowly enough to identify where the rider needs more room or support. Stop if the vehicle rolls, a foot catches, a control is pressed, or the rider feels pain or instability. Do not repeat a difficult movement faster in the hope that momentum makes it easier.
Record the specific obstacle for the dealer or specialist: frame height, seat access, lever reach, or handling the parking function. A description of the task is more useful than asking which tricycle is best for all seniors.
Loose cuffs, long coats, straps, and carried bags can catch a pedal or frame opening. Secure them appropriately and keep the entry area clear. Do not carry a heavy bag in one hand while relying on the other hand to control the vehicle unless that arrangement has been assessed and is manageable.
Check shoe grip and whether the footwear clears the frame. A bulky winter shoe or a different sole can change a routine that worked in summer. Repeat the stationary rehearsal after meaningful changes.
Place cargo in its approved location while the vehicle is secured, then enter through the documented method. The cargo guide covers loading and unloading. Do not use a basket load as a counterweight or support experiment.
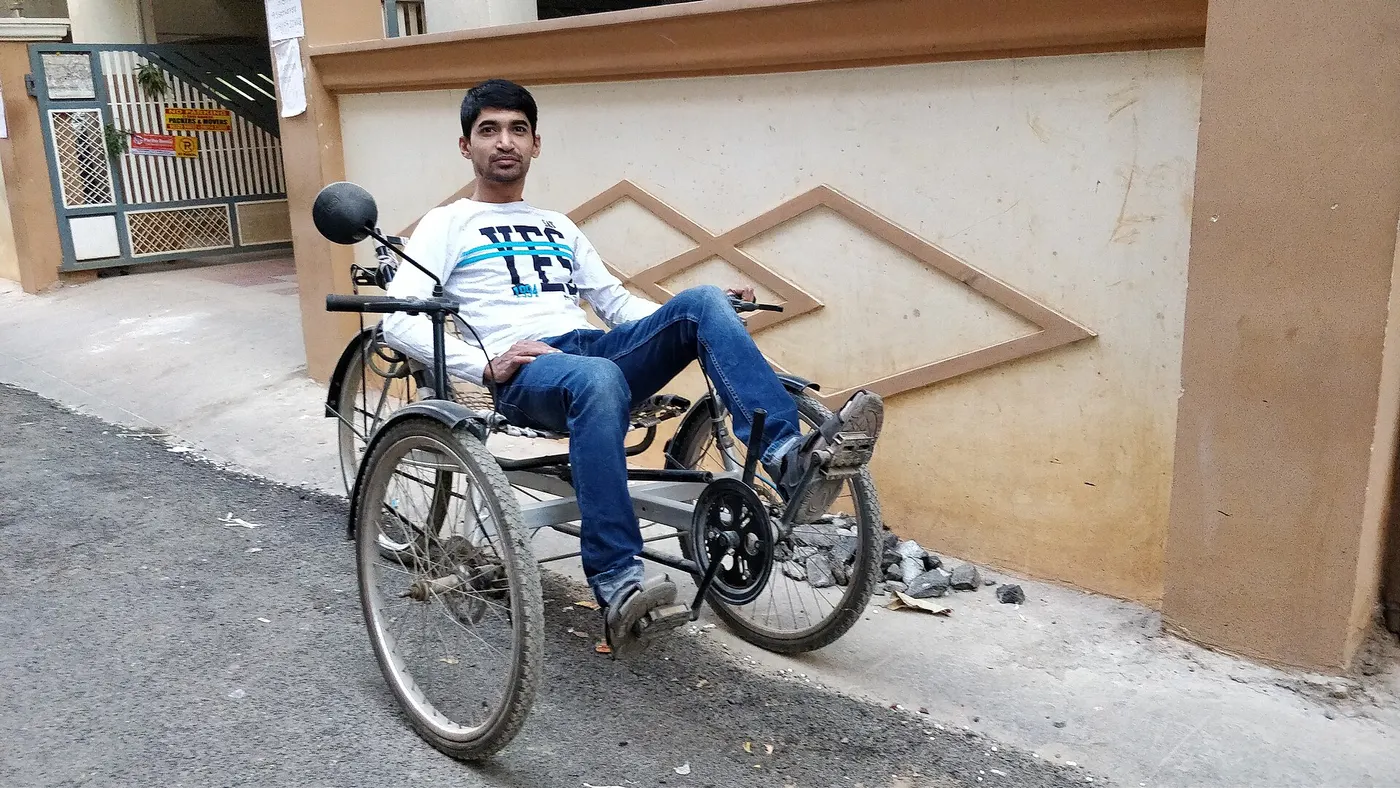
A lower supported seat can reduce some tasks while making others, including rising from the seat, more demanding. Seat height, steering placement, approved support handles, and pedal retention all affect entry and exit. Do not assume a recumbent is easier solely because it looks low.
Use the manufacturer's sequence for the exact trike. If foot retention is fitted, learn when and how the feet are engaged and released while stationary. The recumbent pedal guide develops release and clearance.
Try the full routine with appropriate support before buying. If the rider cannot leave the seat independently and independent use is required, the purchase remains unresolved even if pedaling feels comfortable.
Follow the model's instructions to stop fully and secure the vehicle before exit. Do not put feet down while moving as a substitute for braking. A tricycle's wheels and pedals can create different contact risks from those on a familiar bicycle.
Choose the stop location early, leaving room to perform the exit without stepping into traffic or a narrow corridor. If the destination area is occupied, wait or use another suitable place rather than squeezing into a gap and improvising the transfer.
After getting off, keep the tricycle secured while handling bags or doors. Do not assume stationary three-wheel support prevents rolling. The safe-riding guide covers the broader stop-and-reset process.
Define what help is required and whether the helper is trained for the actual method. The routine should identify parking control, approved support points, foot release where applicable, and where each person stands. Practice in a suitable stationary setting before using a busy destination.
Do not ask a helper to grab a moving handlebar or lift the tricycle by the basket. Assistance should follow the vehicle instructions and an appropriate individualized plan. If the task exceeds what a household helper can perform, arrange qualified support.
Confirm availability at the times you intend to ride. A successful demonstration with a specialist present is not evidence of an independent home routine. Dependable assistance can be a valid plan, but it should be recorded honestly in the purchase decision.
| Task | What to verify |
|---|---|
| Location | Level sound ground and room around the vehicle |
| Parking | Documented mechanism engaged and functioning |
| Power | Correct disabled state for handling |
| Support | Approved points and any individual assistance plan |
| Clothing | Clear frame, pedals, and loose straps |
| Entry | Prescribed method manageable without forcing |
| Exit | Full stop, foot release, and secure unloading |
Use the worksheet during a dealer trial or adaptive assessment. Leave unresolved tasks visible and ask for the appropriate adjustment or another model. A low-step feature is useful only when the entire sequence works for the rider.

After a short controlled ride, repeat stopping and exit. The task can feel different with fatigue, weather layers, or cargo. Keep the first trial modest and stop for concerning symptoms rather than treating difficulty as something to push through.
At home, include unloading and moving the vehicle into storage. If a narrow gate forces a different body position, assess that before the daily routine. Folding or battery removal adds steps that should occur in a suitable secured location.
The useful outcome is a repeatable sequence from retrieval to return. If it depends on an unapproved support point or an unpredictable helper, revise the arrangement. The tricycle should fit the complete task rather than only the seated ride.
Imagine the tricycle is stored behind a gate that opens into a narrow driveway. The rider can mount comfortably in a broad practice area but has not tried the home sequence. Inspect where the vehicle can stand level, how the gate stays open, and where the rider and any bag will be positioned.
Use the prescribed parking and power state before operating the gate or loading. Do not hold a spring-loaded door with one hand while attempting entry with the other unless an appropriate assessment has established a manageable approved routine. A different parking position or access arrangement may be needed.
Rehearse leaving and returning without a riding deadline. The return includes stopping, exit, unloading, and storage, and may feel different after fatigue or rain. Record the specific step needing help. A successful mount does not establish that the entire sequence is independent.
If the only available place is sloped or too cramped, solve the access problem before regular use. More practice cannot create missing space or make an unapproved support point suitable. The daily routine should be designed around predictable control rather than a repeated difficult maneuver.
Ask the seller for the frame opening's dimensions and the exact model's entry instructions. Then try the whole sequence in a suitable permitted setting with normal shoes and clothing. A low tube can be helpful while the seat, handlebar, or pedal position still creates an obstacle.
Do not assign suitability from age or a broad rider-height range alone. A person's reach, movement, and support needs can differ substantially from another rider in the same category. The trial should identify what works and what remains unresolved without making a medical conclusion.
If an approved seat adjustment changes entry, check pedaling and brake reach again. The change must stay within the component limits. A lower saddle that allows easier access but produces an unsuitable riding position is not a finished fit solution.
Compare another frame or seating layout when needed. A different design can be more practical than adding several support accessories to a vehicle that does not fit the task. Ask for appropriate adaptive assessment where the transfer is complex.
Write down the specific assistance agreed during qualified instruction: where the vehicle stands, how it is secured, which approved points are used, and the sequence for the rider. Keep the wording tied to the actual model and person rather than turning it into a universal transfer method.
Have the regular helper practice the stationary routine in the appropriate setting. They should understand the power state and not operate a throttle or pedal while supporting the rider. If foot retention is fitted, its release belongs in the sequence too.
Confirm whether the helper can perform the task reliably and whether another helper needs separate instruction. A brief demonstration is not enough when the assistance involves significant physical handling. Use an appropriate specialist to resolve that need rather than improvising from an article.
Keep the plan available and revise it after a seat, pedal, control, or access change. The useful result is a dependable routine, not a memorized series that no longer matches the vehicle. If the required help is unavailable, change the ride plan rather than attempting the same task alone.
A tricycle may remain still while the rider gets seated yet have brakes, tires, or a latch needing inspection. Complete the manufacturer's pre-ride checks before moving. Entry success is one readiness task and does not certify the mechanical condition.
Likewise, a rider can be seated comfortably without understanding electric assistance. Learn the controls while stationary and practice starts and stops in a clear area. Do not restart the system while still rearranging shoes, clothing, or bags.
For shared vehicles, reset the permitted fit and mirror view before each rider's entry. A setting suitable for another person may alter reach or the exit. Keep those references with the vehicle and check the actual result rather than assuming the marks are enough.
After a long break, return to the simple stationary rehearsal and short controlled ride. Familiarity can fade, and equipment or clothing may have changed. Repetition is useful when it confirms a safe manageable routine, not when it encourages pushing through a movement that has become difficult.
A report such as the left shoe catches this part of the frame while following the instructed method gives a dealer or specialist a concrete task. Include the model, permitted seat setting, footwear, and access location. Avoid diagnosing the rider or vehicle from the event alone.
The answer may be an approved adjustment, a different entry arrangement, individual assistance, or another vehicle. Do not jump directly to an unapproved handle or a frame modification. Good assessment narrows the problem before purchasing equipment to solve it.
A bag, mirror, backrest, or pedal support can alter the entry path even when it does not change seat height. Repeat the stationary routine after installation and inspect loose straps, grip access, and the space around the rider. Do not assume the accessory's normal riding compatibility approves it as body support.
For a shared tricycle, show each rider what changed and reset their permitted fit. Keep helper instructions current where assistance is part of the plan. The purpose is a sequence that remains manageable every ordinary trip, not one successful demonstration preserved in memory after the configuration has changed.
Research-based assessment guide; no transfer assessment, clinical review, or hands-on fitting was performed. Significant mobility needs require appropriate individualized support.
Guide
Choose your first adult tricycle by checking rider fit, storage, weight limits, gears, brakes, assembly, and service before buying.

Guide
Learn how to compare adult electric tricycles for control, fit, batteries, braking, transport, and ownership support.

Guide
Understand the leg and hip muscles used when pedaling a tricycle, plus how fit, resistance, and electric assistance change the effort.