
Guide
First Adult Tricycle Buying Guide
Choose your first adult tricycle by checking rider fit, storage, weight limits, gears, brakes, assembly, and service before buying.
We research everything we recommend. When you buy through our links, we may earn a commission. Learn more
Guide
Assess recumbent tricycle foot retention by pedal compatibility, fit, footwear, clearance, release, and appropriate individualized support.

Updated · 12 min read
On a recumbent tricycle, feet sit forward of the rider and can be close to the ground or moving parts if they leave the pedals. A suitable retention system can help maintain their intended position, but it must fit the pedals, shoes, rider, and vehicle. The ability to release and exit also matters.
This guide explains the selection and assessment process rather than prescribing one system for every rider. Follow the tricycle and pedal manufacturers' instructions. Where mobility, sensation, strength, or another medical limitation affects the task, involve an appropriate adaptive cycling specialist or clinician instead of improvising a restraint.
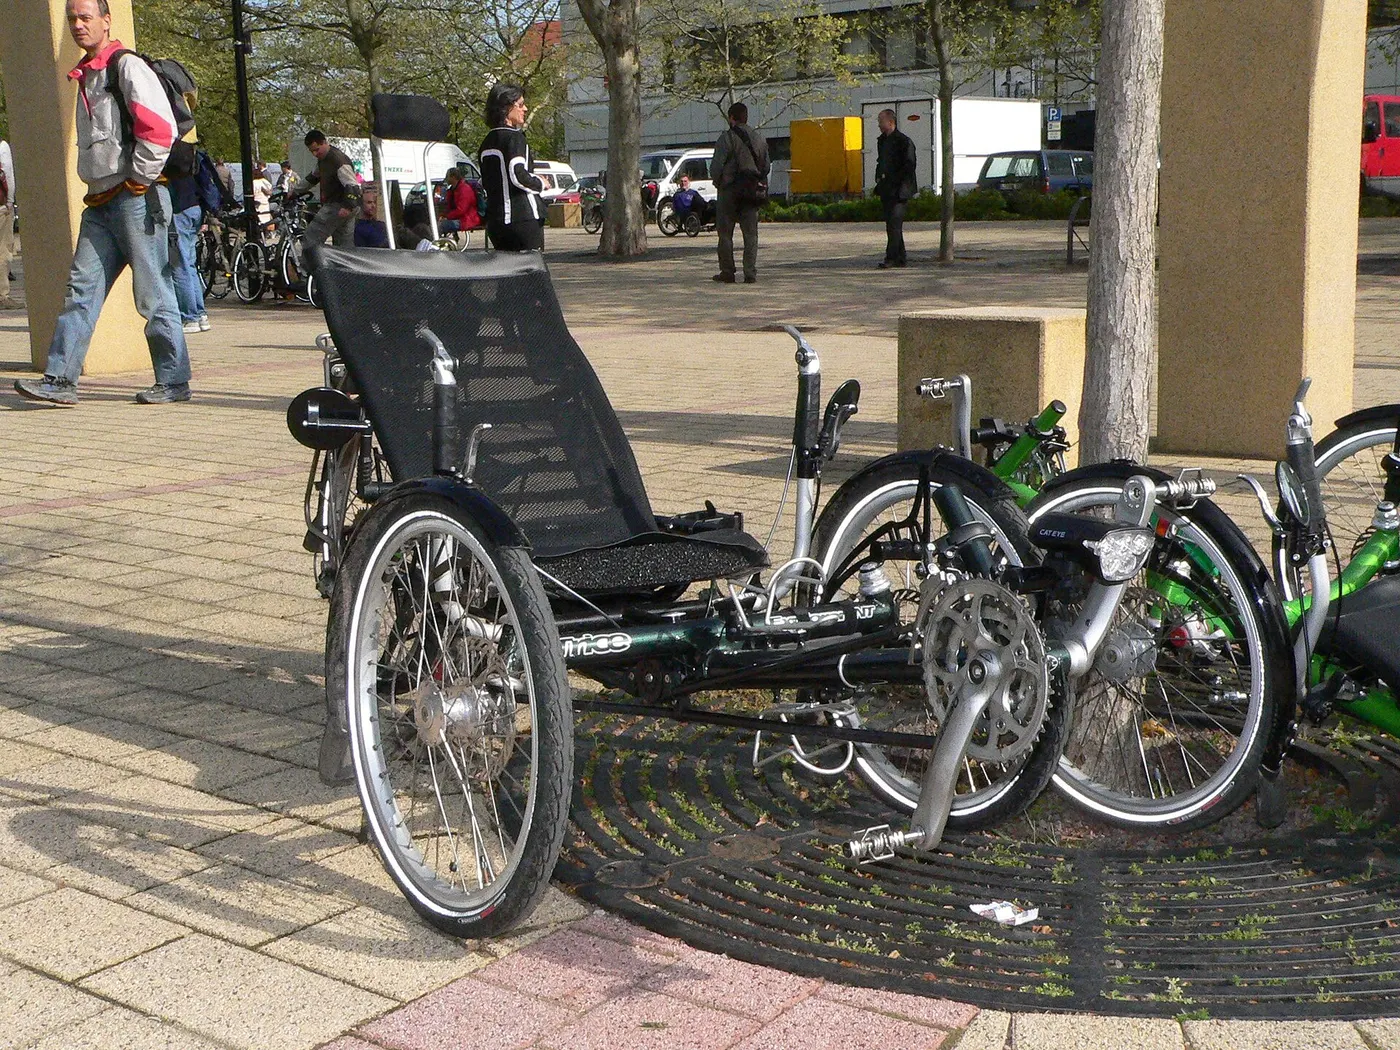
Observe whether a foot slips downward, moves sideways, loses contact over bumps, or cannot remain positioned comfortably. These are different issues. Do the observation while stationary or during a controlled assessment, not by deliberately riding with a loose foot near the ground.
Check the basic fit before selecting retention. Excessive reach or an unsuitable seat/boom adjustment can make it harder to maintain contact. A strap should not be used to hold the rider in an overextended position. The fit guide covers the broader adjustment framework.
Describe the problem to the dealer using the actual tricycle and rider. A product named “comfort pedal” may serve a different need from a heel-support platform or clipless system. The selection should respond to the observed task rather than to a generic accessory checklist.
Flat pedals rely on shoe contact and the pedal surface. Toe straps or cages constrain part of the foot in a particular way. Heel-support systems add support behind or beneath the heel. Clipless pedals connect to compatible shoe cleats and have a defined engagement and release mechanism.
These categories are not interchangeable. A toe strap may not prevent every direction of slipping, and a heel platform may require additional compatible straps. Clipless equipment needs suitable footwear, adjustment, and a release movement the rider can perform reliably.
Ask what the tricycle manufacturer recommends and what the accessory instructions require. Avoid declaring one system safest for everyone. A system that provides secure contact but prevents the rider from releasing when needed is not a complete solution.

Identify the pedal model, attachment pattern, dimensions, and any required adapter. A conversion kit may fit only certain pedal bodies. The TerraTrike pedal-platform installation guide, for example, provides instructions for its own hardware rather than a universal procedure for every pedal.
Confirm crank-thread compatibility for a replacement pedal and follow the exact installation method. Do not force a pedal into the wrong side or use a strap bracket that interferes with rotation. Ask a qualified mechanic if the attachment details are unclear.
The accessory compatibility guide provides the broader checklist. “Fits most bikes” is not enough when the accessory controls the rider's foot position. Obtain the manufacturer's confirmation for the actual arrangement where compatibility is uncertain.
Use the footwear you intend to ride in. Sole shape, tread, width, and stiffness can change how a foot sits in a platform or engages a cleat. A setup adjusted around a thin shoe may become too tight with a winter shoe, while a loose sandal may create another control problem.
Keep laces, trouser cuffs, and straps away from the chain, crank, and wheel paths. Secure loose ends using the accessory's intended method. Do not cut or alter a restraint until the manufacturer confirms the adjustment and required length.
Check for pressure, rubbing, or circulation concerns and stop if symptoms arise. A strap should not be tightened as much as possible simply to prevent movement. The appropriate fit depends on the product and rider, and concerning symptoms need professional advice rather than further tightening.
Set the seat and boom within the tricycle's permitted adjustment range. Follow any requirement to change chain length or other components after boom movement. A reach adjustment on a recumbent can involve more than sliding the seat a little.
Check the pedal cycle through the approved stationary process. The rider should not have to twist or stretch to keep the foot engaged. Do not use a retention strap to conceal a fit problem. If the correct position cannot be achieved within limits, the vehicle may not suit the rider.
Get qualified help where the fitting process exceeds your skills. A suitable specialist can evaluate control, entry, exit, and foot positioning together. The goal is not merely to make the foot stay on the pedal in a static photograph.

Secure the tricycle according to the instructions and learn how each foot enters and leaves the system. For clipless pedals, follow the manufacturer's cleat and retention setup. For straps or platforms, learn the release operation without a moving vehicle or traffic pressure.
Check whether the rider can operate the release independently. If help is part of the plan, define the task and ensure the helper knows the mechanism. Do not assume someone can release an unfamiliar buckle quickly because it looks simple.
Rehearse the order of stopping, securing the vehicle, releasing feet, and exiting. On a recumbent, placing a foot down while the vehicle is moving can create an injury risk. Follow the tricycle's explicit guidance rather than transferring an upright-bike habit without thought.
Foot retention does not provide a transfer handle or make every seat easy to enter. Use only the manufacturer's approved support points and accessories. A mirror mast, brake lever, pedal, or flag pole should not become an improvised grab handle.
If a helper assists entry or exit, practice the stationary procedure with appropriate instruction. Agree on who controls the parking brake and who supports the rider. Do not lift the entire tricycle by a seat accessory unless that use is expressly approved.
For riders with significant mobility constraints, an adaptive cycling assessment can prevent a series of incompatible purchases. The upright-versus-recumbent guide explains why a supported seat is only one part of choosing the vehicle.
Use a permitted, level, traffic-free area with room to stop. Begin with short straight runs and the manufacturer's recommended operating mode. Keep the route and vehicle setup familiar so the retention system is the principal new variable.
Stop and check the fit after a short trial. Look for strap movement, contact with the crank, discomfort, or difficulty releasing. Do not keep riding to see whether a rubbing strap will settle into place. An accessory that shifts needs correction through its documented method.
Only expand the route after the rider can engage, ride, stop, release, and exit repeatably. The safe-riding guide provides the basic control sequence. Adding retention should improve the routine, not obscure a problem with braking or steering.
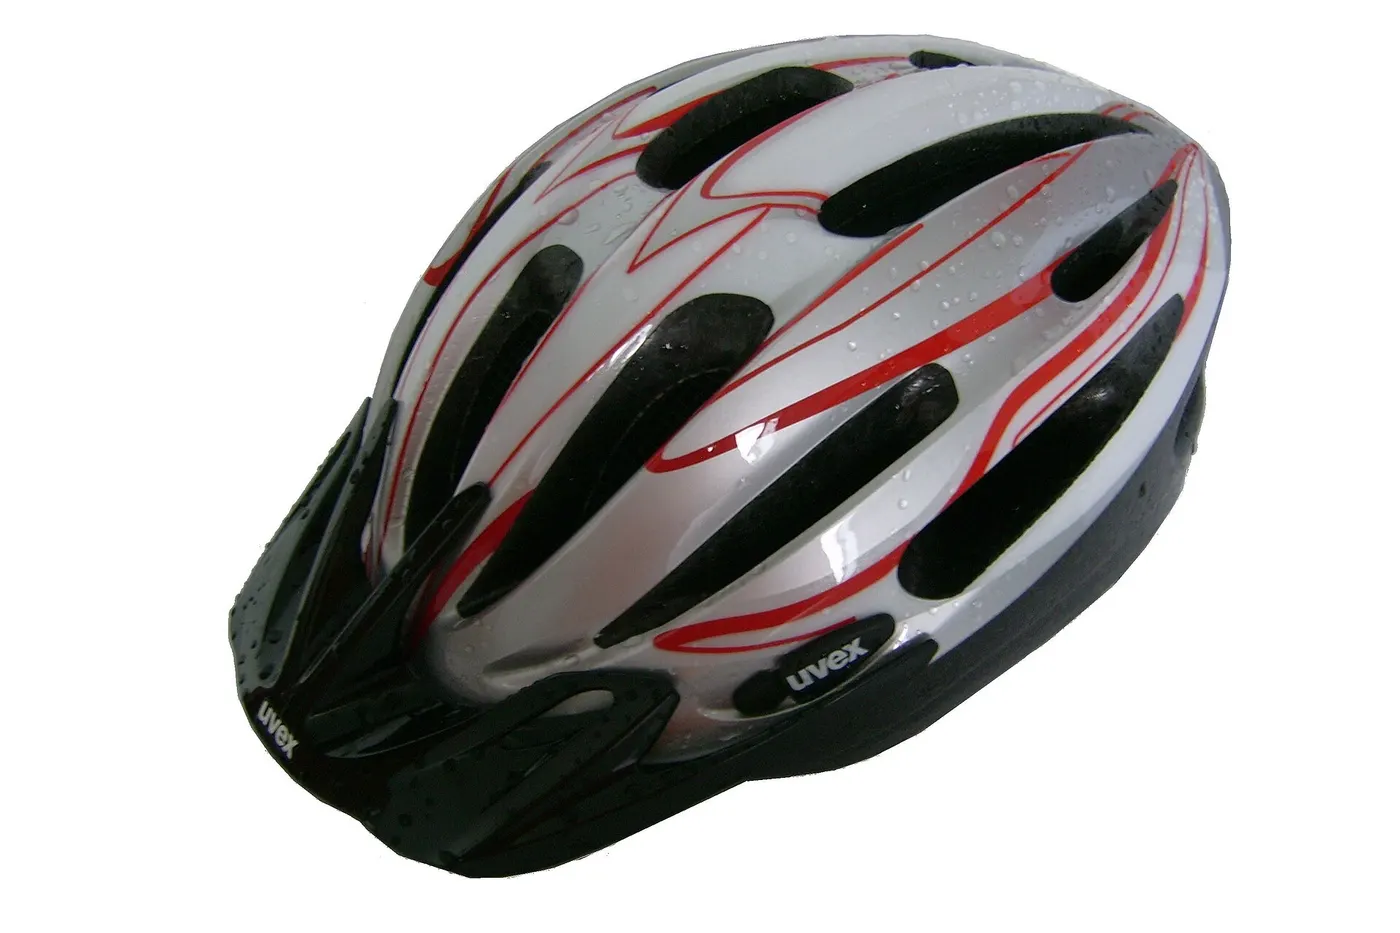
Check straps, heels, shoes, and any platform through the permitted range of movement. Verify clearance from the ground, wheels, frame, steering parts, and drivetrain. A system can fit the pedal body while creating contact elsewhere on the tricycle.
Account for the rider's normal clothing and any assistive device permitted for the activity. Do not rely on a barefoot showroom fit if the real ride uses different shoes. Repeat the inspection after changing footwear, reach, seat angle, or pedal hardware.
If clearance is uncertain, get a qualified inspection. Do not shorten a crank, bend a bracket, or relocate a restraint as an undocumented fix. Those changes can affect geometry and strength beyond the apparent contact point.
Some riders need more than a standard pedal strap, including positioning support or an adapted control arrangement. That requires an assessment of the person and complete vehicle. A retailer's general promise that a product suits disabilities is not enough to establish suitability.
Explain the relevant functional needs to an appropriate specialist: maintaining position, operating the release, entering the seat, and managing an unexpected stop. Avoid prescribing a device from a medical label alone. People with the same diagnosis can have very different abilities and requirements.
This guide does not provide medical clearance or restraint prescriptions. Its useful role is to organize questions and identify the practical task that remains unresolved. A professional recommendation should include compatible hardware, fitting, instruction, and review after actual use.
Follow the accessory's inspection and replacement guidance. Look for frayed straps, damaged buckles, loose hardware, or abnormal pedal movement. Clean using the permitted method and keep lubricant away from surfaces where it would compromise grip or restraint function.
Do not repair a load-bearing strap with an improvised knot or tape. Replacement materials should be approved for the system. A similar-looking buckle from an unrelated product may not have the same geometry or function.
Record the setup and any service changes. The maintenance checklist can include a brief retention inspection before every ride. Reassess after a knock or when the rider reports that engagement feels different.
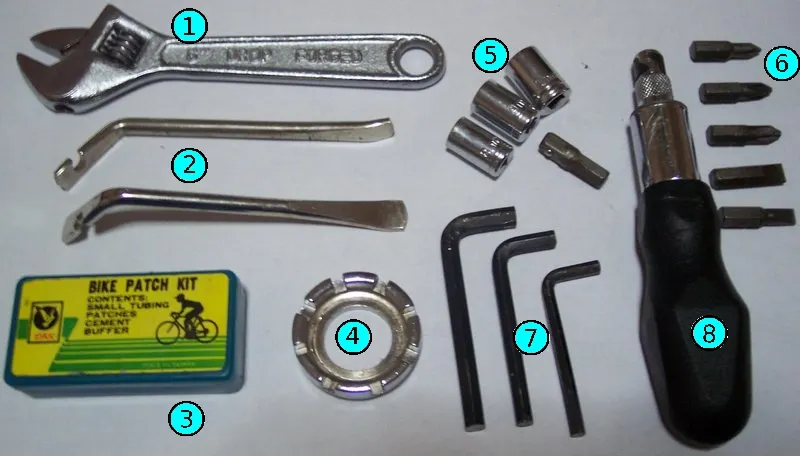
| Area | Question to answer |
|---|---|
| Need | Which direction or condition causes loss of contact? |
| Fit | Is seat/boom reach correct within approved limits? |
| Compatibility | Does the system fit the exact pedal and crank? |
| Footwear | Does the planned shoe sit and release correctly? |
| Clearance | Is the full pedal cycle unobstructed? |
| Independence | Can the rider engage and release, or is trained help arranged? |
| Follow-up | What wear checks and review are required? |
Use the worksheet with the dealer or specialist, not to self-certify a restraint. Leave unresolved entries open. A reliable release and suitable fit are as important as keeping the foot positioned during ordinary pedaling.
If the foot repeatedly slips despite a compatible system, stop and review fit, footwear, adjustment, and the rider's needs. Increasing tension indefinitely may create discomfort without fixing the underlying task. Do not interpret persistence as evidence that more restraint is always better.
Likewise, a system that feels secure while stationary may be awkward to release after a ride. Repeat the whole stopping and exit routine. The practical solution is one the rider can use consistently in the real setting, with the prescribed support when needed.
A good purchase includes instruction and a review path. Retention is a functional part of a recumbent tricycle, so give it the same attention as brakes and seating rather than treating it as a small optional accessory chosen by price alone.
A retention setup adjusted for summer footwear may not fit a bulkier shoe. Before the first ride with the new pair, secure the tricycle and repeat entry, positioning, clearance, and release checks. Do not assume a longer strap is the only change required. The sole shape and pedal contact can also differ.
Check the full pedal cycle through the approved process and look for contact with the crank, frame, wheel, or ground. Keep loose laces and cuffs restrained appropriately. If the new footwear prevents a reliable release or creates pressure, choose another suitable arrangement and obtain advice where needed.
Record the footwear used in the successful setup. That makes a shared or seasonal routine clearer. The goal is not to forbid every change, but to recognize when a seemingly small clothing decision alters a functional system.
Where assistance is part of the riding plan, show the helper the exact buckles, straps, or pedal release. Practice while stationary in a suitable setting and agree on the order of stopping, securing the vehicle, releasing the feet, and helping the rider exit. Do not improvise during a stressful stop.
The helper should use approved support points and keep clear of moving components. Pulling a foot forcibly from a restraint or using a mirror mast to lift the rider can create additional risk. An appropriate specialist can establish a suitable assisted routine when the task is complex.
Confirm that the planned helper is available for the actual rides. A system demonstrated successfully with a specialist present may still be impractical if the rider cannot use it independently and no trained assistance exists at home. That limitation belongs in the purchase decision.
Ask each supplier to explain compatibility, adjustment, engagement, release, wear checks, and replacement parts. A system should not be chosen only because it holds the foot firmly in a product video. It must also suit the rider's abilities and the tricycle's geometry.
Where a trial is appropriate, keep seat reach, footwear, and route consistent. Observe position, discomfort, and release behavior without deliberately provoking a slip. A qualified assessment can help interpret the result, especially when sensation or movement is limited.
Do not rank one system as universally safest from an individual preference. Different riders may need different support and release arrangements. Describe the actual configuration and professional input rather than turning a personal trial into a broad medical recommendation.
A pedal platform or strap may be knocked during loading, folding, or storage. Before riding, inspect attachment and position according to the instructions. A shifted bracket can create contact even when it was correctly fitted before transport.
Repeat checks after changing the boom, seat angle, pedals, or cranks. Some changes affect the drivetrain and require additional professional work. Do not assume a foot-support system remains correctly adjusted after the rider's reach has changed.
Keep the adjustment record with the vehicle so another person does not unknowingly reset a carefully fitted support. If hardware becomes loose or damaged, stop using it and obtain the correct service or replacement. A temporary knot or tape should not be treated as restoring the original function.
This checklist can organize a compatibility inquiry and identify an unresolved task. It cannot prescribe restraint tension, determine medical suitability, or certify a device from photographs. Those decisions require the product instructions and, where appropriate, an individualized professional assessment.
When asking for help, explain the functional difficulty in plain terms: maintaining heel position, operating a buckle, or exiting after stopping. That information is more useful than asking for a product solely by a diagnosis or age group. The resulting plan should include hardware, fitting, instruction, and a review after real use.
A thoughtful assessment may conclude that a different tricycle or a supervised riding setting is preferable. That is a useful outcome, not a reason to keep adding stronger straps. The complete ride should remain manageable from entry to exit.
Research-based guide; no pedal products or adaptive systems were hands-on tested. Individual support needs require appropriate professional assessment.
Guide
Choose your first adult tricycle by checking rider fit, storage, weight limits, gears, brakes, assembly, and service before buying.

Guide
Learn how to compare adult electric tricycles for control, fit, batteries, braking, transport, and ownership support.

Guide
Understand the leg and hip muscles used when pedaling a tricycle, plus how fit, resistance, and electric assistance change the effort.