
Guide
First Adult Tricycle Buying Guide
Choose your first adult tricycle by checking rider fit, storage, weight limits, gears, brakes, assembly, and service before buying.
We research everything we recommend. When you buy through our links, we may earn a commission. Learn more
Guide
Use an adult tricycle maintenance checklist for tires, brakes, steering, chains, batteries, service records, and safe repair decisions.

Updated · 12 min read
Adult tricycle maintenance starts with knowing the actual vehicle, observing changes, and using its manual to separate owner checks from repair work. Inspect tires, brakes, steering, seat security, cargo attachments, and the drivetrain before relying on the machine for a trip. An electric tricycle also needs appropriate battery and electrical-system care. Three wheels do not make loose steering, uncertain braking, or a damaged tire less important.
This research-based guide is an ownership checklist, not a universal workshop manual. It does not specify torque values, brake adjustment procedures, or service intervals for every model. Those details depend on the components and manufacturer. If you cannot confidently perform a prescribed check, arrange qualified help. Routine observation is useful even when you choose to have all adjustments and repairs completed by a mechanic.
Keep the make, exact model, generation, serial number, and purchase documents together. Save the current vehicle manual and identify the component documentation where relevant. A model name can remain similar while brakes, drivetrain, or electrical equipment change. Knowing the generation avoids ordering a part from an older version by mistake.
Record the tire markings and valve types for all three wheels. Front and rear equipment may differ. Include brake type, drivetrain arrangement, and the battery and charger identification for an electric model. Photographs can help communicate with a shop, but readable markings and part numbers are more useful than a distant picture of the complete machine.
Create a short list of the checks the manufacturer assigns to the owner and the service tasks it assigns to a professional. This helps avoid two opposite mistakes: attempting every repair with a generic video, or assuming nothing needs attention because a shop assembled the vehicle months ago. The record makes ownership more predictable.
After qualified assembly or service, ask the mechanic to demonstrate the expected steering, brake lever movement, parking brake, and shifting behavior. A baseline helps you notice changes. You do not need to diagnose a fault to recognize that a lever now travels farther or a wheel has begun scraping.
Write down the observations that are specific to your machine. For example, note which control operates which brake and how the parking mechanism is verified. Avoid borrowing expectations from a conventional bicycle without checking the tricycle. Rear axle and drive arrangements can make the system different.
If the vehicle is electric, learn the normal start-up process and the meaning of relevant warning messages. Do not clear an unfamiliar error by trying random display settings. Our electric tricycle guide explains the systems conceptually, while the exact fault response belongs in the manufacturer's documentation.
Look over the vehicle before moving it into use. Check for visible damage, loose accessories, leaking fluids where applicable, or anything rubbing a wheel. Confirm that the saddle and steering components are secure using the prescribed method. A basket strap or cover fastening should not trail near the drivetrain.
Check the tires and brakes according to the manual, including the rear pair. Test control reach and predictable response before entering a demanding route. The routine should be manageable enough to repeat rather than so elaborate that you abandon it. Keep the decisive checks visible in a note near storage if helpful.
If an observation raises doubt, stop and get the issue assessed. A short ride does not excuse a brake problem. Our safe riding guide explains how a pre-ride check fits into starts, stops, and learning the complete vehicle footprint.

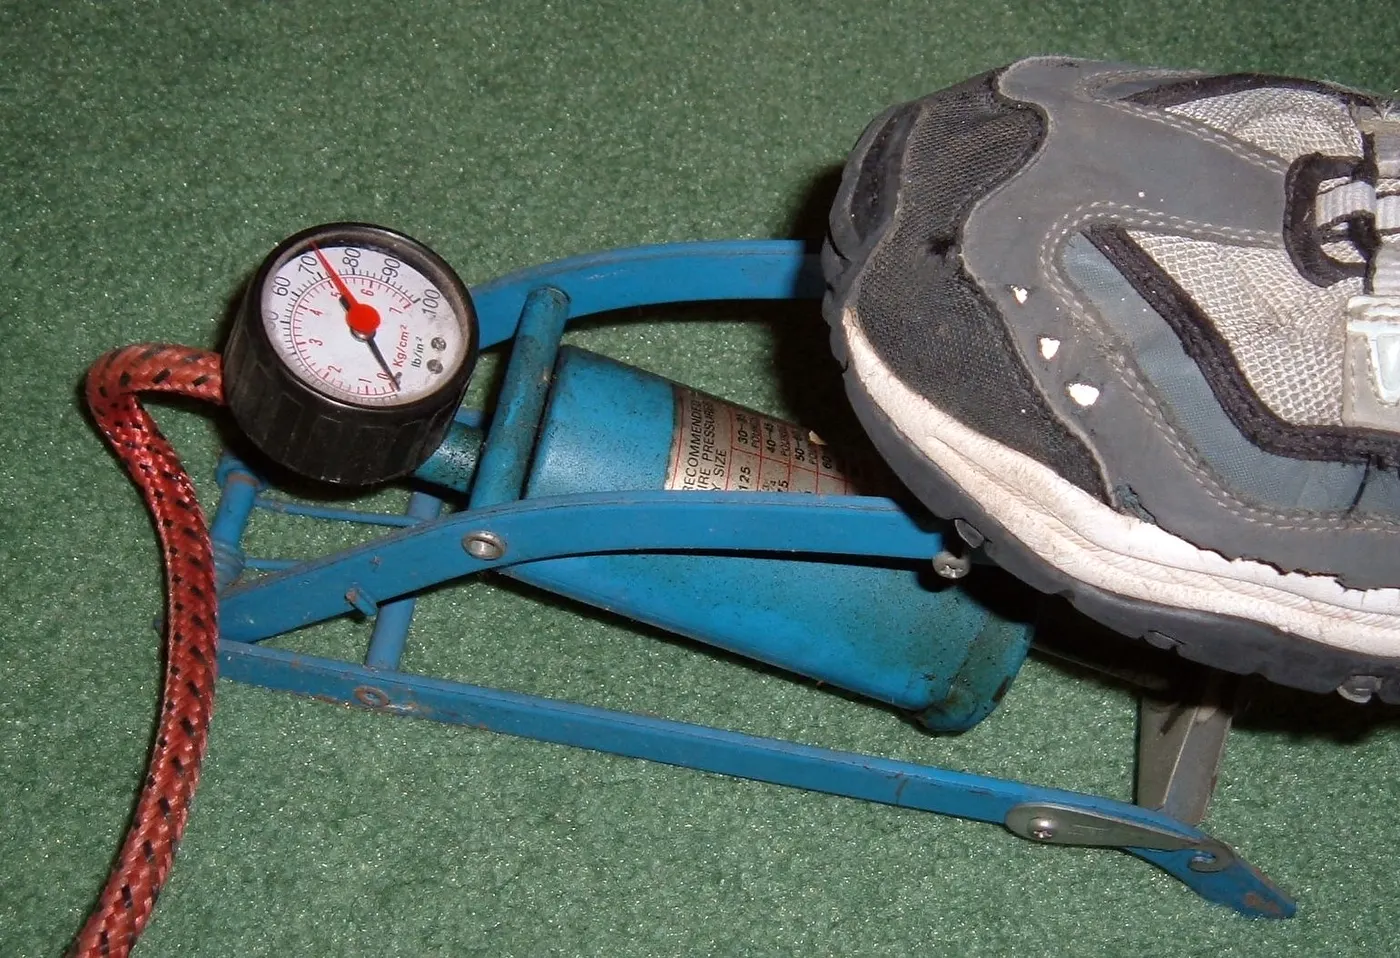
Use the approved pressure range and guidance for the tire, rim, and vehicle. Do not assume the largest number printed on a sidewall is the correct target for every load. Resolve conflicting instructions with the manufacturer or mechanic. A universal pressure recommendation would ignore tire width, construction, and component limits.
Use a pump and gauge compatible with the valve. Confirm how the head attaches before applying force, and avoid bending the valve while reaching around a fender. If the gauge reading seems implausible or the tire is not behaving normally, stop and investigate. Guessing by appearance alone is unreliable.
Check for cuts, bulges, exposed material, damage around the valve, or a tire that is not seated correctly. A tire that loses pressure repeatedly needs assessment rather than continual topping up without explanation. Record which wheel is affected and whether the loss occurs during use or storage.
A headline wheel label such as 24 or 26 inches is not a complete compatibility specification. Park Tool's tire-fit guidance explains that inch naming can conceal different bead-seat diameters. Record the actual tire markings and match the relevant diameter, width requirements, and valve arrangement with the wheel and vehicle instructions.
Do not buy a tube solely because a seller's title includes the same broad wheel size. The supported width range and valve type matter. Also check valve length where relevant. If front and rear wheels differ, one spare may not cover every wheel on the tricycle.
A tire change can affect clearance, ride characteristics, and compatibility with fenders or other components. A wider-looking replacement is not automatically an upgrade. Ask the manufacturer or qualified mechanic about the approved fit before installing it. Keep the replaced and new specifications in your maintenance record.
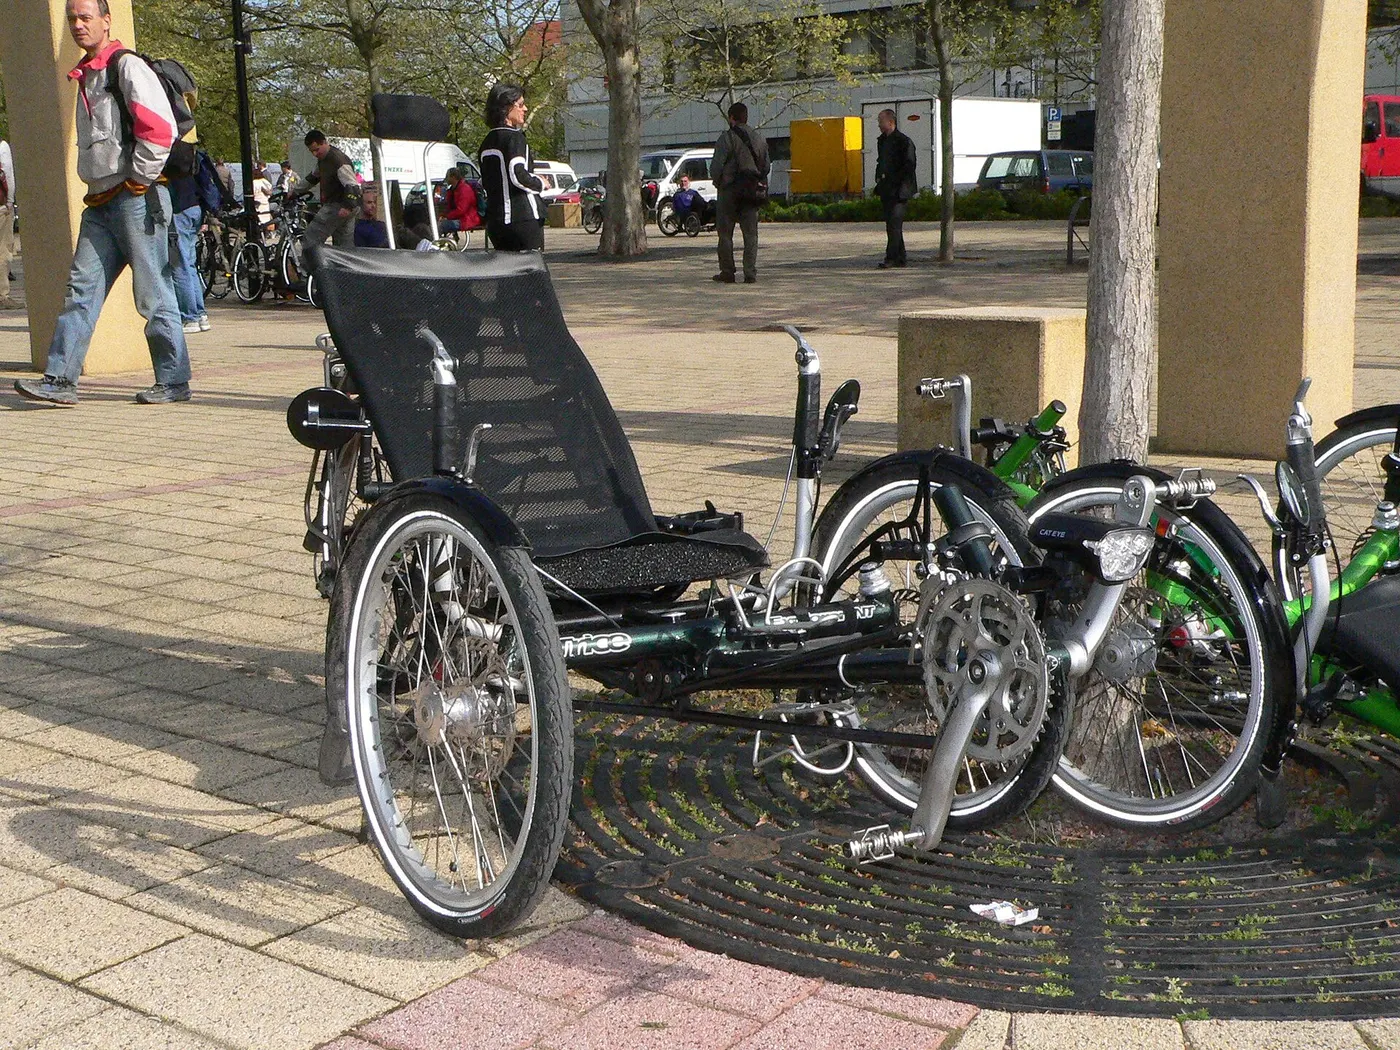
Brake inspection involves more than whether a lever moves. Know which wheel or wheel group it controls and what the manual asks you to observe. Check for changes in lever travel, response, unusual noise, or visible damage. If the lever contacts another component before operating properly, do not assume a casual adjustment is enough.
Identify the brake type before using a repair guide. Cable-operated rim brakes, mechanical disc brakes, and hydraulic brakes do not share every procedure. Parts and fluids may be incompatible between systems. A tutorial for a different component can produce an apparently successful adjustment that is still wrong for yours.
Stop riding when braking becomes uncertain and arrange service. Avoid lubricating brake friction surfaces or using an unidentified cleaner. If oil or another substance contacts pads, rims, or rotors, follow the component manufacturer's response rather than wiping it away and assuming the issue is resolved. Preserve a clear description of what happened for the mechanic.
A parking mechanism should hold and release according to the vehicle instructions. Check its operation in a suitable level setting before relying on it for mounting or parking. If it no longer holds as expected, treat that as a maintenance issue rather than choosing a different lever position by feel.
Some systems use the normal brake components, so wear or adjustment can affect parking behavior as well as stopping. Ask your mechanic how the design works and what the owner should observe. Do not assume a mechanism is maintenance-free because it is labeled a parking brake.
A working parking brake is not a security lock and does not make every sloped location suitable for a transfer. Use the appropriate storage arrangement and anti-theft equipment separately. Our storage and transport guide explains how those requirements fit together.
Look for movement that differs from the approved baseline. A handlebar or seat that shifts during use is not an ordinary comfort issue. Stop and have the joint checked using the correct fastening procedure and torque where specified. Blindly tightening it may damage parts or hide another problem.
Follow insertion marks and adjustment limits. Maintenance should preserve the fit within those limits rather than extend a component to make a poorly matched frame usable. Our sizing guide explains when the adjustment range cannot solve a fit problem.
For folding vehicles, inspect latches, cables, and the complete unfold sequence as directed. Do not verify only the main hinge while overlooking a steering or seat adjustment changed for transport. After service or loading, check that the approved setup has been restored before riding.
Follow the cleaning method recommended for the machine and components. Remove loose contamination carefully and avoid directing high-pressure water into areas that are not designed for it. Electrical equipment and bearings should not be treated as safe to immerse simply because the vehicle can tolerate ordinary outdoor use.
Keep cleaners and lubricant away from braking surfaces and other sensitive parts. Use products compatible with the materials and instructions. A household spray that removes grime is not automatically suitable for every bicycle finish, seal, connector, or friction surface. Test only where the manufacturer permits and avoid mixing unidentified chemicals.
After cleaning, dry and inspect the vehicle before storing or using it. Check that the process has not left straps, brushes, or rags caught near moving parts. Cleaning is also a useful chance to observe wear or damage that was hidden by dirt. It does not replace service when a component has already developed a fault.
A chain should be maintained using a procedure and lubricant compatible with the system and conditions. Park Tool's chain-care guidance explains cleaning and lubrication, but an adult tricycle may have an axle or chain arrangement different from the ordinary bicycle shown in a tutorial. Identify the accessible parts before following the steps.
Power down an electric system and follow the manual's precautions before working near moving components. Do not use the motor to spin a drivetrain while cleaning it. Keep hands, clothing, and tools clear of pinch points. If a task needs the vehicle supported, use a system appropriate for its width, weight, and approved attachment points.
Cleaning a worn chain does not restore its dimensions or make every shifting problem disappear. Ask about wear assessment and compatible replacement. Do not choose a replacement based only on its appearance. Chain type, connection method, length, and drivetrain compatibility can all require specific information and tools.
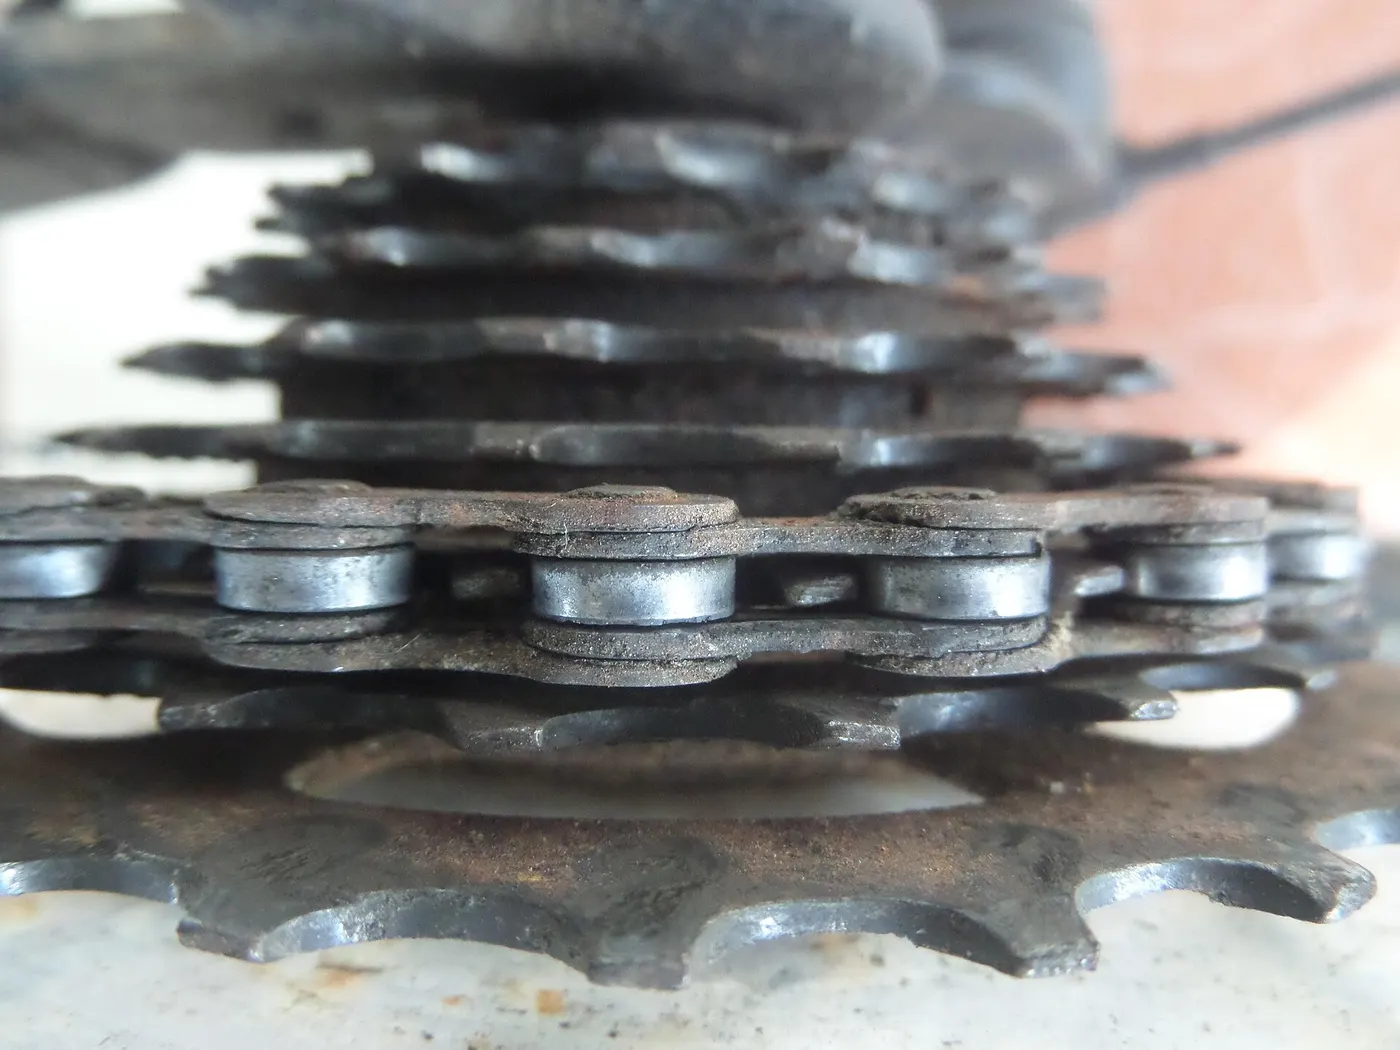
If a selected position does not engage normally, record when the problem occurs and consult the component guidance. Note whether it follows an impact, cleaning, cable replacement, or a change in load. Abnormal sounds and repeated skipping are reasons to seek assessment rather than continue forcing shifts.
A derailleur and an internally geared hub have different adjustment methods. Limit screws, cable indexing, and hub setting marks should not be treated as interchangeable solutions. A retailer or mechanic should identify the system and explain what is appropriate for the owner to check.
Our gears and hills guide separates operation from repair. Selecting a suitable ratio and reducing load during the prescribed shift can help normal operation, but technique does not fix a damaged component. A problem that persists after correct use needs investigation.
Use the battery and charger instructions for the exact electric system. Inspect for visible damage and keep connectors protected as directed. Do not open a battery pack or repair a charger with improvised parts. A casing that looks intact does not prove that a pack involved in an impact is safe.
CPSC warns against unapproved universal chargers and advises being present while micromobility batteries charge. Use the supplied or specifically approved compatible equipment. If unusual heat, swelling, leakage, odor, smoke, or other concerning signs appear, stop use and follow the safety response. Smoke or fire requires leaving the area and contacting emergency services.
Document electrical faults and obtain manufacturer support. Do not bypass protection, change undocumented settings, or substitute a battery merely because a connector fits. Long-term storage and charging temperatures also depend on the system instructions; they should not be copied from an unrelated model's online checklist.

Manufacturer schedules can be based on time, distance, use, or a combination. Follow the schedule for the actual model rather than applying an interval from another vehicle. Frequent wet, dirty, or heavily loaded use may require more attention within the manufacturer's guidance. A lightly used vehicle can still need checks after storage.
Ask the shop what should be inspected after initial assembly and after components settle into use. Keep a record of completed work and the next specified service. Do not count a quick visual check as equivalent to a full tune-up unless the required tasks were actually performed.
A calendar reminder can help, but it should not override symptoms. A new brake issue or loose joint needs attention before the next routine date. Conversely, repeated unnecessary adjustments can introduce errors. Maintenance should be driven by the manual, observed condition, and qualified assessment rather than an arbitrary urge to tighten everything.
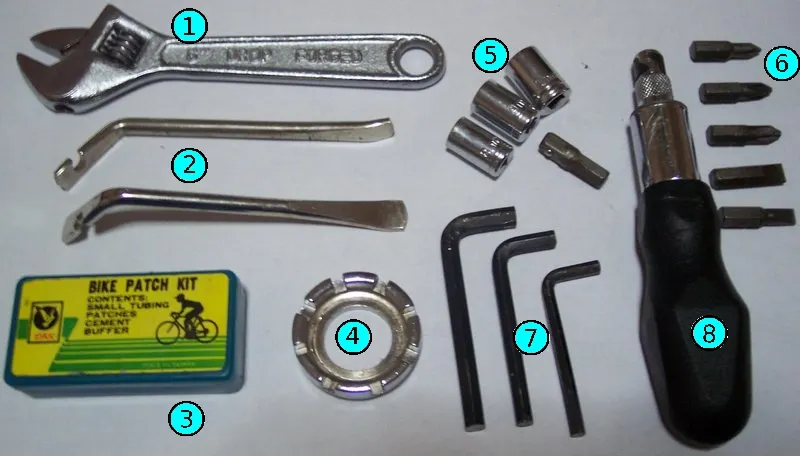
Start with tools and supplies for tasks you know how to perform: compatible inflation equipment, cleaning materials, and the specific items your manual requires. Park Tool's tool-selection guidance emphasizes matching tools to components and skill. A large generic kit does not establish that you can safely complete every repair.
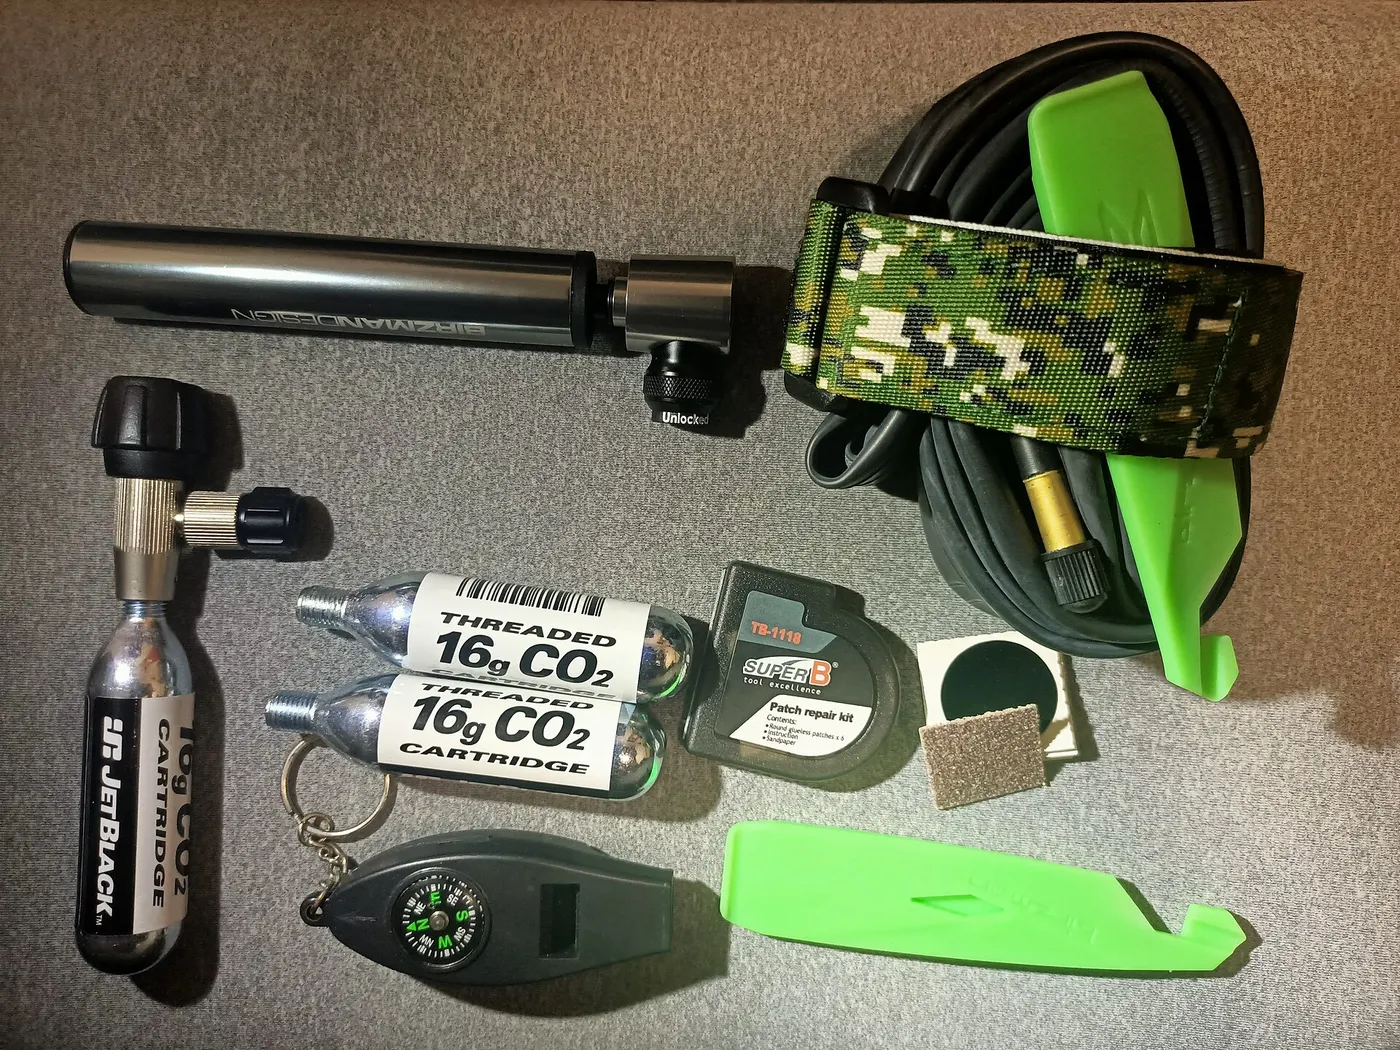
For roadside use, choose compatible supplies and a recovery plan. A tube for the front wheel may not fit a different rear tire. A pump may be easier for a beginner to manage than an unfamiliar inflator. Practice permitted tasks in a controlled setting rather than learning during an urgent roadside stop.
Carry tools securely so they cannot shift into moving parts. Include contact and model information where useful. A repair kit is not an obligation to attempt a difficult wheel or brake repair outdoors. Sometimes arranging collection is the sensible response, particularly with a heavy electric machine or an inaccessible axle arrangement.
Describe the symptom, conditions, exact model, and recent changes. Avoid arriving with a diagnosis based on one sound. A statement such as “the rear brake response changed after transport” gives more useful context than “it needs a new brake.” Photos or a short recording made while safely stationary may help explain a visible issue.
Confirm that the shop services adult tricycles and the relevant electrical system before transporting the machine there. Width, equipment, and proprietary parts can affect whether the shop can help. Ask what will be inspected, what needs authorization, and whether parts must be obtained from the manufacturer.
Keep the completed service record, including replaced part details and approved settings. That supports future repairs and reduces confusion when another person services the vehicle. Good maintenance is not merely owning tools; it is knowing the equipment, recognizing changes, and getting the right task completed in the right way.
Use a simple record with the date, vehicle mileage where available, symptom or scheduled task, work completed, and the person who performed it. Include part numbers for replacements and note where the instructions came from. This is more useful than a list of purchases that does not establish whether anything was installed or inspected.
Mark unresolved concerns clearly. If a shop orders a part but the vehicle still has uncertain braking, the order does not make it ready to ride. Record the remaining restriction and the planned follow-up. Likewise, a cleaned chain should not be marked as a completed drivetrain repair when skipping remains.
When someone else uses the machine, share the essential checks and fault information. A maintenance record only helps if the rider knows an issue exists. Keep the current manual accessible rather than leaving it in discarded delivery packaging.
Guide
Choose your first adult tricycle by checking rider fit, storage, weight limits, gears, brakes, assembly, and service before buying.

Guide
Learn how to compare adult electric tricycles for control, fit, batteries, braking, transport, and ownership support.

Guide
Understand the leg and hip muscles used when pedaling a tricycle, plus how fit, resistance, and electric assistance change the effort.