
Guide
First Adult Tricycle Buying Guide
Choose your first adult tricycle by checking rider fit, storage, weight limits, gears, brakes, assembly, and service before buying.
We research everything we recommend. When you buy through our links, we may earn a commission. Learn more
Guide
Understand adult tricycle gears, shifting, hill planning, cargo, and electric assistance without confusing motor settings with gear ratios.

Updated · 12 min read
Gears change the relationship between each pedal revolution and the movement of the driven wheel. An easier gear lets you turn the pedals with less force at a given wheel load, usually at the cost of covering less ground per revolution. Electric assistance supplies additional propulsion, but it is not the same as a mechanical gear. Understanding both systems helps you plan starts and climbs without expecting a high assistance setting to solve every route problem.
This guide explains everyday operation rather than prescribing a performance workout or a repair procedure. It is research-based and does not include our own hill tests. Adult tricycles use different drivetrains, controls, and motor arrangements. Follow the manual for the exact system, especially where it specifies a gradient restriction, shifting method, or cornering precaution.
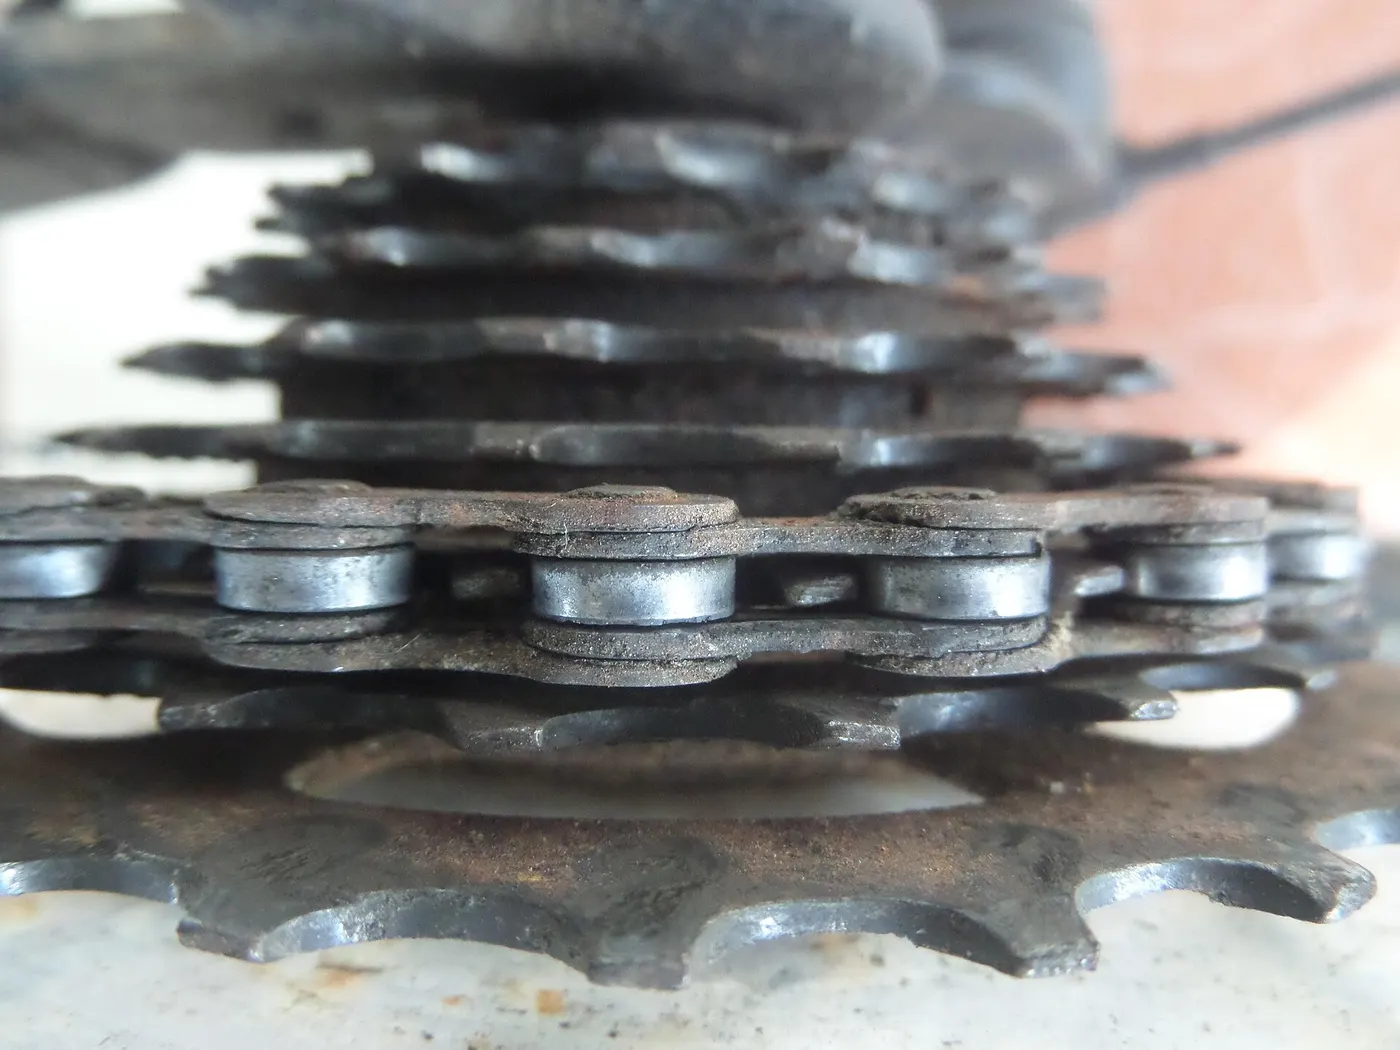
A single-speed tricycle has one available mechanical ratio. A multi-speed model may use a derailleur, an internally geared hub, or another arrangement. The number displayed on a shifter describes a selected position within that system, not a universal level of effort shared by every tricycle.
Inspect the manual or ask the retailer to identify the components. Record the shifter and drivetrain model names if available. That information is useful when asking how to shift, obtaining service, or buying a compatible replacement. A listing that merely says “seven speed” is not enough to establish every operating instruction.
On electric machines, determine whether the controls include both mechanical shifting and assistance selection. They may be close together or described casually as gears by a seller. Learn which one changes a physical ratio and which one changes motor behavior before adjusting either during a ride.
An easier ratio reduces the distance traveled for a pedal revolution relative to a harder ratio. That can make starting or climbing more manageable because the rider has more mechanical leverage. It does not remove the hill, rider weight, rolling resistance, or wind. You still need a route within the machine's approved use.
A harder ratio can be useful when you would otherwise turn the pedals too quickly on a suitable level section. It is not inherently better because the number is higher. The goal for a casual rider is a controllable, comfortable movement, not remaining in the hardest setting to demonstrate fitness.
If you want to compare ratios between two models, ask for actual gearing information rather than comparing only the count of gears. Seven available positions can have a different lowest ratio from three positions on another system. Wheel size also affects the distance traveled. More positions do not automatically establish an easier climb.
Ask the retailer which direction selects an easier ratio and how the selected position is indicated. Control conventions vary, and even a manufacturer's related systems can operate differently. Do not assume “push the upper lever” is a universal instruction or borrow button names from a different model.
Read the operating guidance, then practice on an uncomplicated level section. Notice the change in pedal feel and the sound of a completed shift. Choose an environment where you can stop if uncertain. Looking down for a long time to interpret the indicator is not a good introduction on a busy path.
If the marking is difficult to read, consider whether the interface suits your hands and eyesight. A gear system that is technically capable of the route still needs usable controls. Our sizing and fit guide includes control reach as a separate fitting requirement.
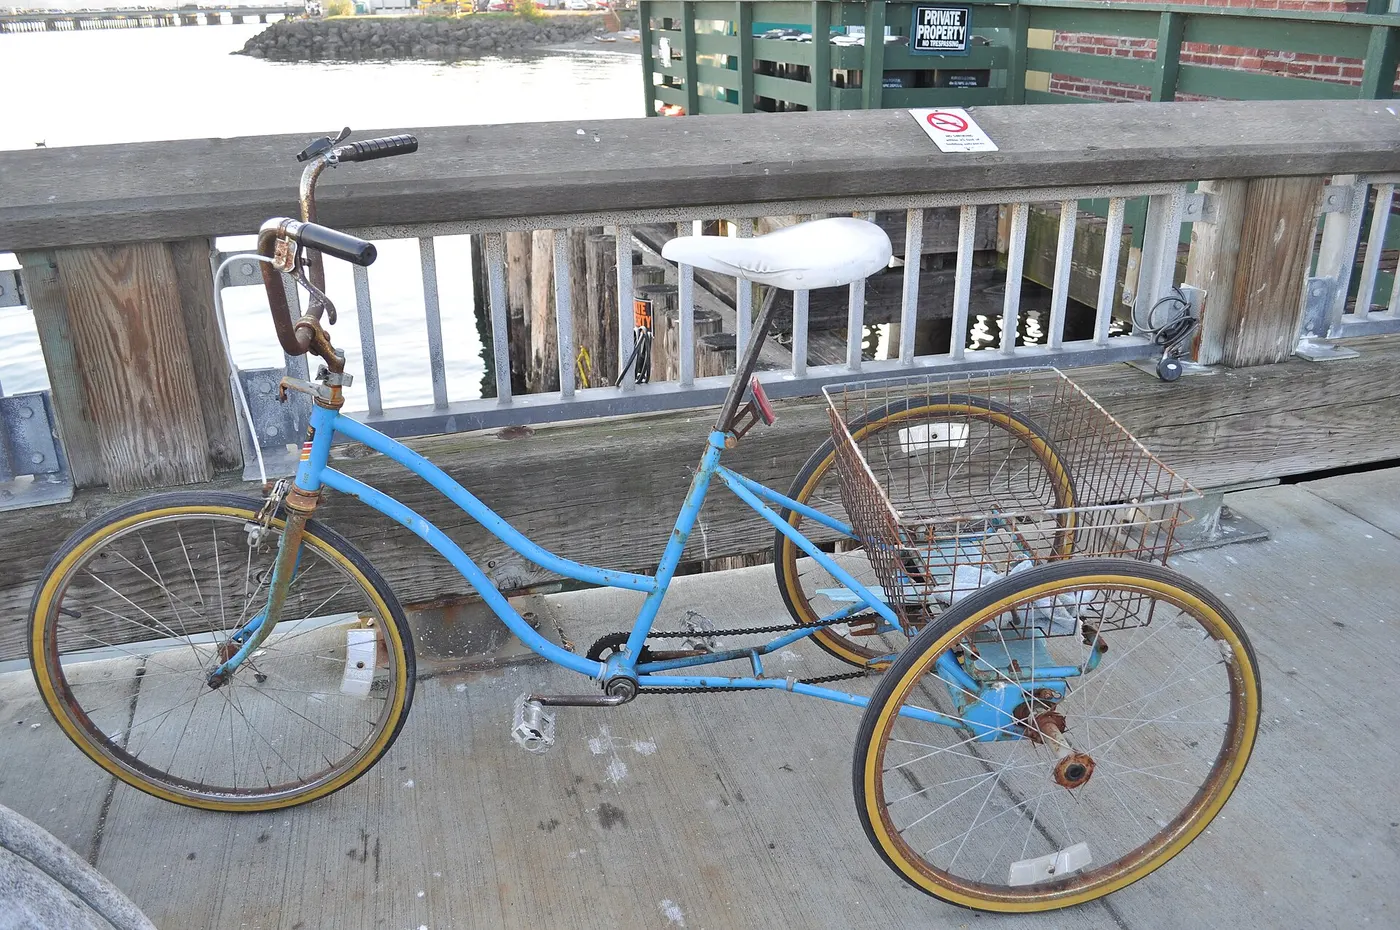
Anticipate the incline and select a suitable ratio while the movement remains manageable. Waiting until you are nearly stopped can make changing gears more difficult. Where the system shifts while pedaling, follow its instructions about reducing pedal force. Shimano's retrieved shifter manual specifically describes reducing force and shifting one position at a time for the covered product.
That instruction is not a full operating manual for every hub or derailleur. Some systems permit particular stationary shifts; others need movement. Ask what your equipment requires instead of generalizing from a different machine. The common planning principle is to avoid discovering the operation at the steepest point.
Do not force a resistant lever or continue loading a drivetrain that is making abnormal sounds. A control that does not complete a shift may need assessment. Repeatedly pulling harder on it is not a dependable solution and can distract from keeping the vehicle on a suitable line.
Before a planned stop, consider the gear you will need when moving again. A difficult starting ratio can make a junction, gate, or short pause unnecessarily awkward. Follow the system's directions for selecting a starting gear rather than assuming you can change every drivetrain while stationary.
Practice the sequence on level ground: reduce speed, select an appropriate ratio when permitted, stop, and begin again. Keep attention on the environment. If the stop is unexpected, control and braking take priority over completing a shift. You can address the starting problem once safely positioned.
If repeated stops leave you struggling, ask whether the gear range, shifter behavior, or physical fit is appropriate. The answer may be instruction or adjustment; it may also be that the vehicle is a poor match. A purchase should support the real route, including frequent restarts, not only uninterrupted cruising.
A climb is more than its average slope. Consider the steepest segment, surface, traffic, width, and what happens at the top. A gate or sharp bend immediately after the climb may require slowing and careful control just when the effort has increased. Plan the complete sequence.
Find any gradient limit in the vehicle manual. Do not substitute a promotional motor rating or a rider's video for that restriction. Weather, load, tire condition, and available traction can also make a previously manageable hill different. An experience on a dry, empty vehicle is not evidence for every loaded or wet trip.
If the slope exceeds your ability or the machine's instructions, choose another route. Dismounting and pushing a heavy tricycle on an incline can itself be difficult, so it is not a universal fallback. Arrange a realistic alternative before committing to the hill.

Mechanical gearing changes your leverage at the pedals. Assistance changes the motor contribution according to the controller and available settings. A model can have several assistance levels but only one mechanical ratio. Another can combine multiple gears with assistance. The controls and practical experience differ.
On a hub-motor vehicle, changing the pedal drivetrain generally changes the rider's gearing rather than directly changing the hub motor's mechanical ratio. Other drive architectures may behave differently. Ask the manufacturer how your specific system works rather than using an explanation for a mid-drive bicycle as if it describes every e-trike.
Our electric tricycle buying guide explains sensors, motor placement, and range claims. Use it to understand the system, but use the model manual to determine the permitted operating method. More assistance is not automatically the correct answer when the pedals feel wrong or the controls become abrupt.
A motor can make an incline feel easier to the legs while the vehicle still carries significant mass and momentum. You need enough braking capacity and control for the return journey. The ability to reach the top does not establish that you can descend safely, turn at the bottom, or stop at a crossing.
Avoid choosing an assistance level solely because it makes the trip effortless. Evaluate whether the resulting speed and acceleration remain manageable. In tight areas, smoother behavior at low speed is often more useful than the maximum available power. Learn the response in a controlled setting before relying on it on a slope.
If fatigue or symptoms affect steering and braking, reduce the demands of the trip rather than using the motor to extend it indefinitely. A route is only useful if you can manage the complete journey. Keep a way home that does not depend on having more energy than you reasonably expect.
A downhill section reduces the need for propulsion but increases the importance of speed control and braking. Follow the manufacturer's instructions for the braking system and intended terrain. Do not assume choosing a low gear makes an unfamiliar descent safe or provides sufficient braking by itself.
Inspect the route for corners, junctions, loose material, and surfaces that slope sideways. Slow before the challenging section rather than waiting until the vehicle enters it. If you cannot control the descent within the model's guidance, do not attempt it simply because the climb was manageable.
Electric models do not all provide regenerative braking. Do not rely on the motor to slow the vehicle unless that capability and its limits are explicitly documented. Mechanical brakes and riding technique remain important even where an electrical braking feature exists. Our safe riding guide covers the broader handling sequence.
A shopping load can make a familiar start or climb feel different. Check separate rider, basket, and total payload limits, then secure the load in the approved arrangement. Loose items should not move toward a wheel, drivetrain, or control. The position of the load matters as well as the total number.
Try a modest load on a simple route before relying on the vehicle for a large shop. Observe restarting, stopping, and cornering as well as climbing. Do not add unnecessary weight to create a workout. A basket is a carrying feature, not a substitute for controlled exercise equipment.
When comparing models, describe your real cargo use to the seller. Ask whether the claimed hill or range demonstration included a load resembling yours. If the conditions are unspecified, keep the result labeled as a claim. An attractive loaded photograph is not a measured performance test.
A completed shift should behave according to the system's instructions. Persistent skipping, failure to select a position, excessive noise, or unexpected pedal movement deserves assessment. A new symptom should not be treated as an invitation to turn adjustment screws without identifying the component and procedure.
Describe when the problem occurs: while starting, under load, in a particular position, or after an impact. Note the model and recent service or changes. These details help a mechanic distinguish an operating issue from cable, alignment, wear, or other mechanical problems. The location of a noise alone is not a reliable diagnosis.
Our maintenance checklist explains what to record and when to stop riding. It intentionally does not give one derailleur adjustment procedure for every tricycle. A hub gear, axle arrangement, or proprietary drive can require different tools and expertise.
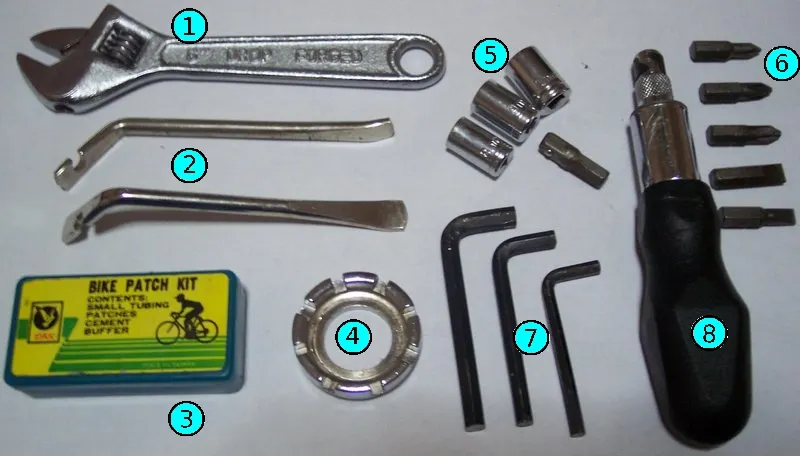
Record the route segment, selected gear, assistance if applicable, load, and what felt difficult. Include weather and whether the tires and brakes had been checked. A clear record can identify a repeatable situation without turning a single hard ride into a conclusion that the model lacks power.
Compare like with like. Two trips of equal distance may have different climbing, wind, and cargo. A rider who has recently changed footwear or saddle position may also experience a different pedal movement. Avoid changing several settings at once when trying to understand a problem.
You do not need a performance device to make useful notes. Plain language is often more helpful: “starting after the gate was difficult,” or “the shift did not finish before the incline.” That can guide a demonstration or fitting appointment without pretending to measure torque or muscle load.
For a level shopping trip with frequent pauses, the main issue may be restarting rather than climbing. Practice selecting an appropriate starting ratio within the drivetrain's operating rules. Add the shopping load gradually and confirm that the basket arrangement does not obstruct controls. The trip can be short yet still demand many starts and stops.
For a route with one gentle incline, plan the shift before reaching it and keep a controlled pace. Do not approach faster merely to avoid pedaling. Check what happens beyond the crest and whether the return route includes a bend on the descent. A hill should be evaluated as part of a route, not as an isolated challenge.
For an assisted ride, learn the interaction between pedal movement and motor response before trying the incline. If the lowest assistance is still abrupt or difficult to manage, seek instruction or assessment. Repeatedly changing display settings without understanding them can make the behavior less predictable rather than solve it.
When a journey consistently feels demanding, review its barriers before buying an upgrade. A flatter parallel route, a different crossing, or a nearer destination may solve the problem more simply. This is especially relevant where the limiting factor is braking or width rather than propulsion.
If you are still choosing a vehicle, use the route observations in a demonstration. Ask to evaluate the actual gear range and controls rather than making a decision from the advertised number of speeds. Explain the rider, load, and storage needs. Our first-purchase guide connects those questions to the broader ownership decision.
A vehicle that works comfortably on the route you can use is more valuable than one with impressive specifications but unsuitable handling or access. Avoid treating a motor upgrade as a universal remedy. The complete machine and rider need to be assessed together.
Before a familiar trip, check the machine, choose a suitable starting setup, and identify where you expect to change gears or reduce speed. Keep your attention on the route while riding. Stop somewhere suitable if a control setting needs more thought than you can give it safely in motion.
Review any unusual difficulty afterward. If the issue repeats, get help with technique, fit, or mechanical condition. Do not normalize a slipping chain or uncertain braking simply because you managed to finish the journey. Reliability includes being able to stop and start predictably, not just reaching a destination.
Gears and assistance are useful when you understand their separate jobs. Choose a workable ratio, shift according to the component instructions, and assess hills as complete route situations. That practical approach is more dependable than believing a larger gear count or motor rating guarantees effortless, safe riding everywhere.
Before buying for a hilly route, explain the steepest section, the intended rider, and the normal cargo to the retailer. Ask which approved test or documented evidence resembles those conditions. A demonstration on a level showroom floor can establish control access but cannot prove hill performance. Keep those conclusions separate.
Also ask what happens if you stop on the incline. Can the rider manage the parking and restarting sequence within the instructions? What recovery option is realistic if continuing becomes difficult? These questions are often more useful than asking only how fast the machine climbs.
If a seller cannot answer, mark the point as unresolved. Do not convert a general assurance into a precise gradient capability. A test ride should remain within approved conditions and your abilities; it is not an invitation to seek the maximum limit.
Guide
Choose your first adult tricycle by checking rider fit, storage, weight limits, gears, brakes, assembly, and service before buying.

Guide
Learn how to compare adult electric tricycles for control, fit, batteries, braking, transport, and ownership support.

Guide
Understand the leg and hip muscles used when pedaling a tricycle, plus how fit, resistance, and electric assistance change the effort.