
Guide
First Adult Tricycle Buying Guide
Choose your first adult tricycle by checking rider fit, storage, weight limits, gears, brakes, assembly, and service before buying.
We research everything we recommend. When you buy through our links, we may earn a commission. Learn more
Guide
Check adult tricycle fit using pedal reach, entry, seat adjustment, control access, payload limits, and real vehicle measurements.

Updated · 12 min read
The right adult tricycle size is the combination of a usable entry height, comfortable pedal reach, reachable controls, suitable rider capacity, and a vehicle footprint that fits your daily routine. Wheel diameter is only one part of that decision. A height chart can narrow the candidates, but it cannot establish whether your arms reach the brakes or whether a low seat makes pedaling uncomfortable.
This guide provides a measurement and trial process for upright and recumbent adult tricycles. It is based on published fit principles and manufacturer documentation, not hands-on fitting of a particular reader. It does not provide universal body-height-to-wheel-size rules. When physical limitations, pain, or postoperative restrictions are involved, have the proposed setup assessed by a qualified professional rather than using this article as medical clearance.
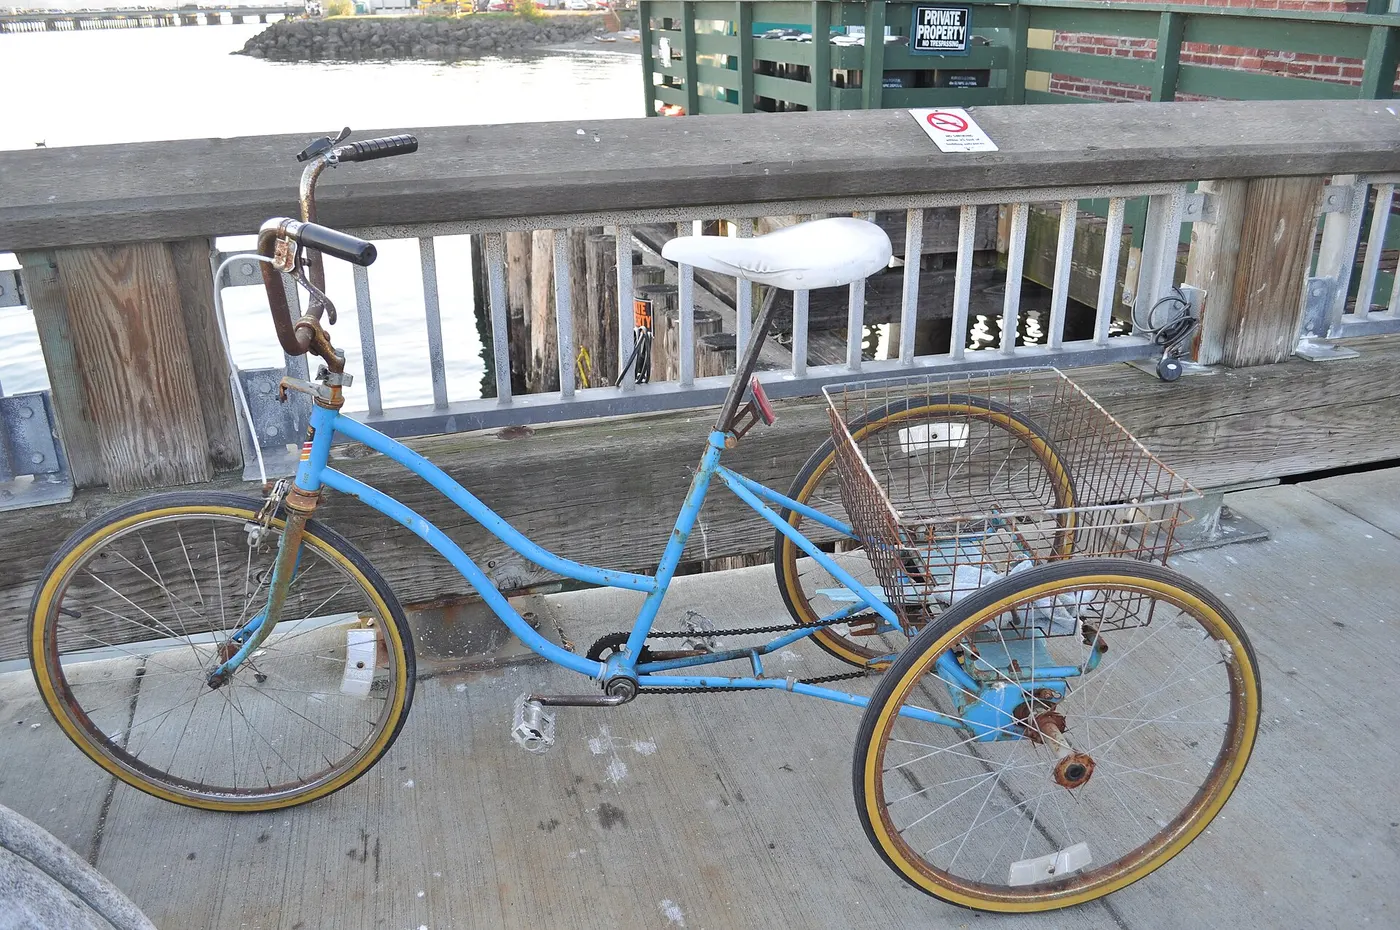
Rider fit concerns how your body interacts with the machine: entry, seat position, pedal movement, and hand reach. Vehicle fit concerns where the machine goes: gates, storage, path barriers, parking spaces, and car openings. Both can fail independently. A comfortable tricycle may not enter your shed, while a compact one may place the pedals outside a comfortable reach.
Create two separate lists before comparing models. Record personal measurements and the movements you need to perform on one list. Record access measurements and route constraints on the other. Keeping them separate makes it harder for an appealing seat or folding feature to distract from an unrelated problem.
Our first-tricycle shopping guide covers the complete purchase workflow. Here, the focus is checking geometry and adjustability so you can ask specific questions rather than relying on a seller's statement that one size fits most adults.
Use height to find the manufacturer's suggested range, then take an inseam measurement using the method the manufacturer requests. Different fitting systems may define or use measurements differently. Record whether shoes were worn and avoid mixing a barefoot measurement with a chart that specifies riding footwear.
A practical home measurement benefits from help. Use a flat surface and a repeatable position rather than estimating from trouser size. Clothing labels are not anatomical measurements, and two garments can describe the same person differently. Repeat the measurement and record the result with the unit clearly stated.
Do not convert approximate measurements into false precision. If your result places you near the edge of a recommended range, ask what that range means and arrange a trial. Being a fraction inside a marketing range does not settle the questions of pedal reach, saddle height, or mounting clearance. The rider still needs to perform the actual movements. Our saddle comfort guide covers shape, padding and a useful trial.
Overall height can hide differences in body proportions. A long-legged rider may need a different saddle and bar relationship from a rider of the same height with a longer torso. The relevant question is whether you can sit in the intended position while operating the controls, not whether your height appears in the listing.
During a trial, check that your shoulders can remain relaxed and elbows are not locked. You should not need to slide forward on the seat merely to reach the brake levers. If a backrest is supplied, verify that it remains useful when your hands are on the bars. A support that is only comfortable with hands in your lap is not enough.
Ask which handlebar and lever adjustments are approved. Adjustable reach on a brake lever is different from changing the stem or replacing the handlebar. A retailer should identify the available adjustment range and the limits. Do not assume an aftermarket part is compatible simply because it appears to bring the controls closer.

A wheel-size label describes a component category, not a complete rider size. Frame geometry, saddle adjustment, crank length, and steering position can differ between two machines with the same wheel label. Some tricycles also use different front and rear wheel sizes, making a single headline figure even less descriptive.
Wheel size can influence packaging and vehicle design, but do not assume a smaller wheel guarantees a lower entry step or easier pedal reach. Those dimensions must be checked directly. A low frame may make entry convenient while a high minimum saddle position still limits fit for a shorter rider.
Likewise, a larger wheel does not automatically make a model appropriate for a taller or heavier rider. The manufacturer's adjustment range and rider limit are the relevant evidence. Avoid buying from a universal internet chart without checking the exact model. Generic charts are screening aids at best, and sometimes conceal important differences.
Ask for the minimum and maximum seat position in a form that helps assess pedal reach. A simple height from the ground may not describe the relationship between saddle and pedal. On a recumbent, the seat-to-pedal distance can be more useful than vertical height.
Identify the limits set by the seatpost, rail, boom, or frame. Maximum extension marks and required insertion are safety constraints, not suggestions to exceed for a better fit. The seller should be able to explain how the seat is secured and whether the entire advertised adjustment range is usable with the model's other components.
Try positions within the approved range and check smooth movement through a full revolution. You should not need to lock the knee, rock the hips, or reach with the toes to maintain contact. Nor should the position force excessive bend that feels cramped. Persistent difficulty is a reason to seek a fitting assessment or a different geometry.
A low step-through frame reduces one obstacle, but entry also involves pedals, the chain guard, the handlebar, and a stable handhold. Watch where your foot travels and whether you need to twist awkwardly. The machine should be immobilized using its prescribed parking procedure before the transfer.
Wear the footwear and ordinary clothing you expect to use. A successful trial in flexible sportswear may not reveal what happens with a longer coat or everyday shoes. Keep laces, hems, and bags away from moving parts. Ask how a mobility aid would be stored without obstructing the transfer or vehicle controls.
Repeat the exit movement too. A vehicle can be easy to enter but awkward to leave after a ride. Do not lower the seat outside a comfortable pedaling position simply to make one step easier. The complete sequence—entry, pedaling, braking, parking, and exit—needs to work, particularly if the rider plans to use it independently.
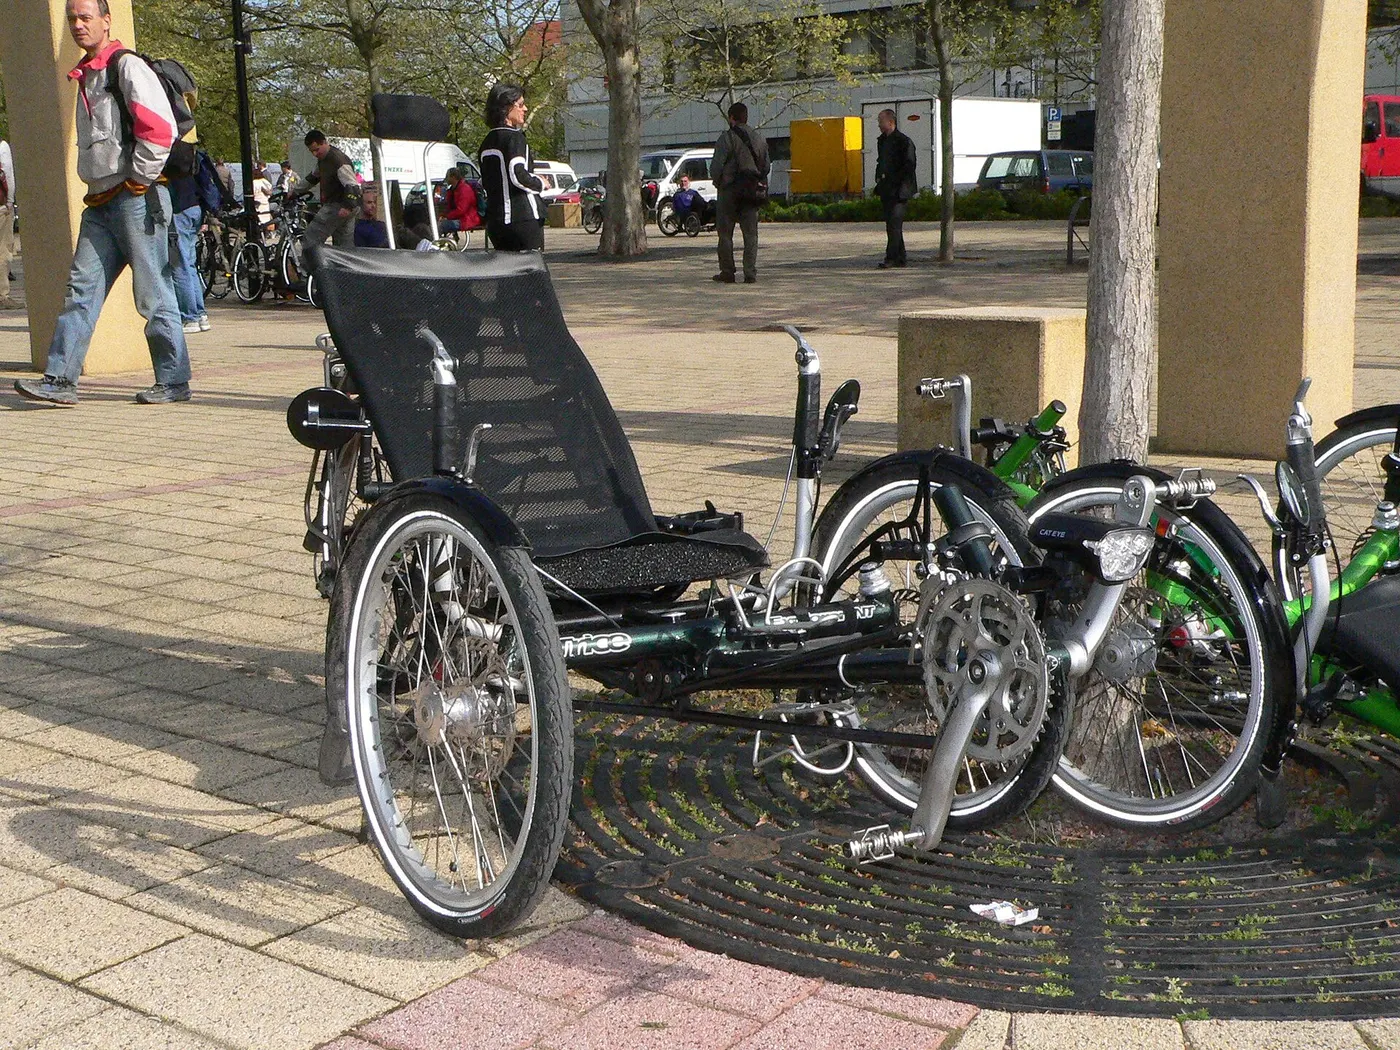
Recumbent fitting often uses measurements such as X-seam or a manufacturer-defined seat-to-pedal reach. The procedure and interpretation depend on the machine. Use the requested method rather than assuming a conventional inseam chart transfers directly. Ask whether the seat moves, the pedal boom moves, or both adjust.
Seat recline can change how you reach the pedals and controls. A more reclined setting is not necessarily more comfortable or appropriate. It may affect your view, head position, and ability to transfer. Try the complete position, including looking ahead and operating brakes, rather than judging only the backrest padding.
If a boom adjustment changes drivetrain requirements, a qualified retailer may need to set it up. Do not alter chain length or move components beyond their marks without the appropriate instructions. A recumbent's fit system can be practical once properly configured, but it is not automatically interchangeable between riders of substantially different proportions.
A wider or softer saddle is not a universal solution to discomfort. Shape, support, position, and the length of the ride all contribute. A thick cover can change the effective position and may move or bunch. Before adding accessories, check whether the base setup suits the rider and is secured correctly.
During a trial, notice whether the saddle encourages you to stay in the intended position or slide toward the front or rear. Also assess whether it interferes with leg movement. Comfort at a standstill can differ from comfort while the legs repeatedly pass through the pedal stroke.
For replacement seats or backrests, verify the mounting interface, permitted load, and adjustment arrangement. Do not assume a listing labeled “universal” matches the tricycle. If pain persists, seek professional assessment rather than purchasing one cushion after another. Pressure discomfort, fit problems, and medical symptoms should not all be treated as the same issue.
Reach the brake levers and operate them repeatedly without stretching or changing your grip excessively. Check the gear selector and electrical controls too. Some interfaces require twisting, pressing small buttons, or releasing grip pressure in ways that may not suit every rider. A showroom glance is less informative than using the controls.
Look ahead, to the sides, and at the display from the riding position. A low recumbent or an unusual handlebar arrangement changes the view. Mirrors may help but do not eliminate the need to understand surrounding traffic. A larger display is useful only if it can be read without drawing attention away from riding.
If you need modified controls, discuss approved adaptations with a qualified supplier. Avoid improvising extensions or restricting a lever's movement to make it easier to reach. Our safe riding guide explains why predictable controls and low-speed practice matter before moving to a daily route.

A total payload number can include cargo and accessories as well as the rider. Ask for the separate rider limit and each basket limit. Fit is not only a geometry question; the machine must be approved for the intended load. Do not substitute frame appearance or tire width for the manufacturer's stated requirements.
Record the definition beside every number in your comparison sheet. If one seller lists rider capacity and another lists total payload, the figures are not directly comparable. Resolve conflicts with the manufacturer. Mark an ambiguous limit as unknown instead of choosing the largest value because it helps a preferred model remain on the list.
Consider the planned daily load, not just the empty ride. Clothing, a lock, and groceries can be relevant depending on the payload definition. A family shopping trip may place different demands on the machine from a recreational loop. Cargo should also be secured in the approved position, because fitting within a numerical limit does not guarantee sensible distribution.
Record the narrowest doorway or gate, the width of the approach, and any turn required. An opening can be wide enough while the space around it prevents a long tricycle from aligning. Measure with doors fully open and include hardware or objects that reduce usable clearance.
Use a simple footprint mock-up or measured sketch to test the planned parking arrangement. This is particularly useful when the seller supplies dimensions but not a practical storage demonstration. Allow room for walking beside the vehicle, accessing the battery, and reaching the lock. Storage should be usable, not merely mathematically possible.
If transport is part of the plan, measure the loading opening and the exact folded configuration. Folding does not necessarily reduce axle width. Our storage and transport guide expands this measurement process and explains why the ability to lift or load the machine is a separate requirement.
Arrange qualified assembly and a suitable test area before assessing moving comfort. A loose seat or poorly adjusted brake can make an otherwise appropriate geometry feel wrong. Start with stationary entry and control checks, then a gentle straight ride and stop. Do not add traffic to compensate for a limited demonstration space.
Notice whether the posture remains comfortable as you pedal. Record hip rocking, knee discomfort, shoulder tension, foot interference, or difficulty looking ahead. Describe observations instead of diagnosing them. A professional can then determine whether adjustment, component selection, or a different model is appropriate.
Avoid comparing a fully fitted model with another that has not been adjusted for you. Ask for equivalent setup time. A good salesperson should not rush you into approving the default position. The purpose is to assess the possible fit within the approved adjustments, not whether the vehicle happened to arrive with the saddle at your height.
A candidate should be rejected if the minimum seat position still leaves excessive reach, the maximum approved extension is insufficient, or the controls cannot be operated comfortably. Do not exceed insertion marks, remove essential supports, or assume an unapproved component will make the geometry work.
Likewise, a frame that requires an uncomfortable transfer is not necessarily rescued by a softer seat. Treat entry, reach, capacity, and vehicle access as separate non-negotiable conditions. A purchase can fail because of any one of them. The ability to ride briefly in a showroom does not prove suitability for repeated independent use.
If a seller proposes modifications, ask who approves them, who performs them, and how they affect support or warranty. Get a clear specification rather than an informal assurance. Some adaptations are appropriate when designed and installed properly; the point is to evaluate them as real changes, not as hypothetical fixes after delivery.
Use one row per model and include the exact generation. Record height guidance, adjustment limits, entry dimensions, rider capacity, reach observations, overall footprint, and uncertainties. Include a column for whether the measurement is manufacturer-published, seller-confirmed, or personally checked during a trial.
A useful worksheet avoids a single overall score that hides a failed requirement. Mark essential conditions as pass, fail, or unverified. A vehicle with an excellent basket and attractive price should not win if braking reach remains unverified. Resolve the decisive unknowns before ordering, especially when return freight is expensive.
For an electric candidate, link the fit assessment to our electric tricycle buying guide. Controls, battery removal, and loading weight add practical questions. The motor can change the workload but cannot make an unsuitable seat or transfer geometry disappear.
Once a suitable setup has been established, record the approved adjustment positions and who performed the fitting. Keep that information with the manual. It can help after service, transport, or sharing the vehicle. Photographs can document positions, but they do not replace required torque settings or professional assembly instructions.
Recheck fit after changing a saddle, pedals, shoes, or handlebars. Even a seemingly small change can alter the relationship between rider and controls. Make changes within the manufacturer's limits and evaluate the complete sequence again. Our maintenance checklist explains how to keep an adjustment record without blindly tightening every fastener.
The right size is the one that permits comfortable movement, secure control, realistic transfers, and practical access. Use wheel size as a description, not a verdict. A measured trial and a few precise questions are more reliable than selecting a machine solely from a generic height chart.
Guide
Choose your first adult tricycle by checking rider fit, storage, weight limits, gears, brakes, assembly, and service before buying.

Guide
Learn how to compare adult electric tricycles for control, fit, batteries, braking, transport, and ownership support.

Guide
Understand the leg and hip muscles used when pedaling a tricycle, plus how fit, resistance, and electric assistance change the effort.