
Guide
First Adult Tricycle Buying Guide
Choose your first adult tricycle by checking rider fit, storage, weight limits, gears, brakes, assembly, and service before buying.
We research everything we recommend. When you buy through our links, we may earn a commission. Learn more
Guide
Learn adult tricycle starts, stops, turning, cargo handling, and route planning, with model-specific precautions and beginner practice guidance.

Updated · 12 min read
An adult tricycle supports itself differently from a two-wheel bicycle, but that does not make it impossible to tip or lose control. The safest introduction is a level, open practice area, low speed, and a clear understanding of your particular brakes, steering, and power controls. Learn to stop and make broad turns before adding hills, shopping loads, or traffic. A previous ability to ride a bicycle is useful experience, but it is not a substitute for learning the new machine.
This research-based guide focuses on ordinary adult pedal tricycles and electric-assisted tricycles. It is not a hands-on test, a medical clearance, or a replacement for the manufacturer's manual. Adaptive equipment, tilting tricycles, and specialist recumbents may require different instruction. If your model's directions differ from general advice here, follow the model-specific directions and seek a demonstration from a qualified retailer or instructor.
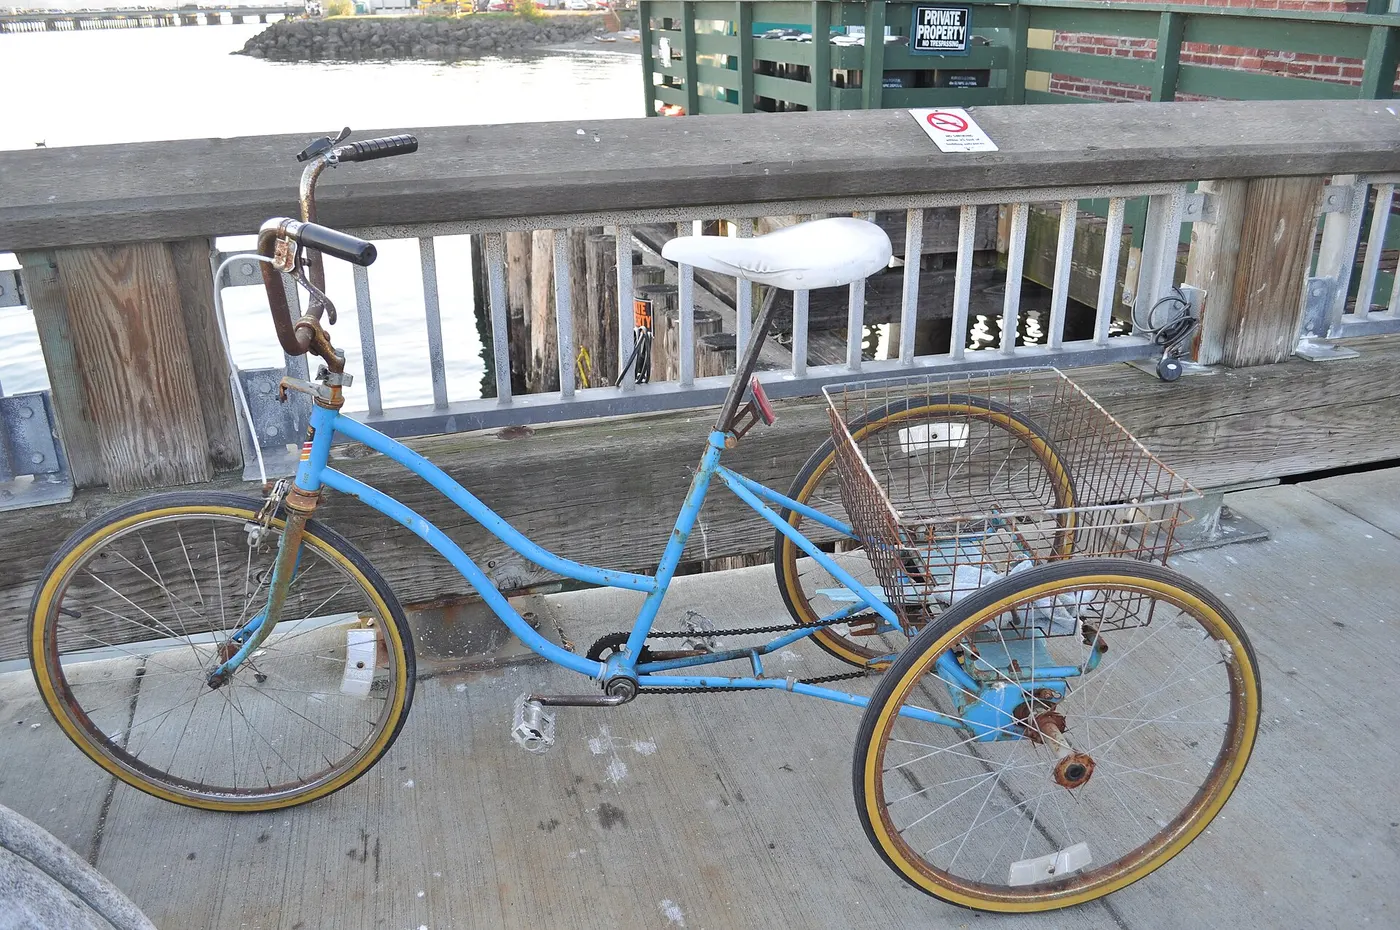
Locate each brake lever, the gear control, the parking brake, and any lighting switches. Confirm which brake operates which wheel or wheel group. Do not assume the arrangement matches a bicycle you previously owned; controls can vary between manufacturers and markets. Ask the retailer to demonstrate operation while the vehicle is stationary.
On an electric model, identify the power switch, assistance selector, throttle, and any walk-assist function. Understand which controls can move the machine and how to disable them during handling. A small accidental movement of a throttle can matter when stepping across the frame. Read the relevant section of the manual before trying to move the vehicle in a confined space.
A useful first lesson is being able to explain the controls without looking down repeatedly. If you cannot comfortably reach a brake or operate a parking mechanism, resolve fit before riding. Our adult tricycle sizing guide explains why hand reach and mounting clearance belong in the fitting process.
Find a level, dry surface with permission to use it, ample space, and no moving traffic. Avoid a sloped driveway even if it is conveniently near home. A quiet location is not necessarily level, and a large parking area may still contain drainage slopes, loose gravel, or vehicles entering unexpectedly.
Walk the space first. Identify boundaries, drains, bollards, surface changes, and a place to stop without obstructing anyone. Choose a short straight section and a broad turning area. You do not need cones arranged into a demanding course. The objective is to learn ordinary control with enough room to correct gently or stop. Our guide to turning and road camber explains why a trike pulls toward the low side.
Have help nearby if appropriate, especially for a first transfer or if the machine is unfamiliar. The helper should understand the controls and avoid holding moving parts. Do not rely on someone jogging beside the tricycle to compensate for an unsuitable fit or uncontrolled acceleration. If the environment does not allow calm practice, find another location.
Check tires, brakes, steering, seat security, and visible fasteners according to the manual. Inspect the rear wheels as well as the front one. A tricycle has additional components and a wider footprint, so it is easy to overlook a rear tire or a loose basket attachment when following a bicycle habit.
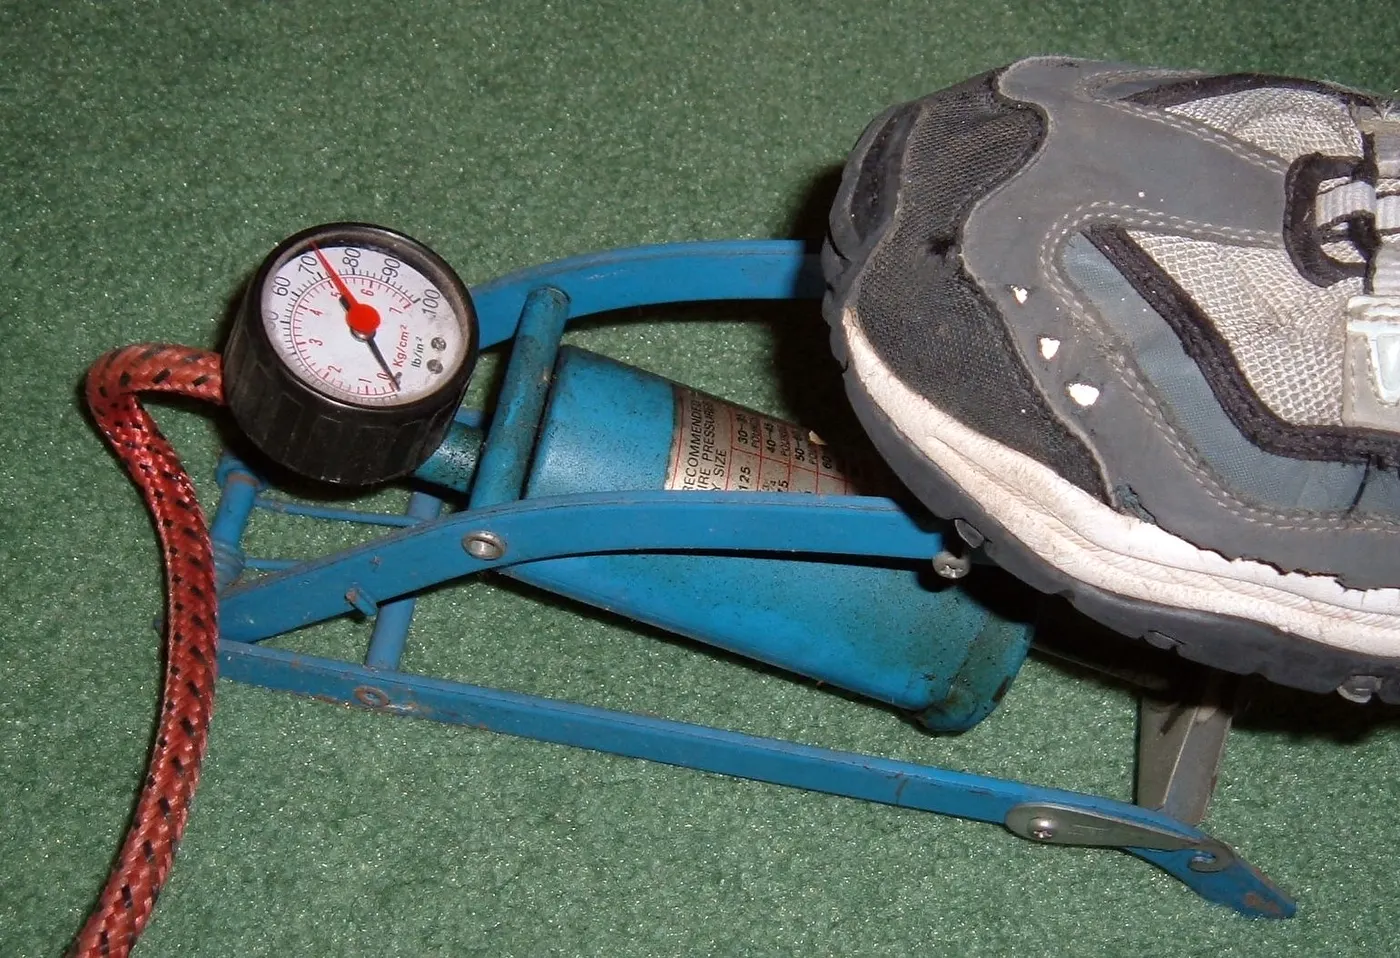
Use the specified tire-pressure guidance and appropriate measuring equipment. Do not invent a single pressure for every tricycle. Inspect cargo straps and accessories for anything that can contact a tire, chain, or steering part. A cover strap left attached after storage can become a moving hazard rather than a minor inconvenience.
If something feels loose, damaged, or unfamiliar, postpone the ride. A short trip is still a trip that depends on functioning brakes and steering. Our adult tricycle maintenance checklist separates routine owner observations from repairs that need qualified help.
Use the parking procedure specified for your vehicle and start on level ground. Confirm that it is immobilized before beginning the transfer. A parking brake must be engaged correctly and maintained; the mere presence of a lever does not establish that it is holding. Ask for help if you cannot make the transfer without pulling the vehicle out of position.
Keep clothing, bags, and mobility aids clear of the pedals and drivetrain. Choose a pedal position that does not obstruct entry, following the manual or retailer's demonstration. Do not improvise by standing on a basket, axle, or wheel component. Those parts are not necessarily designed as steps.
Once seated, verify that both feet can be placed securely on the pedals and that the controls remain reachable. An acceptable position while parked should not require locked elbows or stretching. If you must lower the saddle so far that pedaling becomes cramped, reconsider the frame rather than making the entry movement the only fitting criterion.
Begin with the starting method your model specifies. Use a manageable gear on a manual tricycle. On an electric model, use the appropriate beginner setting and understand how assistance responds. Some systems apply power after a delay; others respond differently. A low number on the display is not a universal promise of gentle acceleration.
Travel a short straight distance and stop progressively. Learn what normal lever travel and braking response feel like before needing an urgent stop. Keep your attention ahead rather than watching the wheel or display. The purpose of practice is a predictable sequence, not achieving a particular speed.
Repeat only while the activity remains comfortable and controlled. If starting feels abrupt, ask the retailer to explain the assistance or inspect the setup. Do not enter traffic hoping the unfamiliar behavior will settle down. Stop-start errands require reliable low-speed control, so this is a basic purchase and riding requirement.
Reduce speed before the bend, then steer smoothly through a broad arc. The retrieved Lectric XP Trike manual specifically warns riders to stop pedaling well before corners to avoid entering too quickly. That is a model-specific example of why you must learn the power and cornering instructions for your own machine.
An upright non-tilting tricycle generally stays much more upright than a bicycle that leans through a bend. Lateral forces and the position of the rider and load can affect whether all wheels remain in contact with the ground. Three wheels therefore provide a type of support, not immunity from tipping.
Do not use a wheel lifting as a training target or a way to discover the limit. If a turn feels unstable, reduce the challenge and seek instruction. There is no universal safe cornering speed for every geometry, rider, surface, and load. A manufacturer's maximum speed is not a recommended speed for every bend.
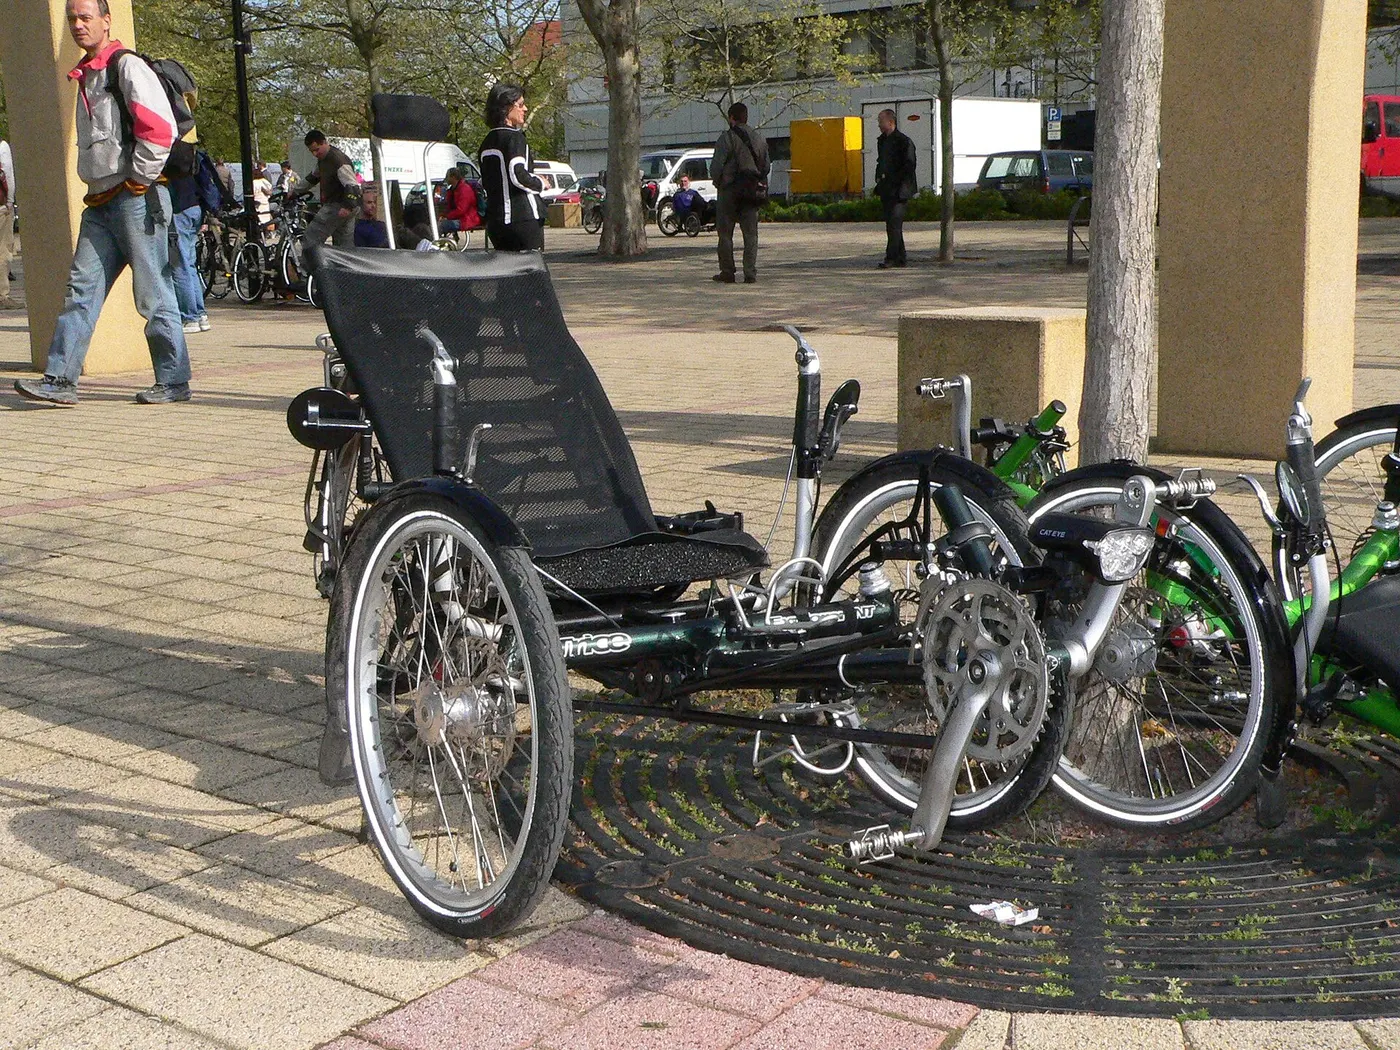
Your rear wheel or front wheel pair can pass closer to an obstacle than the center of the vehicle does. A front wheel clearing a bollard does not prove that the wider part will clear it. In practice, develop a sense of the complete footprint at walking pace in the controlled area.
Check corners near walls, parked vehicles, benches, and gates before attempting them. Leave room rather than trying to squeeze through a measurement that only just matches the published width. Pedal clearance and your own hand position also matter. If the available space forces an awkward maneuver, stop and choose another approach.
Avoid suddenly changing direction because an outer wheel approaches an obstacle. Abrupt steering can create a second problem. Anticipation is easier than correction: look far enough ahead to identify the narrow section and decide whether to proceed. Sometimes the reasonable choice is a different route or assistance moving the vehicle.
A surface can look flat along the direction of travel while sloping sideways. Drainage camber, driveway entrances, and path edges are common examples. The machine may feel different as the wheels sit at different heights. This is particularly noticeable on an upright tricycle that does not lean like a two-wheel bicycle.
Survey unfamiliar sections before entering them. Avoid riding along a steep edge or letting one wheel drop off the paved surface. You should not need to use aggressive steering or body movement to make an unsuitable section feel acceptable. Where the route consistently exceeds the machine's intended use, change the route or equipment choice.
Loose material and wet surfaces add uncertainty. A slow speed does not automatically solve a traction problem, but it gives more opportunity to recognize and avoid one. Do not use a first outing to test potholes, curb drops, sand, or slippery corners. Surface capability should come from the manual and verified product evidence, not the appearance of wide tires.
Check the basket and total payload limits separately. Keep items secured within the intended carrying arrangement and clear of the wheels. A bag swinging from a handlebar is different from a load contained in a rear basket. Avoid high or shifting loads that interfere with control or your view.
Practice with a modest load before relying on the tricycle for a full shopping trip. Notice whether steering, stopping, and parking feel different. Stay within every relevant limit, including the rider limit. A combined capacity is not permission to allocate the entire number to one person or one basket.
Do not transport another person or animal unless the vehicle and carrying system are expressly intended for that use and all applicable instructions are met. A large basket is not a passenger seat. Attractive photographs of unusual loads do not establish that your vehicle has the same approval or attachment design.
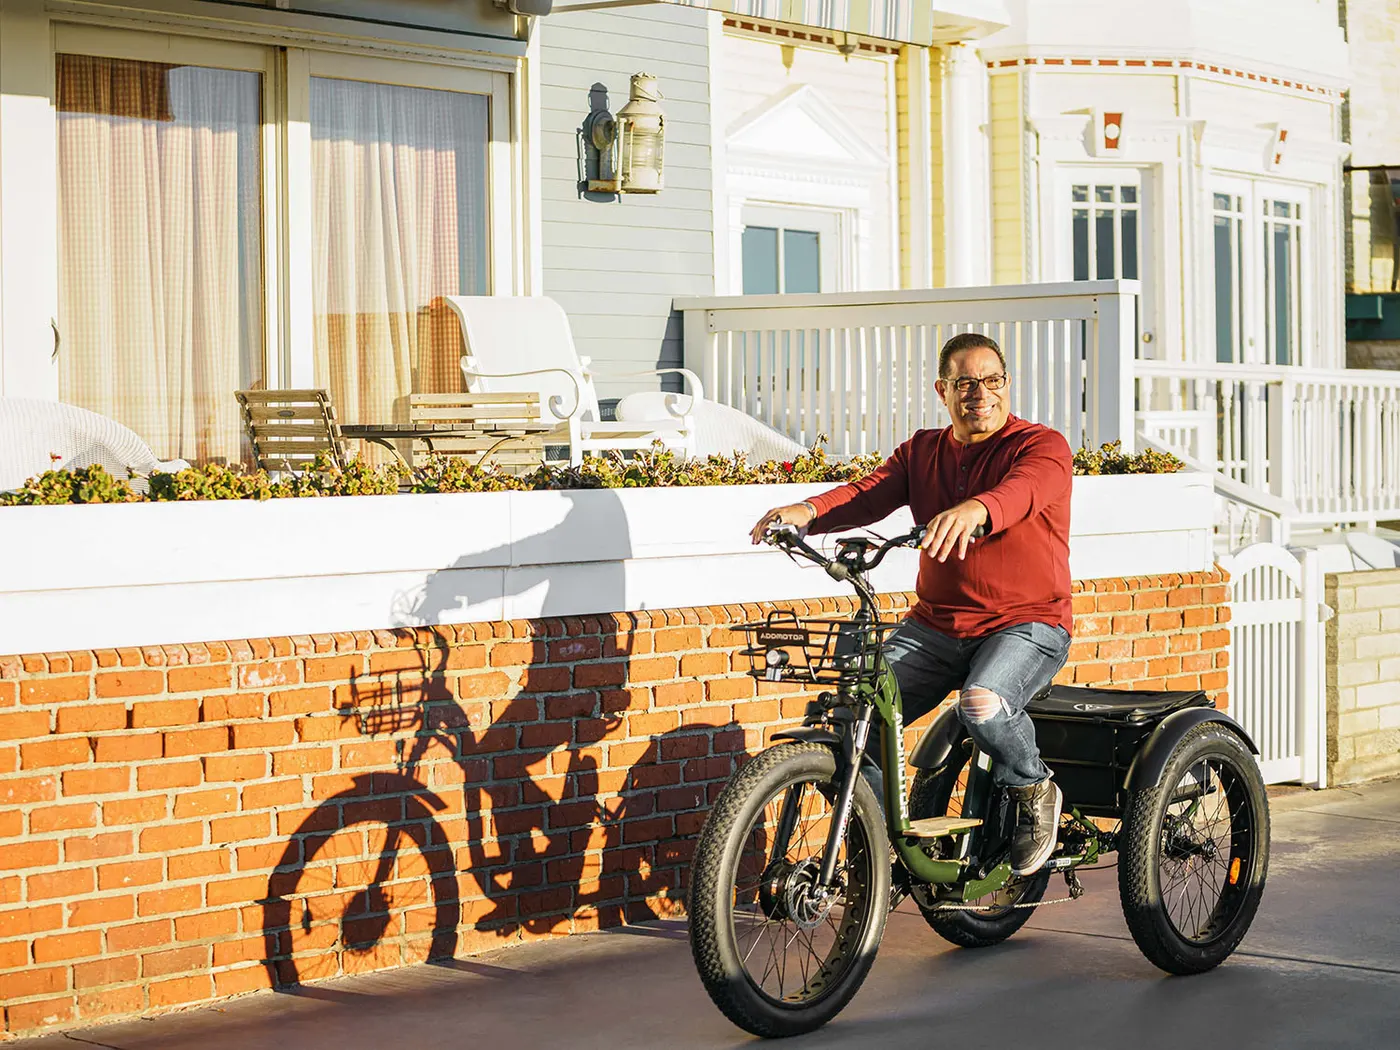
Climbing demands a suitable gear, manageable effort, and enough room to control the vehicle. Descending demands reliable braking and a route compatible with the machine. Do not assume that a motor capable of climbing a hill makes that hill safe to descend or turn on.
Inspect the route and follow any gradient restrictions in the manual. Avoid a climb that ends in a sharp turn, narrow barrier, or busy crossing before you are comfortable with the complete sequence. A different route can be a better solution than adding power to overcome the first obstacle while ignoring the next one.
Our guide to gears and hills explains how mechanical gearing differs from assistance and why shifting should be planned early. It does not provide a universal gradient limit; that information must be obtained for the exact vehicle.
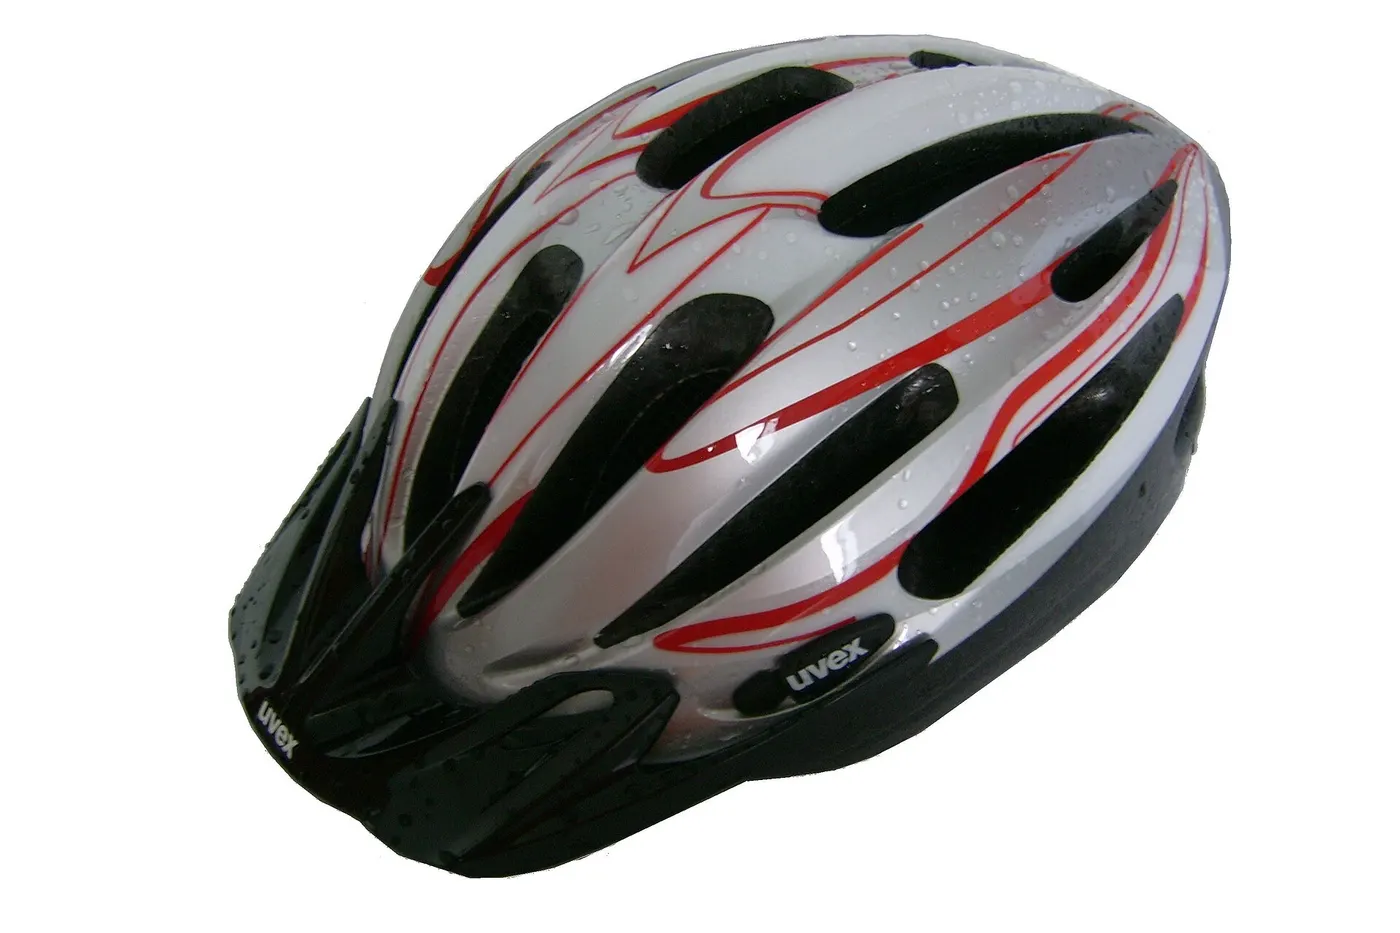
Choose a correctly fitted helmet and follow applicable local requirements. Inspect lights and reflectors before a trip that needs them. A light mounted where the basket covers it may be present but ineffective. Keep lenses clean and check the view from the front and rear of the loaded vehicle. For riding after dark, read adult tricycle night riding.
Mirrors and flags can be useful equipment, but fit and placement matter. A mirror should not obstruct controls, and any flag mount should be appropriate for the vehicle. Adjust equipment while stationary. A photograph showing a visible accessory does not prove it meets your local requirements or makes an unsafe route suitable. See our mirror setup guide for mounting and adjustment.
Bright clothing and lights do not guarantee that a driver has seen you. Continue to assess crossings, sightlines, and passing space. Low recumbent seating can change visibility in traffic, while upright tricycles have their own width concerns. Choose routes conservatively rather than expecting accessories to compensate for every design or environmental limitation.
Choose a journey with a clear way home and few demanding transitions. Daylight, dry weather, and a quiet period can reduce avoidable complexity. Confirm that the path permits your vehicle, especially if it is electric. Width and barriers matter even where riding is legally permitted.
Walk difficult sections in advance if needed, but remember that pushing a heavy tricycle can also be a challenge. Do not assume you can always solve a route problem by dismounting. Evaluate whether you can move and park the machine comfortably without an unplanned transfer on a slope.
Tell someone your plan when appropriate and carry a way to contact help. A first trip should not leave you far from home with an unfamiliar machine and no recovery option. Distance can be extended later as control and practical reliability become clearer.
Changing a display page, answering a phone, and rearranging a bag can wait until the vehicle is stopped in a suitable place. New riders already need attention for steering width, assistance behavior, and braking. Removing one hand to solve another task can make control less predictable.
If a passenger in a nearby vehicle, a pedestrian, or a companion calls for your attention, prioritize the path ahead and stop safely if a conversation is needed. A familiar route can still produce unexpected obstacles. Confidence should not become permission to ride while looking away for extended periods.
If discomfort, fatigue, or worry begins to interfere with control, shorten the outing. Riding experience is built through manageable repetition, not forcing an ambitious route. A vehicle that repeatedly feels unsuitable may need a fitting or mechanical assessment rather than more willpower.
A new wobble, scraping noise, brake change, or unexpected assistance should be treated as information. Stop somewhere safe and avoid continuing until the cause is understood. Do not tighten an unidentified fastener, disable a safety function, or change electrical settings at random to finish the ride.
After a fall, impact, or significant wheel strike, consider both the rider and the machine. Visible damage may not be the only issue. Obtain appropriate medical help for injury and qualified inspection when structural, steering, or braking parts could be affected. A tricycle that still rolls is not necessarily fit to ride.
Keep a recovery plan that matches the vehicle's size. A standard car or bicycle rescue arrangement may not accommodate it. Our storage and transport guide helps you think through loading and access before they become an emergency problem.
After each early outing, note what was easy and what required attention: mounting, starting, stopping, broad turns, gate clearance, or the loaded trip home. This identifies practical skills to work on next. It also helps explain a problem to a retailer more accurately than saying the entire vehicle feels wrong.
Repeat a manageable route before adding several new demands together. Cargo, hills, longer distance, and electric assistance settings can each change the experience. Learning one change at a time makes the result easier to understand. This is a planning approach, not a prescribed course for every rider.
Safe tricycle riding is built on understanding the actual machine and the places you use it. Support at a stop is valuable, but it is only part of the picture. A suitable fit, functioning equipment, slow turns, thoughtful route choice, and a realistic recovery plan make that support more useful in everyday life.
Guide
Choose your first adult tricycle by checking rider fit, storage, weight limits, gears, brakes, assembly, and service before buying.

Guide
Learn how to compare adult electric tricycles for control, fit, batteries, braking, transport, and ownership support.

Guide
Understand the leg and hip muscles used when pedaling a tricycle, plus how fit, resistance, and electric assistance change the effort.