
Guide
First Adult Tricycle Buying Guide
Choose your first adult tricycle by checking rider fit, storage, weight limits, gears, brakes, assembly, and service before buying.
We research everything we recommend. When you buy through our links, we may earn a commission. Learn more
Guide
Plan tricycle night riding with usable beams, visible rear lights, secure mounts, realistic runtime, a familiar route, and a recovery option.

Updated · 12 min read
Riding an adult tricycle after dark requires both a usable view of the route and a way for others to recognize your presence. A powerful front lamp alone does not provide either reliably if it points too low, dazzles oncoming users, or loses power before you get home. Rear lighting can also disappear behind a loaded basket.
Plan night riding around a familiar route, a stable lighting setup, and an alternative if visibility or equipment fails. This guide covers the lighting decisions rather than prescribing one brightness number. Local requirements and manufacturer instructions remain essential; a product's advertised output does not prove compliance in your location.
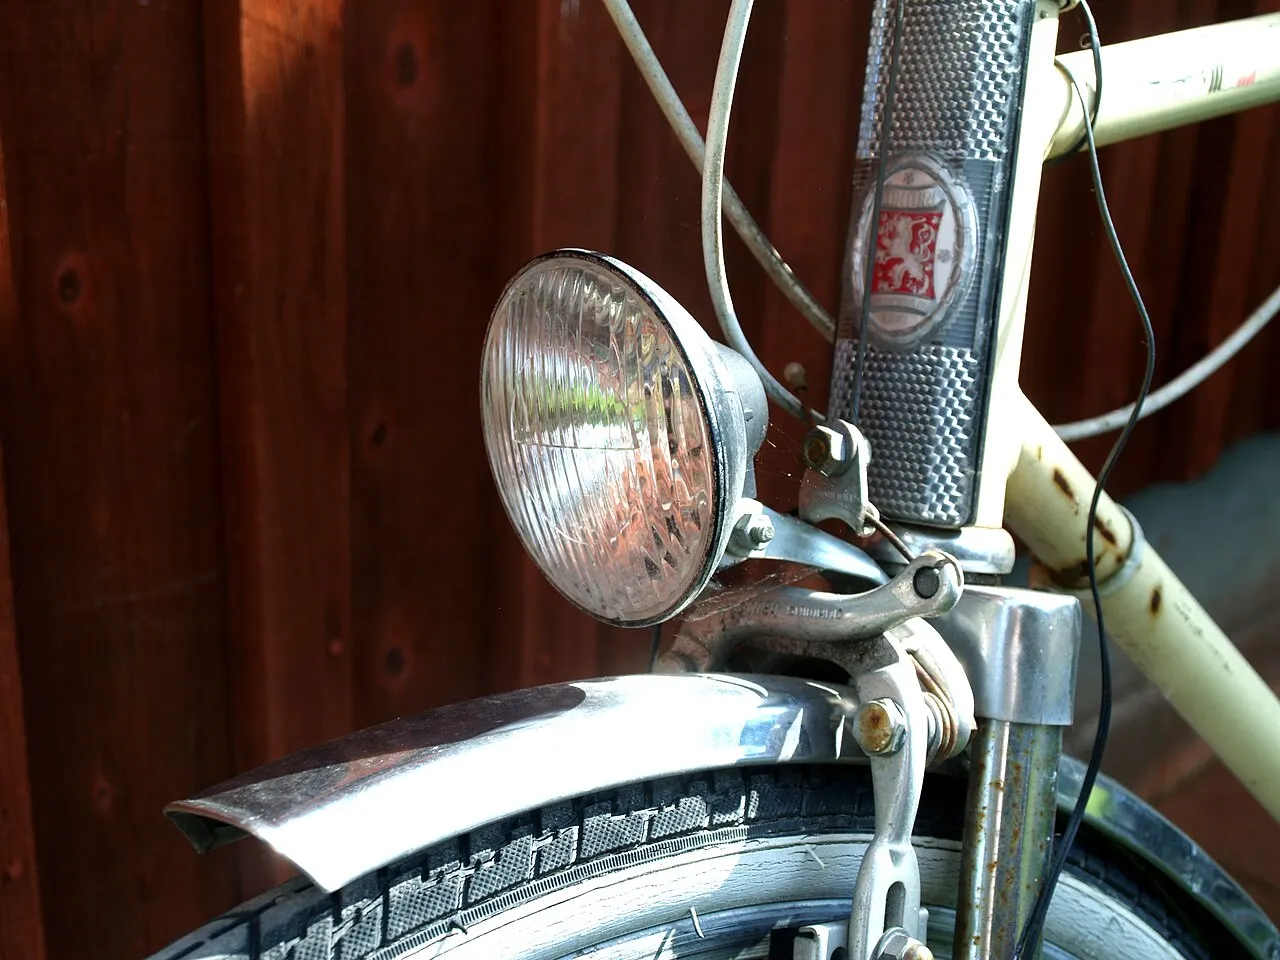
A lamp intended mainly to mark your presence may not illuminate enough surface for comfortable riding on an unlit path. A lamp intended to light the road may have a beam pattern that needs careful aiming around other users. Read the product's stated purpose and mounting instructions, not just the lumen figure.
The rear light has another role: providing a visible signal of the vehicle behind the rider. It should face the intended direction and remain unobstructed. Reflectors add a separate passive element when illuminated; they should not be treated as a complete replacement for active lighting in darkness or poor visibility.
Side visibility and the width of the tricycle also deserve attention. Another person may approach from a junction rather than directly behind. Check required reflectors and approved additional visibility features without assuming that decorative lights communicate the vehicle's full shape or intended direction.
Inspect the pavement, crossings, barriers, and narrow points before riding them in darkness. Note places where road lighting changes suddenly or where a lamp may reveal a hazard too late. A familiar road can still have new debris, construction, or parked vehicles, so the daylight inspection is a baseline rather than a permanent guarantee.
Identify broad, secure stopping points and a realistic way home if a light fails. A closed gate or a dark return path may make a route unsuitable even when the outward leg is well lit. Check operating hours for parks or paths with access controls.
Choose a first night route that minimizes unfamiliar decisions. Do not combine your first dark ride with a new cargo load, a steep descent, and a new assistance mode. Use the route-clearance guide and the range-planning guide when the vehicle is electric.
Lumens describe light output under specified conditions, not how much usable roadway you can see from your seating position. Beam distribution, mounting height, surface reflectance, and aiming influence the result. A high-output lamp with a narrow spot can leave the sides of a tricycle's wheel corridor poorly illuminated.
Look for a beam appropriate to your route and local requirements. A shaped road beam may control glare more effectively than an unrestricted flood, but compatibility and setup still matter. Product photographs taken with unknown camera exposure are weak evidence for comparing what the rider will actually see.
If possible, assess the lamp while stationary in a safe dark location before a trip. Inspect the intended path area and ask a helper, standing safely, whether the aim is uncomfortable from an approaching position. This is an informal setup check, not a certification or laboratory comparison.
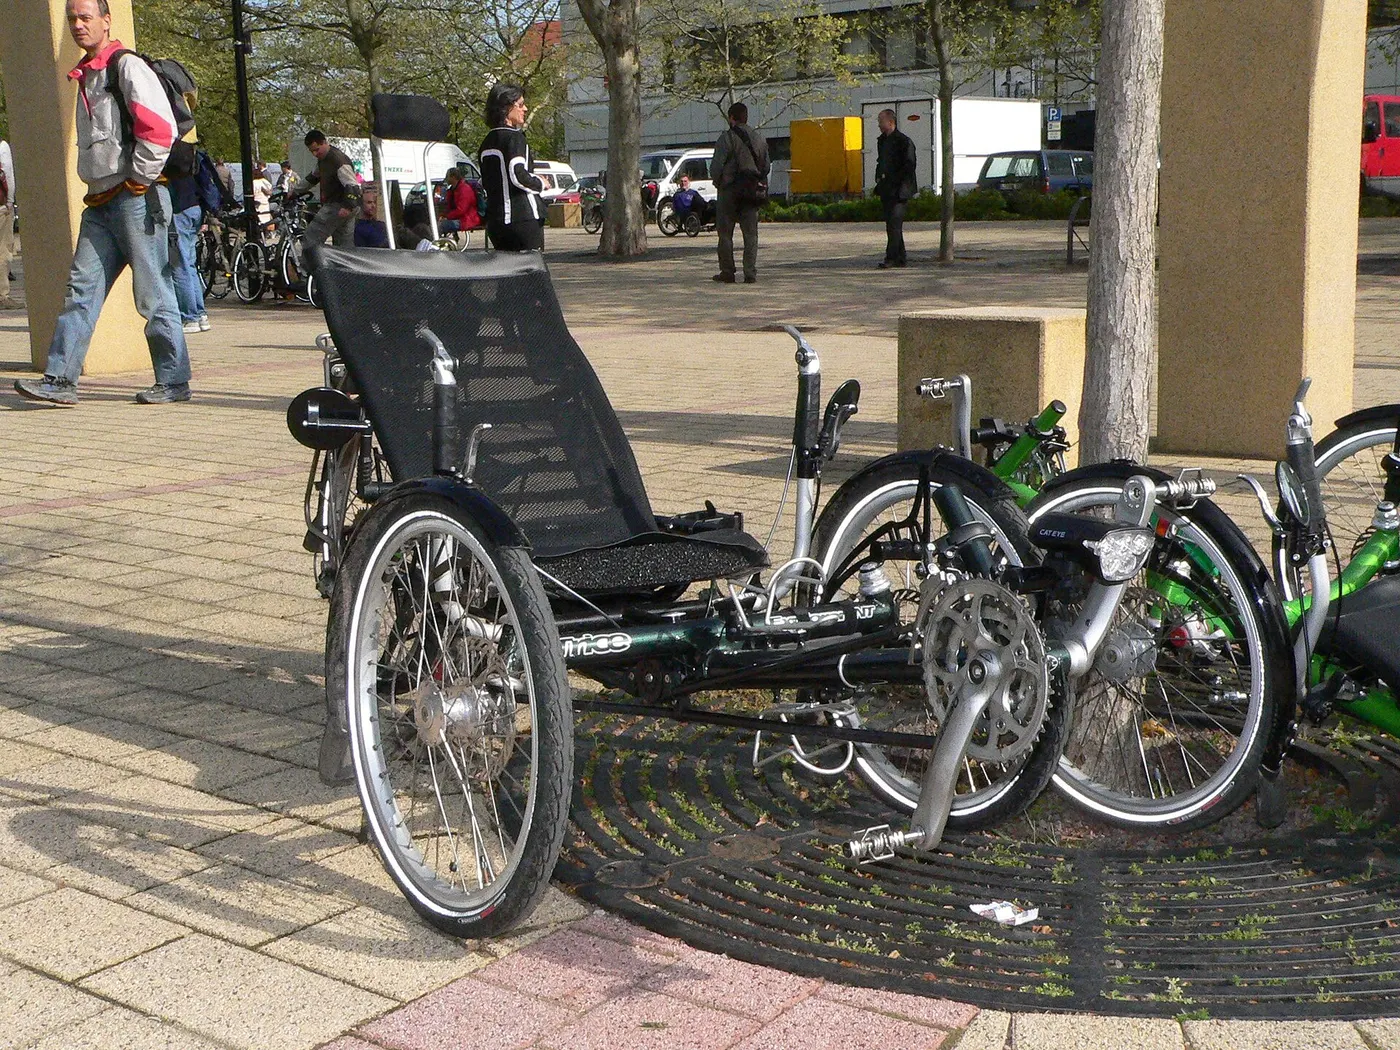
Check the approved mounting location and available clamp space. A handlebar lamp should not press a throttle, crowd a brake lever, or place its cable in the steering path. A low recumbent may use a dedicated light mast or boom mount. Do not improvise a bracket on an unsupported component.
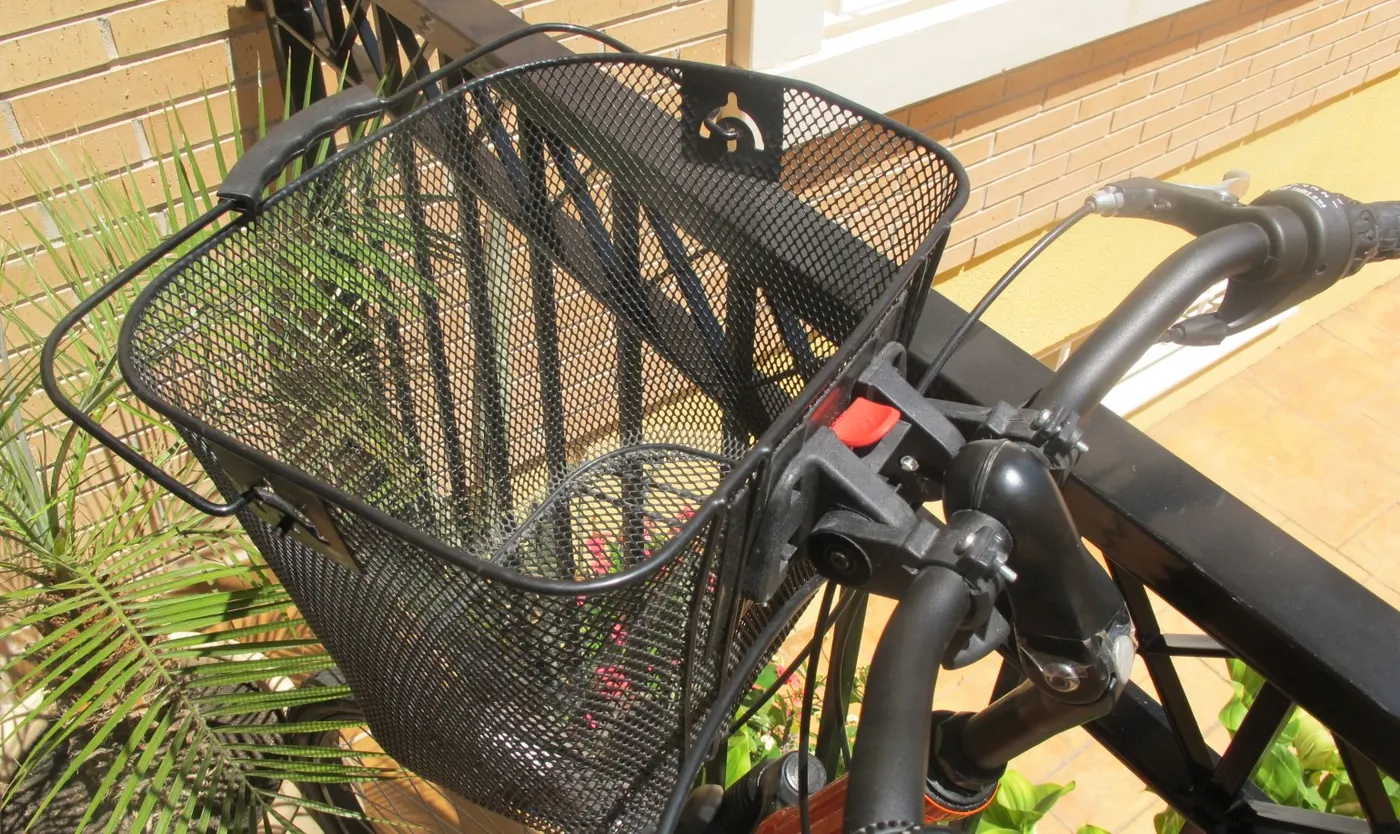
Aim according to the lamp instructions and confirm the view from the rider's normal posture. A front basket or rain cover can block the beam or reflect it back toward the rider. Check the loaded configuration, including the largest ordinary bag you expect to carry within the vehicle's limits.
Turn the steering through its permitted range and inspect wiring or straps. A lamp that works in a straight line may collide with a basket during a turn. Secure any excess cable using approved methods, leaving the movement allowance required by the manufacturer. More brightness cannot correct a physically blocked beam.
Stand behind the tricycle and inspect the rear light at several ordinary viewing angles. Repeat with the rider seated and the basket loaded. A tall bag, loose jacket, or seat bag can hide the lens. The problem is common enough to make the check part of every shopping departure.
Use an approved alternative mount if the original position is regularly obstructed. Do not tape a lamp to a loose bag and assume the orientation will stay fixed. The attachment needs to withstand vibration and preserve the intended direction. A light facing the sky or ground is not providing its designed signal.
Check whether the rear lamp has a separate charge state or is powered by the tricycle. Some integrated systems depend on controller settings or main-battery availability. Learn those behaviors while stationary. Avoid assuming that the rear light remains on whenever the front light is visible.
Advertised runtime may refer to a low-output mode rather than the setting needed on an unlit route. Read the mode-specific figures and note any automatic brightness changes. Cold weather, battery age, and incomplete charging may reduce practical availability. Do not plan a return trip at the exact claimed limit.
For separate lights, create a simple charging routine and record the selected mode. For integrated lights, consider the main battery's role in both propulsion and lighting. A display percentage is not a guaranteed number of minutes remaining for every function. The model's documentation is the starting point.
Carry a suitable backup light if it can be mounted and used correctly, but define what you will do if the primary fails. A phone torch or a handheld lamp while steering is not an equivalent riding arrangement. Stopping and arranging recovery may be the right response even when a small backup can help you remain visible while waiting.
Steady and flashing modes have different effects and may be treated differently by local rules. Check current requirements with the relevant transport authority for your route and vehicle. This article does not provide a universal legal mode or visibility-distance specification.
Use a steady illuminating mode where necessary to see the surface, subject to the lamp design and local requirements. Do not assume a rapid flash provides the same continuous information about potholes or a narrow entrance. A flashing rear mode may also be distracting in a group or unsuitable in some settings.
Know how to change modes without looking down for a prolonged period. Practice the control while stationary. If the button sequence cycles through an off position, understand that before the trip. Avoid changing a mode in a junction or while negotiating a cross-slope.
Keep your pace low enough to react and stop within the conditions you can actually assess. This is a practical principle, not a calculated speed recommendation for every surface. A wet patch or black obstacle may be much harder to distinguish than a bright road marking.
Leave more time for scanning the entire wheel corridor. Three wheels can encounter hazards at different positions, and a narrow lamp spot may tempt you to watch only the front tire's path. Slow before bends and transitions, especially where a rear wheel may approach the pavement edge.
Do not use increased assistance to hurry through a dark section. The motor can make it easier to exceed the comfortable pace for observation. Revisit the turning and camber guide before adding darkness to a route with difficult surfaces.
Oncoming headlights can temporarily reduce your ability to distinguish the road. Use a conservative route and pace, and stop in a suitable place if you cannot see enough to continue. Do not aim your lamp upward in retaliation. That creates another visibility problem for someone approaching.
Choose eyewear suitable for the conditions and your vision needs. Dark lenses that work in bright sun may be unsuitable after dusk. If you have difficulty seeing at night, seek appropriate vision advice and consider daylight riding rather than buying a brighter lamp as the only solution.
Rain adds droplets, reflections, and reduced contrast. Inspect lens cleanliness and mounting before leaving, and follow the equipment's water-use limits. Waterproof marketing should not be interpreted as permission to submerge electrical components or pressure-wash the light. The wet-weather guide covers the broader ride-or-wait decision.
Wear a properly fitted cycling helmet and suitable clothing. Reflective details can be useful when illuminated, but a garment may be hidden by a recumbent seat or basket. Inspect what is exposed in your actual riding position. Avoid loose straps or fabric near wheels and the drivetrain.
A helmet light may provide supplemental illumination if the helmet manufacturer permits its mounting, but it moves when you look around. It should not be your assumed replacement for required vehicle lighting. Do not drill the helmet or compromise its fit to attach equipment.
Keep rainwear and bags from covering existing lights. A jacket tied behind the seat can hide a rear lens unexpectedly. A quick check after changing clothing or loading groceries can prevent that avoidable obstruction. See the helmet guide for protective fit and replacement decisions.
| Check | What to confirm |
|---|---|
| Route | Familiar surface, open access, suitable stopping points |
| Front lamp | Secure mount, appropriate aim, clear beam |
| Rear lamp | Visible with rider and cargo in place |
| Power | Charged, mode understood, return margin |
| Controls | No interference with braking or steering |
| Recovery | A realistic plan if lighting or vision becomes inadequate |
Perform the check before dusk rather than discovering a problem on an unlit path. Test all lights, including any separate rear unit. Put the backup where you can reach it after stopping, and keep essential contact information available if you need assistance.
Postpone the trip if a light is loose, obstructed, unreliable, or unsuitable for the route. The same applies if you cannot see comfortably, are fatigued, or face weather that exceeds the vehicle's intended use. A brighter product ordered later does not solve tonight's conditions.
After a successful first short ride, review what was difficult: a poorly lit turn, glare at an intersection, or an awkward mode button. Correct one issue at a time before extending the route. Night riding should become a repeatable routine with room to stop, not a series of improvisations.
The purchase decision is therefore broader than choosing the highest output. A suitable mount, usable beam, dependable runtime, and clear rear signal are the features that make the setup practical. Keep route choice and the rider's vision central throughout the process.
Imagine a short trip to a shop that begins before sunset and returns after dark. The outward leg can conceal the lighting demands of the return. Check the closing time, the likely light conditions, and whether the route remains open. Pack and test the lights before leaving even when they are not yet needed. Do not plan to discover the correct mode in the shop doorway.
At the destination, inspect the loaded configuration. A bag added to the basket may hide the rear lamp, while a rain cover may reflect the front beam back toward you. Turn the lights on and verify each unit, including any separate battery-powered rear light. If the useful setup cannot be restored, arrange another way home rather than riding with a concealed signal.
Keep the return short and familiar for the first trial. Record any section where the surface was difficult to read or a crossing created glare. The next step might be a different route or lamp position, not automatically a higher-output product. A trip log tied to specific problems supports a better equipment decision.
A stationary walk-around can confirm that a lamp is attached, unobstructed, and facing the intended direction. It cannot measure the full beam performance, verify advertised lumens, or establish legal visibility at a specified distance. Phone photographs are particularly easy to misinterpret because exposure and processing can make a weak lamp look bright.
When describing your setup, state what was actually checked. You can say that a loaded basket leaves the lens visible or that the mount clears the steering range. Do not claim certified road illumination from an informal photograph. If a specification matters to legal compliance, obtain the applicable product documentation and local requirements.
For a purchase comparison, use manufacturer beam information and credible independent testing where available, then assess compatible mounting. A lamp with strong laboratory performance can still be unusable behind your basket. The two forms of evidence answer different questions and should both remain visible in the decision.
If a lamp stops working, slow and stop at a suitable place rather than continuing while operating buttons. Keep clear of traffic and follow the vehicle's parking instructions. Inspect only what can be checked safely without opening electrical components or exposing yourself to moving vehicles.
Use a compatible backup if you can mount and aim it correctly. Otherwise, arrange recovery or use a lawful safe alternative that you can control. Walking a heavy wide tricycle in darkness is not automatically an easy fallback; assess the route and your ability before relying on that plan. A phone torch can help you see equipment while stopped, but is not a substitute for a proper riding lamp.
Afterward, identify whether the failure was charge, mount movement, obstruction, or a product fault. Correct the cause before the next evening trip. Do not simply recharge and assume an intermittent connection has been solved.
Sunset, weather, foliage, and road works can change the same commute. Review the lighting routine when your regular trip begins to return in darkness. Check clothing, battery care, and whether the storage location still supports charging within the instructions. A routine developed in warm dry weather may need revision when cold rain becomes common.
Keep the review practical: route, clear beam, visible rear signal, power margin, and recovery. Those items are easier to maintain than a long checklist of decorative features. The outcome should be a trip you can repeat comfortably under the actual conditions.
Research-based guide; no photometric or runtime testing was performed. Planning examples do not establish legal compliance or a safe speed for a particular route.
Guide
Choose your first adult tricycle by checking rider fit, storage, weight limits, gears, brakes, assembly, and service before buying.

Guide
Learn how to compare adult electric tricycles for control, fit, batteries, braking, transport, and ownership support.

Guide
Understand the leg and hip muscles used when pedaling a tricycle, plus how fit, resistance, and electric assistance change the effort.