
Guide
First Adult Tricycle Buying Guide
Choose your first adult tricycle by checking rider fit, storage, weight limits, gears, brakes, assembly, and service before buying.
We research everything we recommend. When you buy through our links, we may earn a commission. Learn more
Guide
Check cycling helmet suitability, size, straps, recumbent seat interaction, accessory mounts, care, and replacement after an impact.

Updated · 12 min read
Riding on three wheels does not remove the need for suitable head protection. A tricycle can encounter a collision, a fall during entry or exit, or instability on an unsuitable turn. Choose a helmet intended for cycling and make sure it fits the rider correctly; appearance and a familiar size label are not enough.
This guide covers selection, fit checks, eyewear and clothing interaction, care, and replacement decisions. It does not certify a helmet from a photograph or promise that one design prevents every injury. Follow the manufacturer instructions and the requirements applicable to your location and activity.
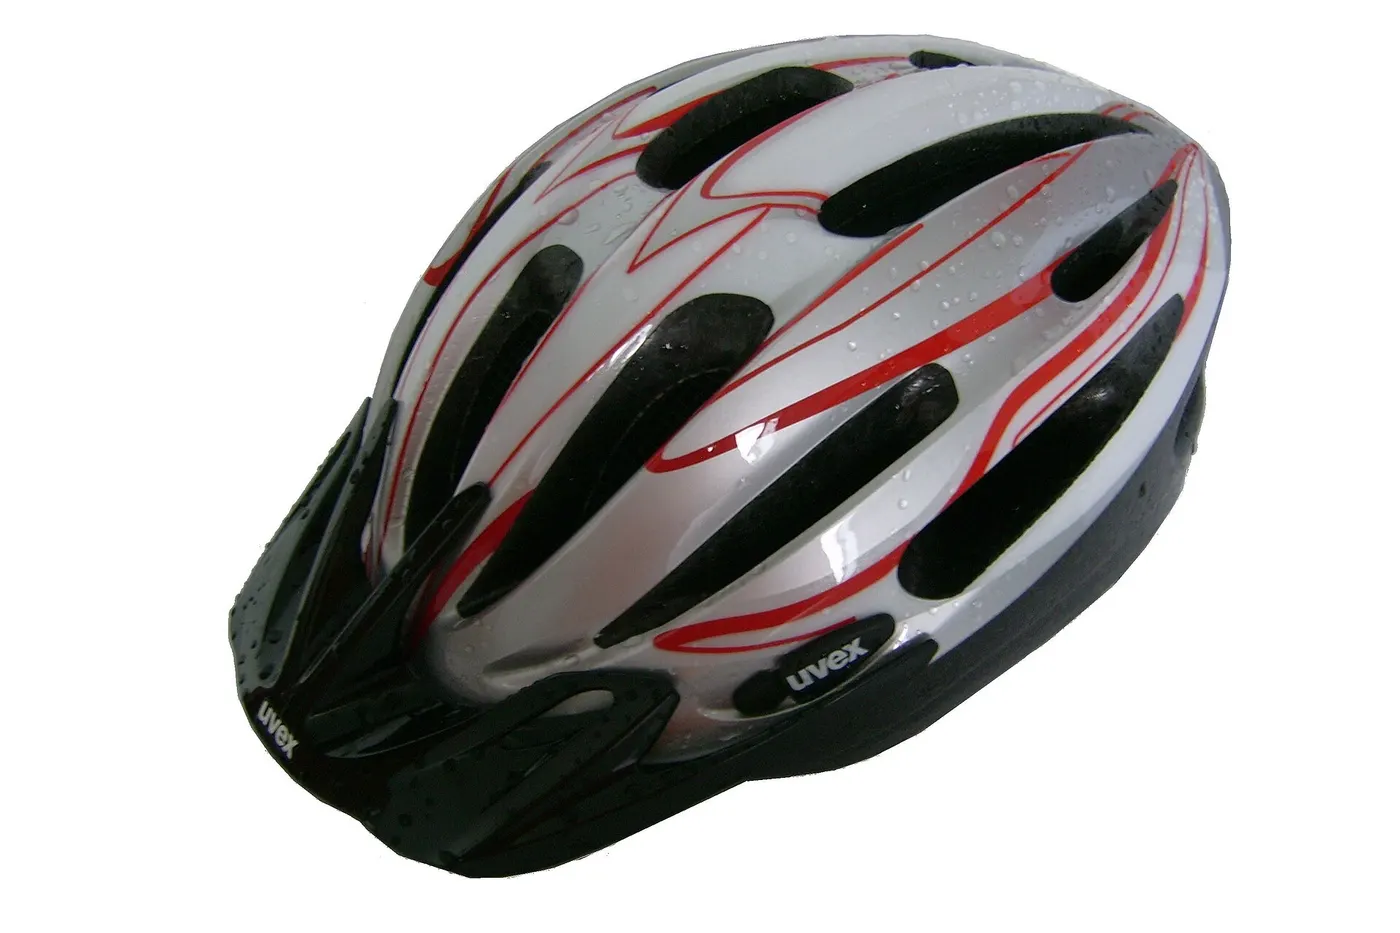
Look for the manufacturer's clear statement that the helmet is intended for bicycling and the applicable compliance information. A helmet designed for another activity may have different protection requirements. Do not assume a generic protective shell is suitable because it resembles a cycling helmet.
In the United States, the CPSC provides bicycle-helmet requirements and consumer guidance. Other locations may use different standards and rules. Check the actual label and product identity rather than relying only on a marketplace title saying “approved.” Ask the manufacturer if the claim is unclear.
Check official recall information for the exact model before purchase, especially from an unfamiliar seller or for old stock. A standard claim should be verifiable and tied to the actual product. This guide does not maintain a permanent recall list because that information changes.
Use the helmet manufacturer's measuring method and size range. Head circumference is a starting point; shape and the retention system also affect fit. Two helmets with the same nominal size can feel different on the same rider.
Try the helmet with the adjustment system in its intended range. It should not require extreme pressure to stay in place. If the shell shape creates a persistent pressure point or cannot sit in the prescribed position, choose a different compatible design rather than tightening it harder.
Do not buy a helmet substantially larger on the assumption that winter layers will fill the gap. Check the manufacturer's guidance for permitted headwear. A fit that only works with a thick hat is not a reliable year-round solution.
Place it in the prescribed level position on the head, with the intended coverage at the front and sides. Do not tilt it far backward for comfort or forward to shade your eyes. Use the maker's diagrams and instructions for the exact design.
Adjust the retention system as directed, then arrange straps and buckle. The goal is a secure, comfortable fit that remains in the intended position during normal movement. A dial system does not replace fastening the chin strap.
If you cannot establish the correct fit, ask a knowledgeable retailer or instructor. A short demonstration can be more useful than repeatedly adjusting the helmet based on a selfie. A photograph may hide strap tension, shell movement, and pressure points.
Follow the manufacturer's movement and strap checks. The helmet should remain in its intended position during the specified test without excessive looseness or discomfort. Use any stated finger-spacing method only as that manufacturer instructs; do not treat a generic online rule as the complete assessment.
Check that the buckle closes fully and that loose strap ends are managed as directed. A twisted strap or incorrectly routed divider can affect the fit. Do not cut straps or change buckle parts unless the manufacturer permits the alteration.
Recheck after the first short ride and whenever adjustment changes. Sweat, clothing, or the rider's hair arrangement can change how the helmet sits. The safe-riding guide places this check within the wider departure routine.
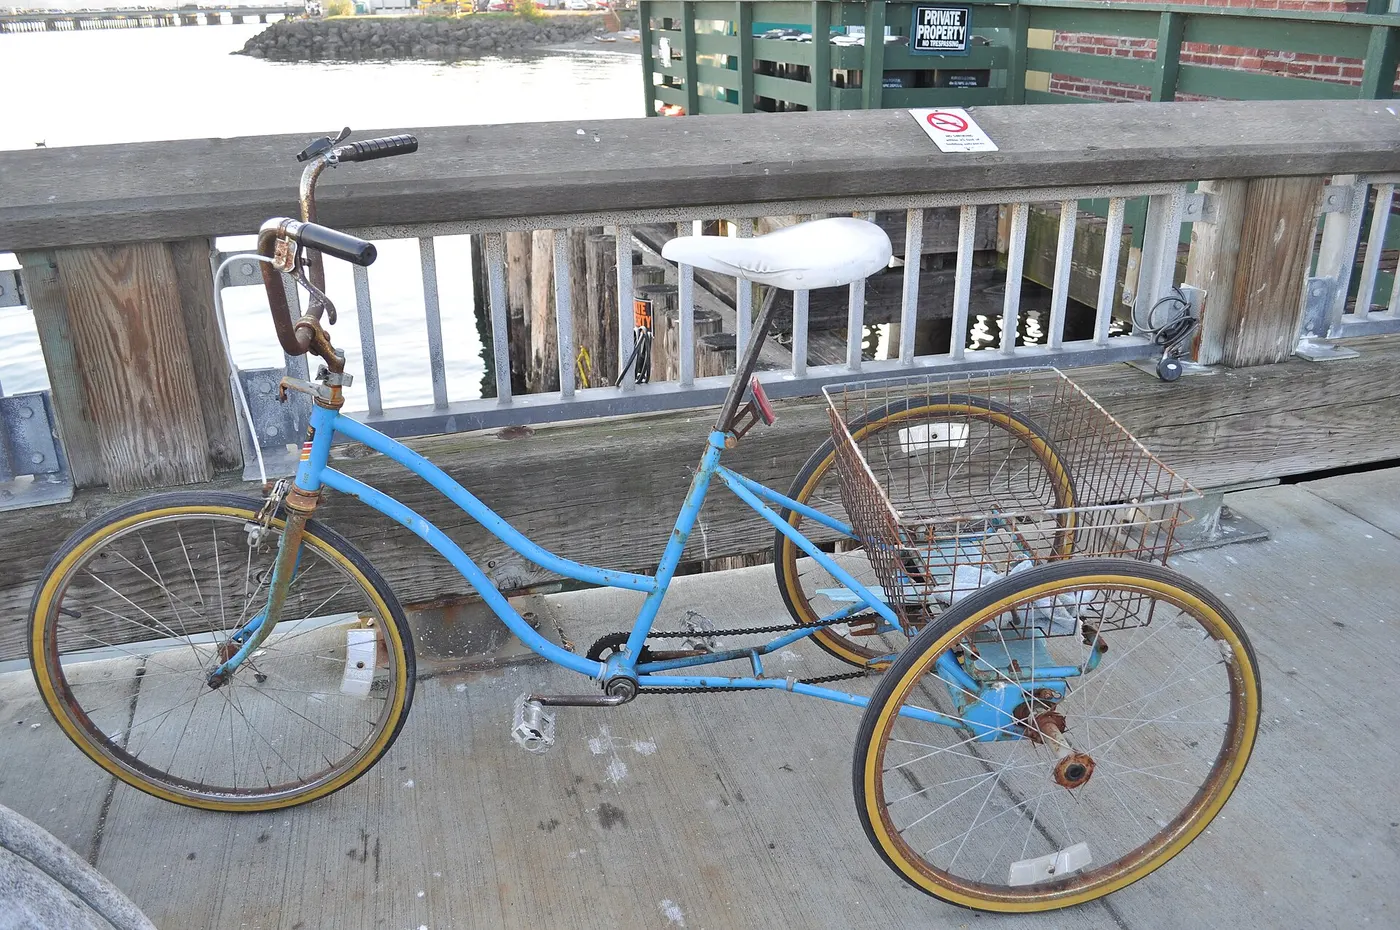
Sit on the fitted tricycle and look ahead, to the sides, and through the observation movements you normally use. The helmet should not block vision or push eyewear out of position. A recumbent seat or headrest can interact differently from an upright saddle.
On a recumbent, test contact with the seat and any approved headrest while stationary. A helmet that touches the support in a way that moves it out of position needs a different setup or compatible equipment. Do not remove protective parts to make it fit the seat.
The upright-versus-recumbent guide covers seating differences. Include helmet fit in a vehicle demonstration instead of choosing it only after the tricycle has been purchased.
Wear the eyewear you intend to use during the fit trial. Check temple pressure and whether the glasses stay in place when the helmet is correctly secured. Do not loosen the helmet excessively to accommodate an incompatible pair.
If using hearing devices or other personal equipment, follow the relevant manufacturers' guidance and seek a fit assessment where necessary. The helmet should preserve the intended function of both items without improvised padding or alterations.
For cold or wet weather, use only compatible layers and covers. A hood can limit observation, and a thick hat can change fit. The rain guide discusses clothing that preserves control. Recheck the helmet every time the layer arrangement changes.
Lights, mirrors, cameras, and decorative items may be sold with helmet mounts. Confirm the helmet manufacturer's permission and the accessory's compatibility. A mount that sticks to a shell is not automatically approved for that shell or activity.
Do not drill holes, cut foam, remove retention parts, or apply unapproved chemicals to attach an accessory. The protective structure and materials need to remain as designed. A helmet-mounted mirror also requires a learning period and a clear view without changing the fit.
See the mirror guide and night lighting guide for those functions. A helmet light should not be assumed to replace required vehicle lights, particularly because its direction changes when the rider looks around.

A helmet that feels acceptable for a moment in a store may develop pressure or movement during riding. Use a short familiar route after fitting and reassess while stopped. Note pressure points, slippage, eyewear interaction, and whether adjustment remains secure.
Do not endure persistent pain in the hope that the shell will reshape. Follow the manufacturer's fit guidance and choose another design if needed. Ventilation and weight can affect comfort, but they do not override correct size and protective suitability.
Ask about return conditions before the trial. Keep the product in the required condition and do not assume extended use is covered by every retailer's policy. A fitting service can be worthwhile when shape compatibility is uncertain.
A helmet may have internal damage that is not obvious externally. Follow the manufacturer's instructions after a crash or significant impact. Do not certify continued use because the shell has no visible crack.
Do not buy a used helmet with an unknown history or rely on a seller's general statement that it looks new. Unknown impact, storage, chemical exposure, or modification can undermine the assessment. A traceable new product is easier to evaluate.
If a helmet is dropped or struck during storage, ask the manufacturer how to assess that event. The answer can depend on the circumstances. Avoid both ignoring a significant event and inventing a universal rule for every minor contact.
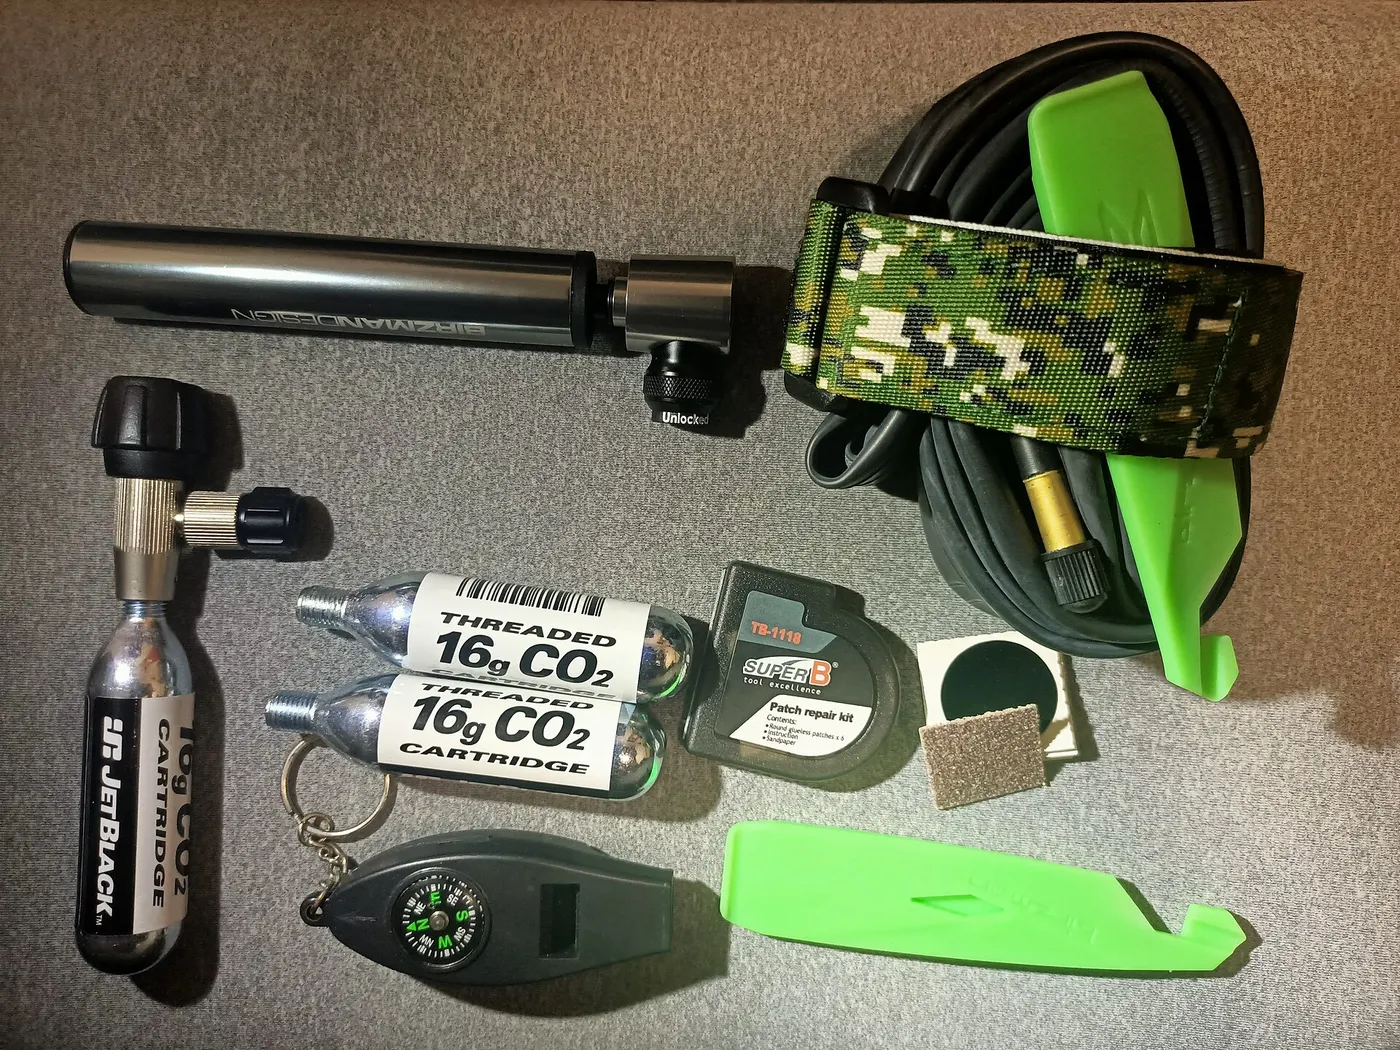
Follow the maker's replacement interval and inspect straps, buckles, shell, foam, and retention parts as directed. Do not apply one universal calendar period to every design. Storage and exposure history can matter alongside age.
A frayed strap, cracked component, failing buckle, or loose retention system needs action before use. Replacement parts should be manufacturer-approved where that repair is permitted. Do not transfer an unrelated buckle or glue damaged foam back together.
Keep the purchase date and model information with your equipment record. That makes it easier to check instructions and recalls. A missing label or unknown identity can make an old helmet difficult to assess reliably.
Use the manufacturer's cleaning instructions for shell, padding, and straps. Avoid solvents, strong cleaners, or heat treatments not expressly permitted. A method suitable for the tricycle frame may be unsuitable for helmet materials.
Let the helmet dry as directed and store it away from damaging heat or pressure. Do not leave it crushed beneath a loaded basket or loose where a vehicle door can strike it. A car interior can become hot, so consult the storage guidance rather than using it as the permanent home.
Keep it where you can inspect and fit it before a ride. A simple routine is more likely to be followed than searching for a helmet buried under cargo. The maintenance checklist can include this personal-equipment check separately from mechanical service.
If a helmet is shared and the manufacturer permits that use, reset fit for each rider. Do not assume the previous strap and dial positions work for another head. Hygiene and care also need a suitable routine.
Where riders have substantially different sizes or shapes, separate correctly fitting helmets may be more practical. A universal household helmet that fits nobody well is not a useful saving. Include helmet cost in the ownership budget.
Each rider should know how to fit and fasten it independently or have appropriate assistance arranged. A helper should follow the actual instructions, not tighten every strap as much as possible. Comfort and secure position need to be assessed together.

| Area | What to confirm |
|---|---|
| Identity | Exact model and intended cycling activity |
| Compliance | Applicable verifiable standard information |
| Size and shape | Manufacturer range and a comfortable secure fit |
| Posture | Clear vision and no disruptive seat/headrest contact |
| Accessories | Approved mounts and unchanged protective structure |
| History | Traceable purchase and no unresolved impact event |
| Care | Cleaning, storage, inspection, and replacement instructions |
Use the worksheet to compare suitable options rather than ranking by appearance alone. A more expensive helmet can still fit poorly, while a simpler compliant design may fit the rider well. The fit trial is essential to the practical choice.
A correctly fitted helmet is one layer of preparation. It does not make a fast corner, an unsuitable road, or a blocked light acceptable. Preserve a controllable pace, maintain the vehicle, and select routes suited to the rider and tricycle.
After a crash, address the rider's health, the vehicle condition, and helmet guidance separately. Replacing the helmet does not establish that the frame or brakes are ready to use. Arrange appropriate medical or mechanical help where needed.
The useful outcome is a helmet the rider can fit correctly every time and replace when the instructions require it. That is a more practical standard than buying on a safety slogan and assuming the task is finished.
Suppose a helmet fits comfortably while standing but touches a recumbent headrest when the rider looks ahead. Check the helmet's prescribed position and the seat/headrest instructions while stationary. Do not tilt the helmet backward or remove foam to create clearance. The two systems need a compatible arrangement.
Ask the dealer or a fitting professional to assess the complete posture. A permitted headrest adjustment may help, or a differently shaped suitable helmet may be needed. Any change should preserve vision, control, and the helmet's fit. A successful standing fit does not settle the seated interaction.
Repeat the observation movements and short controlled ride after adjustment. Record whether contact moves the helmet or creates discomfort. The goal is a setup the rider can sustain without compromising either protective position or normal viewing.
Match the model, size, labels, and instructions to the item delivered. If the listing claims a standard but the actual helmet lacks the expected identity or documentation, contact the seller and manufacturer before using it. A familiar brand name on a marketplace page does not resolve a mismatch.
Inspect packaging and product for damage and follow the retailer's current return procedure. Do not attempt to repair a cracked component or attach missing retention hardware from another helmet. Keep the product out of use while suitability is unresolved.
Check current official recall information for the exact model where appropriate. Save the purchase details so later notices can be matched reliably. This record supports identification without requiring you to publish personal information or serial details online.
After a crash or significant impact, follow the manufacturer's replacement and inspection guidance even if the shell appears ordinary. Internal damage may not be visible. A rider should not make continued-use approval from a photograph or a quick tap on the helmet.
Keep the affected helmet separate so someone else does not use it accidentally. Record the event and contact the manufacturer if its instructions require clarification. Address the rider's health and the tricycle's mechanical condition independently; a new helmet does not make the vehicle ready again.
Avoid buying a used replacement with unknown history to reduce the cost. A traceable suitable product with a correct fit is easier to assess. Budget replacement as an equipment decision rather than trying to repair a protective structure at home.
Keep a short routine: correct position, retention adjustment, strap routing, buckle closure, and the manufacturer's stability check. Perform it before moving the tricycle. Do not leave fitting until you are rolling away or carrying bags.
If the rider needs help, show the helper the exact instructions and have them practice the check. They should preserve comfort and position rather than tighten indiscriminately. If several people share equipment, reset it deliberately for each person.
A routine that takes a little time but is understood is preferable to relying on yesterday's setting after clothing or hair changes. The helmet is personal protective equipment, so the rider's actual fit remains central every time it is used.
Helmets may advertise additional technologies, materials, or impact-management features. Ask what evidence and standards apply to the exact model. Those features can inform comparison, but they do not remove the need for correct fit or guarantee prevention of every injury.
Avoid turning a feature name into a universal recommendation without applicable evidence. A premium model that shifts on the rider is not a complete solution. Compare suitable compliant options, then choose one that fits and works in the actual riding posture.
Keep claims proportionate when sharing your experience: describe fit, comfort, and compatibility you observed, and leave impact-performance conclusions to appropriate testing. This helps other riders make a practical decision without treating a personal preference as a safety certification.
Research-based guide; no impact testing or product certification was performed. Follow the exact helmet instructions and applicable local requirements.
Guide
Choose your first adult tricycle by checking rider fit, storage, weight limits, gears, brakes, assembly, and service before buying.

Guide
Learn how to compare adult electric tricycles for control, fit, batteries, braking, transport, and ownership support.

Guide
Understand the leg and hip muscles used when pedaling a tricycle, plus how fit, resistance, and electric assistance change the effort.