
Guide
First Adult Tricycle Buying Guide
Choose your first adult tricycle by checking rider fit, storage, weight limits, gears, brakes, assembly, and service before buying.
We research everything we recommend. When you buy through our links, we may earn a commission. Learn more
Guide
Understand adult tricycle rim, disc, hydraulic, parking, and motor cut-off systems, plus control fit and component-specific service needs.

Updated · 12 min read
The useful question about adult tricycle brakes is not simply whether the machine has discs or hydraulics. You need to know which wheels are braked, how the controls operate, whether the levers fit your hands, and how the system is inspected and serviced. A parking brake has a separate role from the brakes used while moving, and an electric motor cut-off is not a substitute for either.
This guide explains identification, buying questions, owner observations, and service boundaries. It is research-based, without our own stopping-distance tests. Brake components and tricycle layouts vary, so model and component instructions take priority. Do not use this article as a universal adjustment or bleeding procedure, and do not continue riding when braking becomes uncertain.
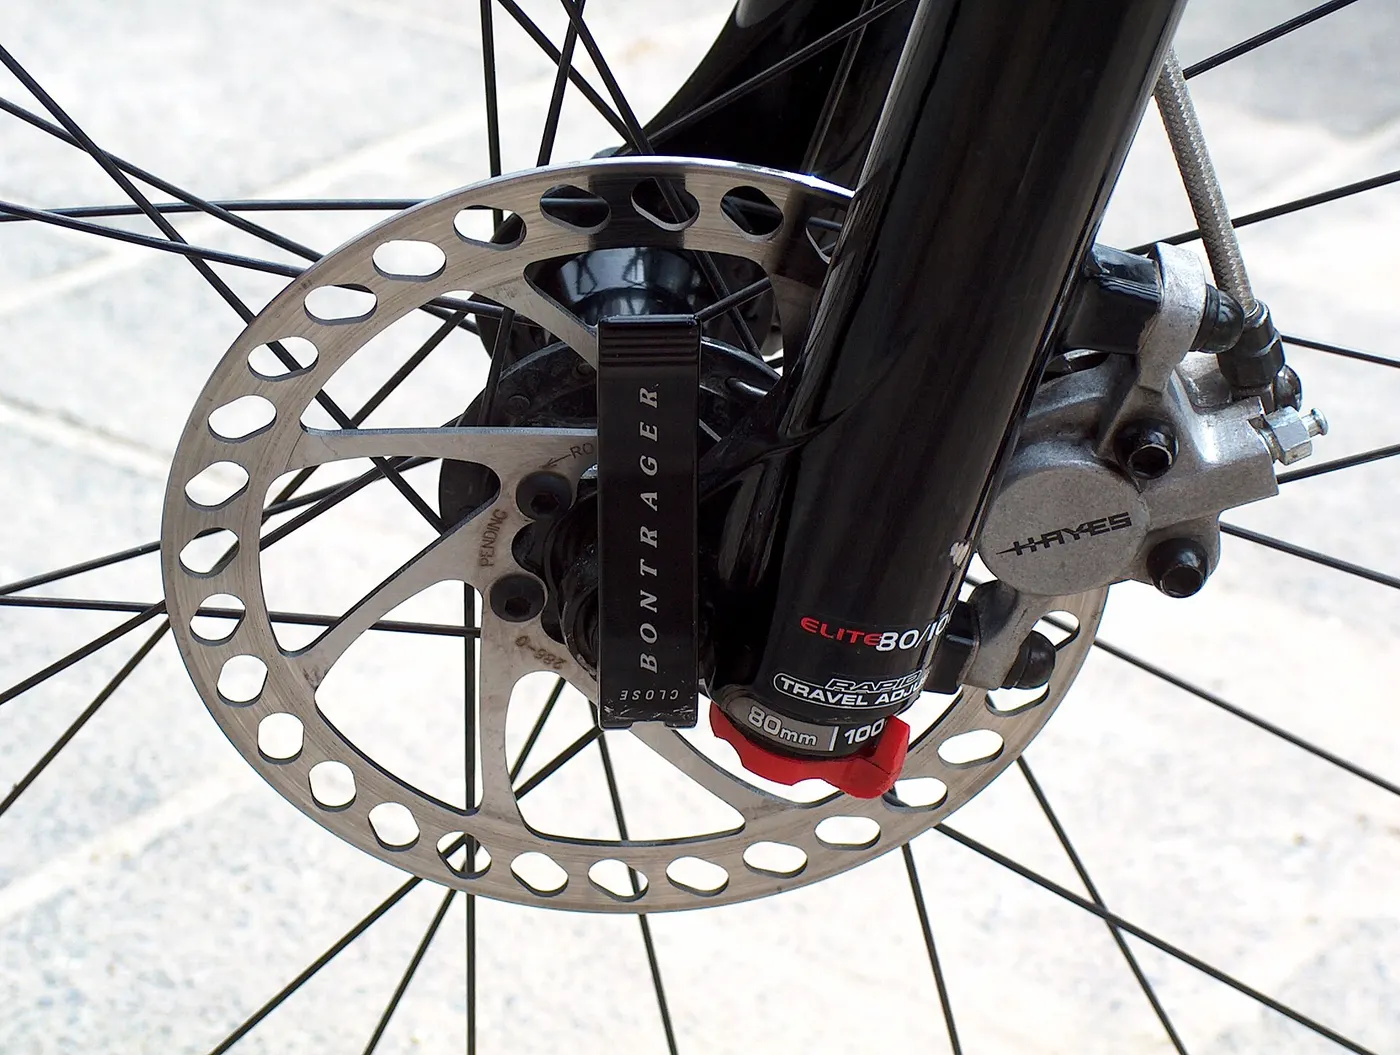
Ask the retailer to demonstrate each lever and identify the wheel or wheel group it controls. Front and rear arrangements differ, and the familiar left/right convention from another bicycle may not apply. A tricycle can also use a brake arrangement associated with an axle or drive assembly.
Record the mapping in the vehicle information. Do not infer it from cable direction alone when the mechanism is unclear. If multiple controls or linked components are present, ask how they work together and what the rider must do during normal operation.
Our safe riding guide covers learning starts and stops in a controlled area. That practice begins with understanding the system, not experimenting in traffic to discover which lever has the stronger effect.
A rim brake applies pads to a braking surface on the wheel rim. Several designs fall within that description, with different mounting, cable paths, and adjustment methods. Park Tool's identification guide distinguishes these categories rather than treating all rim brakes as one mechanism.
Check the component name and the wheel arrangement before looking up a repair procedure. A familiar-looking pad does not establish that the same instructions, hardware, or replacement fit your machine. The rim and pad material also need to be compatible with the specified system.
For a buyer, useful questions include control reach, service access, approved replacement pads, and support availability. A rim brake label alone does not provide a measured stopping result. Condition, setup, load, surface, and rider control all remain relevant.
A mechanical disc brake normally uses a cable to operate a caliper that acts on a rotor. The design and adjustment points vary. Some move one pad and others use a different arrangement, so the correct procedure depends on the actual component.
Do not assume that every visible cable means the internals are purely mechanical. Hybrid systems exist, and component identification should settle the question. A generic instruction to turn one adjuster can be inappropriate even when two brakes look similar in a photograph.
When comparing vehicles, ask how routine wear is managed, whether parts are available, and who can service the system. A cable-operated design may offer a particular ownership arrangement, but it should not be described as universally better or worse without evidence for the specific setup.
Hydraulic systems transmit force through fluid and their associated components. Fluid type, seals, hose connections, and service procedure are specific to the design. A system using one mineral oil formulation should not be assumed compatible with another oil merely because both have similar labels.
Shimano's retrieved hydraulic manual includes explicit fluid-compatibility and contamination warnings. Those are examples of why identifying the model matters. Do not add a household fluid, choose a bleed kit by appearance, or open a system without the required instructions and expertise.
Hydraulic braking can be part of an effective setup, but the label does not establish that a particular rider can reach the controls or that the complete tricycle stops well under every condition. Evaluate the complete system and seek documented test conditions where performance claims are important.
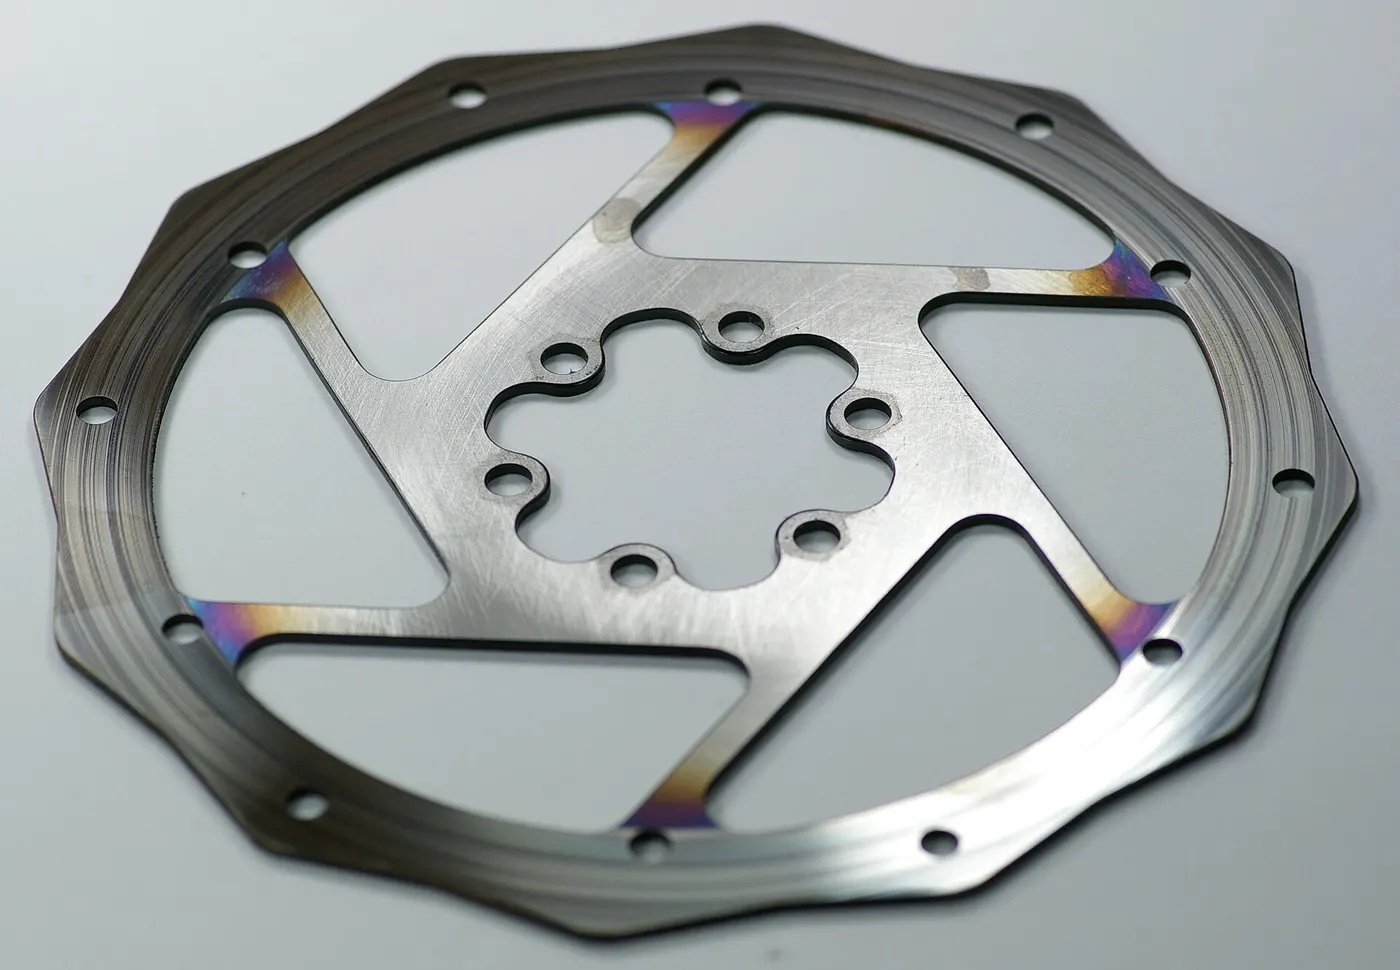
Rim or disc describes where braking occurs. Cable or hydraulic describes how force reaches part of the system. A product table can mix those descriptions and appear more informative than it is. Ask for the actual component and arrangement rather than assuming each term names a complete independent category.
Other brake designs may also appear on adult tricycles, including enclosed or axle-related systems. They need their own documentation. If you cannot identify the installed arrangement, obtain help before ordering parts or applying an adjustment method from an unrelated bicycle.
A good comparison records the front and rear system separately. Avoid a single “disc brakes” entry that conceals which wheels or components it describes. The important result is knowing what is installed and how it is controlled and supported.
Reach the levers from the normal grip and operate them repeatedly while the vehicle is safely stationary. Check whether you need to stretch, rotate the hand awkwardly, or release too much grip. A lever that feels reachable once may still be difficult to use consistently.
Ask which reach adjustments are supported and who should make them. Bringing a lever closer to the bar is not permission to reduce necessary operating travel or modify the mechanism. The fit and function need to be assessed together after adjustment.
Our sizing and fit guide treats control access as a separate requirement. Do not choose a machine with inaccessible braking because it has an attractive seat or a favorable hydraulic label. Essential control should not be averaged away in a purchase score.
A parking brake holds the vehicle in the prescribed circumstances while parked or during a transfer. It may use part of the normal braking system or another arrangement. Ask how to engage, verify, and release it, and follow its limits rather than treating it as a guarantee on every slope.
Practice on a suitable level surface. Confirm the holding action before beginning a transfer, and do not rely solely on the lever's apparent position. Wear or adjustment can affect performance. If it does not hold as expected, arrange service before depending on it.
A parking mechanism is not an anti-theft lock. It also does not make an unsuitable transfer location appropriate. Our storage and transport guide separates security, parking, loading, and access so each has a realistic arrangement.

Some electric vehicles interrupt motor power when the rider operates a brake lever. That feature can reduce powered propulsion during braking, but it does not create mechanical stopping force by itself. Verify whether it exists and how it behaves on the model you are considering.
Do not assume every electric tricycle provides regenerative braking. Even where an electrical braking feature is documented, its behavior and limits need to be understood. A controller setting or motor name should not replace evidence about the actual stopping system.
Our electric tricycle guide explains the broader controls. Use the manual to learn the braking interaction before a first ride. An unexpected motor response when braking is a reason to stop and obtain support, not to bypass the sensor to complete the journey.
A stopping-distance figure needs information about speed, load, surface, gradient, weather, and method to be useful. A result from an unloaded bicycle is not automatically a result for a loaded adult tricycle. Compare like conditions and identify what has not been tested.
A review that calls brakes powerful without explaining the task may still offer an impression, but it is not a repeatable measured result. Separate hands-on observations from manufacturer descriptions and unsupported ratings. This guide does not invent a score to fill that gap.
During an appropriate demonstration, focus on predictable control and normal operation rather than maximum-effort tests. Ask a qualified retailer to show the intended method. You should not need to discover locking or tipping limits to assess whether the controls fit your hands.
After assembly or service, learn the expected lever feel, travel, and braking response from the person who configured the vehicle. Record relevant observations. A baseline helps identify a later change without pretending you can diagnose every fault.
Notice a lever that suddenly moves farther, feels different, contacts another component, or produces uncertain response. Also observe visible leakage, damage, and abnormal rubbing or noise. Describe the conditions and stop when the system's safety is uncertain.
Our maintenance checklist explains useful records. A note such as “rear lever changed after unloading” can help a mechanic more than an unverified diagnosis that the brake simply needs tightening.
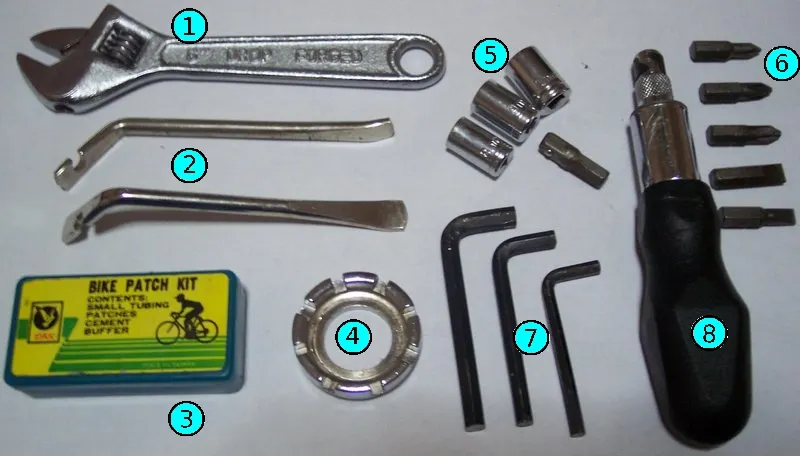
Brake friction surfaces are not places to apply chain lubricant or an unidentified cleaning spray. The response to contamination depends on the component instructions and may require service or replacement. Wiping the visible substance away does not establish that performance is restored.
Keep cleaning and lubrication tasks controlled so material does not reach pads, rotors, or rim braking surfaces. Identify products before using them. A cleaner safe for one part of the vehicle may be unsuitable elsewhere. Follow the brake manufacturer's guidance rather than improvising from household cleaning habits.
If contamination occurs, stop and obtain the specified response. Explain what substance contacted which part and whether the vehicle was ridden afterward. That information helps the mechanic assess the situation without assuming that every noise has the same cause.
Disc rotors and calipers can become hot after use. Allow the system to cool and follow the component warnings before inspection. Touching a rotor immediately after a descent is not a useful test of whether the brakes worked well.
Cracks, deformation, wear, and fluid leakage need assessment according to the actual specifications. Do not assign one minimum thickness to every rotor or pad. Measurements and replacement limits belong to the component manufacturer and require the appropriate method.
Long descents are an operating question as well as a maintenance question. Use the vehicle's intended terrain and braking guidance. Our gears and hills guide explains why the ability to climb a slope does not establish that the return descent is suitable.
New or replaced disc pads and rotors can require a manufacturer-specified bed-in process. Shimano's retrieved manual describes changing braking force during this period. That is a reason to follow the exact procedure, not to improvise repeated emergency stops on a public route.
Ask the installing mechanic what has been completed and what the rider needs to do before ordinary use. Distinguish a serviced vehicle that is ready from one with a required follow-up process. Keep the instruction with the service record so another rider does not assume nothing remains.
Do not copy a procedure from an unrelated component, particularly where speed, repetition, terrain, or method differs. This article identifies the issue but does not prescribe a universal bedding sequence for all adult tricycles.
Wheel removal can affect a brake arrangement and requires the component instructions. Some hydraulic systems need appropriate spacers, and lever operation with the wheel removed can cause problems. A puncture repair should therefore account for braking as well as tire installation.
Do not remove a wheel and repeatedly squeeze the lever merely to inspect the movement. Ask the mechanic or follow the manual for the proper handling. The same caution applies during transport if wheels or components are removed to fit the carrying arrangement.
Our tire and puncture guide separates repair decisions from a universal axle-removal recipe. Reassembly is not complete until wheel security, brake operation, clearance, and the required checks have been performed.

A larger rotor or different caliper can require compatible mounts, adapters, wheels, frame approval, and other parts. It is not automatically an improvement simply because it is marketed as stronger. Obtain approval for the complete system before making a change.
Replacement pads, hoses, fluids, and cables should match the specified component. Similar shape or a familiar brand name is not enough. If a part is unavailable, ask a qualified supplier about an approved alternative rather than adapting an unrelated item to finish the repair.
Record changes and any resulting operating instructions. A modification may affect maintenance and warranty support. Compare the actual improved system only after correct installation and verification; do not describe an upgrade as proven from a component specification alone.
Ask whether the shop can service the tricycle's width, wheel arrangement, and brake components. A normal bicycle service menu does not prove the vehicle can be supported or diagnosed there. Electrical brake interactions may also need manufacturer support.
When reporting a problem, supply the model, component details, symptoms, and recent changes. Avoid adjusting several parts first and losing the original evidence. A clear account helps the mechanic identify the relevant inspection rather than work backward through unknown alterations.
The best brake arrangement is usable, supported, and predictable on the vehicle and route. Identify the system, learn the controls, respect condition changes, and get the appropriate service. A specification label is useful information, but it is not the whole answer to safe stopping.
Make a simple front-and-rear record listing the lever, brake type, component identification, parking mechanism, and any documented motor cut-off interaction. This prevents a service conversation from beginning with the vague statement that the tricycle has hydraulic brakes when only one part of the arrangement has been identified. Photos should show readable markings and the affected area.
Keep symptoms separate from that identification. A noise while the wheel turns, changed lever travel, failure of the parking hold, and uncertain stopping are different observations. Note whether each happens with the vehicle unloaded, after transport, or after service. Do not recreate a dangerous failure for a recording; describe it and keep the vehicle out of use when safety is uncertain.
Before collecting the serviced machine, ask what was changed and what remains to be completed. Were pads or a rotor replaced? Was the parking mechanism checked? Is a specified bed-in process complete? Does the rider need to learn a changed control arrangement? Those questions make the handover useful without asking the owner to perform a technician's work.
If the shop suggests an upgrade, request the complete compatibility explanation and approved configuration. A better component on paper can still be unsuitable for the frame, wheel, or other parts. Keep the written details with the vehicle record so a future mechanic does not have to guess what was installed. The map and handover are especially valuable when a family member uses the tricycle but someone else manages maintenance. Both people need to understand the controls and any remaining restrictions.
Guide
Choose your first adult tricycle by checking rider fit, storage, weight limits, gears, brakes, assembly, and service before buying.

Guide
Learn how to compare adult electric tricycles for control, fit, batteries, braking, transport, and ownership support.

Guide
Understand the leg and hip muscles used when pedaling a tricycle, plus how fit, resistance, and electric assistance change the effort.