
Guide
First Adult Tricycle Buying Guide
Choose your first adult tricycle by checking rider fit, storage, weight limits, gears, brakes, assembly, and service before buying.
We research everything we recommend. When you buy through our links, we may earn a commission. Learn more
Guide
Understand adult tricycle tire pressure, tube compatibility, puncture protection, inspections, and safe repair and recovery decisions.

Updated · 12 min read
Adult tricycle tire care starts with identifying each wheel's tire, rim, valve, and approved pressure guidance. The front and rear equipment may differ, and a wheel label such as 24 or 26 inches is not a complete compatibility specification. Use a suitable gauge, observe changes, and have a plan for a flat that does not depend on removing an unfamiliar rear axle beside the road.
This research-based guide explains identification, checks, purchasing questions, and repair decisions. It is not a model-specific wheel-removal manual. Electric motors, axle hardware, brakes, and tire constructions create different procedures. Follow the vehicle and component instructions, and use qualified help when you cannot safely support the machine or complete the required work.
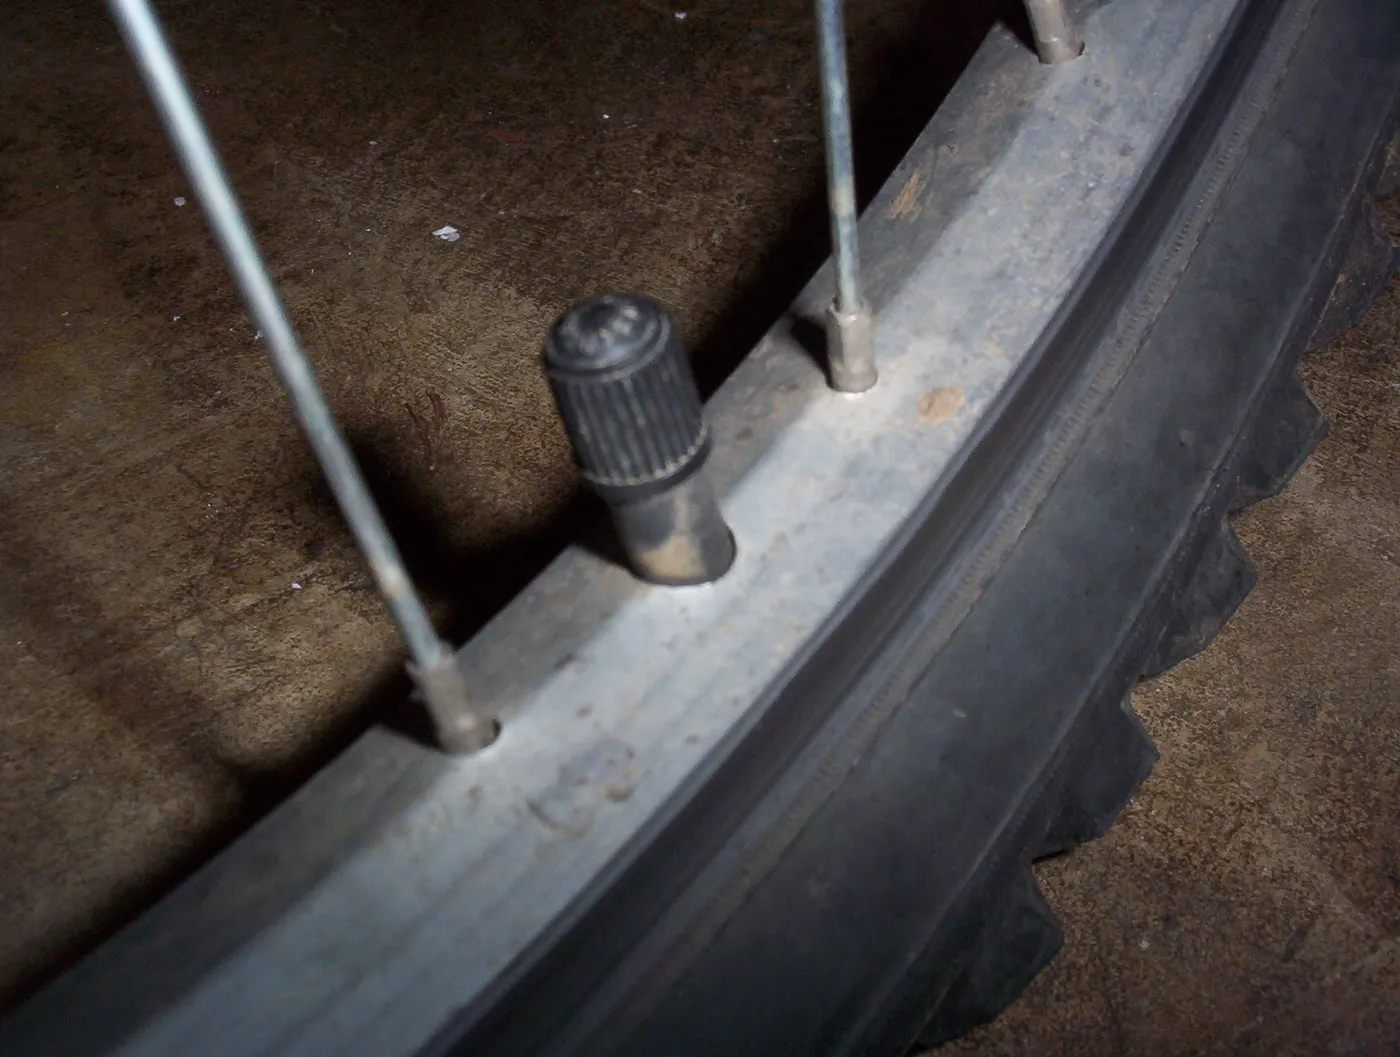
Read the markings on the front and both rear tires. Record the size designation, any standardized size information, pressure limits, and model name. Check whether the rear pair is the same. A vehicle may use different front and rear sizes, so one spare tube is not automatically suitable for every wheel.
Include the valve type and any relevant rim information from the manual. Photographs of readable markings help when asking a retailer for replacements. A distant picture of the whole tricycle is less useful than a clear image of the actual numbers and valve.
Keep the record with the vehicle model and generation. If tires have been changed by a previous owner, identify what is installed and confirm whether it is approved. Do not assume the current setup matches the original listing or that a replacement was correct because it rolls without obvious interference.
A pneumatic tire may contain an inner tube, while a compatible tubeless system uses a different arrangement. The visible valve alone does not necessarily establish the complete system. Ask the manufacturer or mechanic if uncertain rather than adding sealant or purchasing a tube based on appearance.
Park Tool's fit guidance explains that inch labels can describe tires with different bead-seat diameters. Matching a headline size is therefore insufficient. The diameter, permitted width, valve arrangement, and rim compatibility must agree. A tire that seems close should not be forced onto a wheel.
Our maintenance checklist covers the broader ownership record. Use the tire-specific details here when ordering parts, and keep approved replacements recorded. A tire purchase is a compatibility decision before it is a choice of tread pattern or advertised puncture resistance.
A tube's stated range should cover the compatible tire size, and its valve should suit the rim and access requirements. Valve length can matter where a rim or other component limits the exposed section. Do not buy solely from a title containing the same wheel-size number as the tricycle.
Ask whether a single spare can serve the installed front and rear tires. If not, label the spares clearly. A repair bag containing the wrong tube can create false confidence. Check the product markings before departure rather than discovering the mismatch after a flat.
Tube materials and repair methods can vary. Use patch products and procedures compatible with the tube type. Do not assume a method for a traditional rubber tube applies to every lightweight material. Follow the component instructions and ask the supplier when the packaging leaves the repair method unclear.
Find the permitted pressure information for the tire, rim, and vehicle. Resolve conflicting recommendations with a qualified supplier. Do not automatically choose the largest number visible on the sidewall. Nor should you copy a pressure used by a rider with a different tire, load, or configuration.
Schwalbe's pressure guidance emphasizes that load and the specific tire affect appropriate pressure and that a universal recommendation is unsuitable. That does not authorize going outside a limit. A manufacturer example for one tire should not become a rule for every adult tricycle.
Consider the load on the relevant wheel rather than assuming all three tires always carry an identical share. Follow the vehicle instructions for any prescribed differences. If the guidance is incomplete, ask for clarification before experimenting. A three-wheel arrangement is not permission to assign pressures by trial and error.
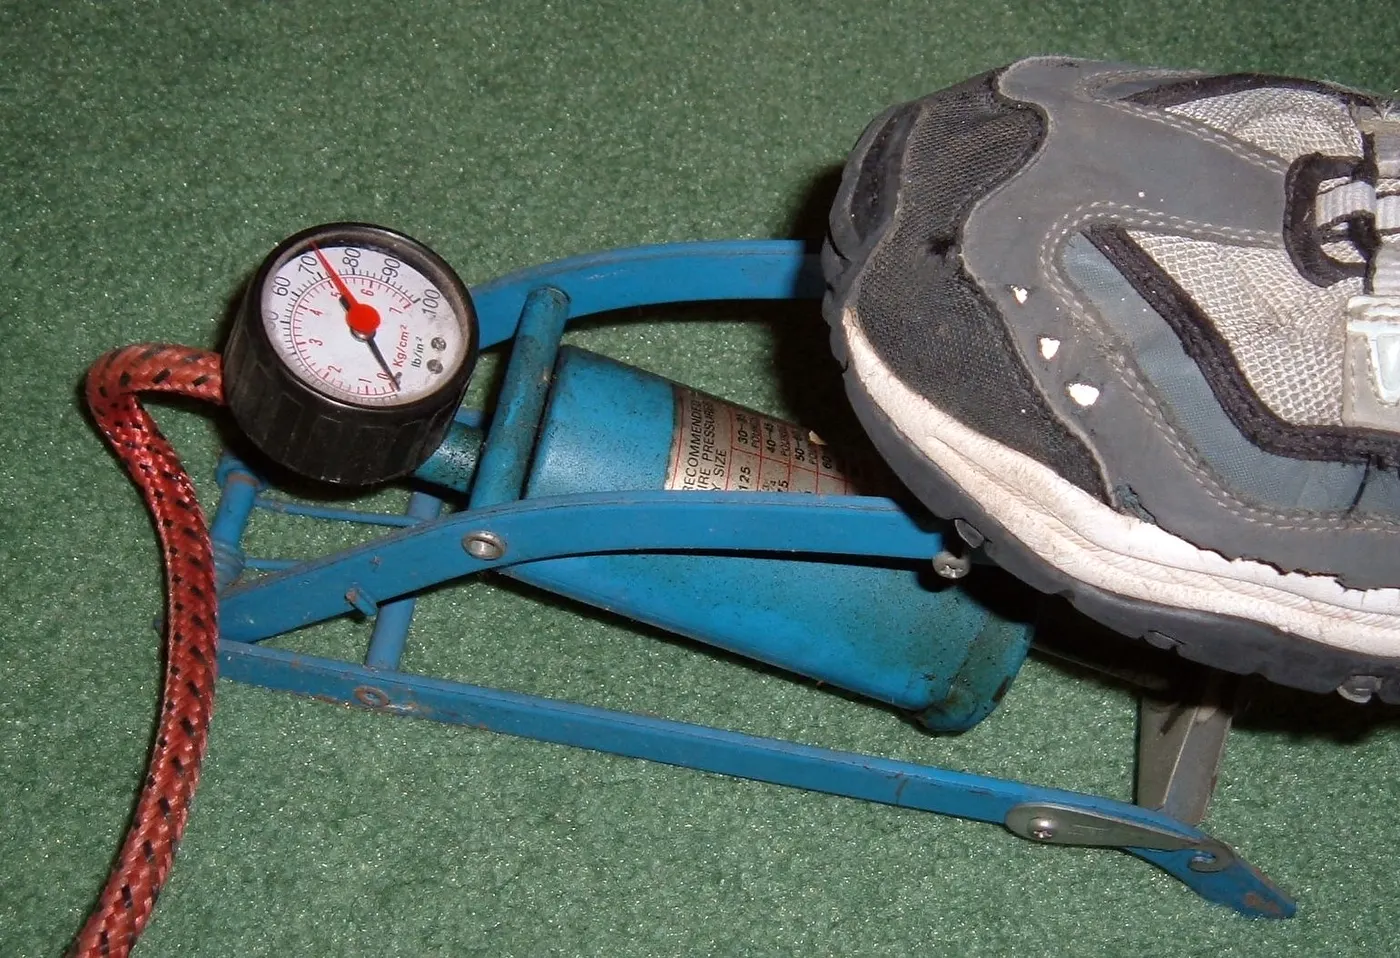
Use a pump or gauge compatible with the valve and pressure range. Attach the head correctly without bending the valve. A tire can feel firm to a hand while its actual pressure remains unsuitable. Protective constructions can make that impression even less informative.
Read the gauge when the equipment instructions say the reading is valid. Some inflation tools behave differently during active pumping, so understand the tool as well as the tire. Stop if the head leaks, the reading is implausible, or the tire behaves abnormally. Forcing a poor connection can damage the valve.
Record a useful baseline after approved inflation and observe how it changes. A recurring substantial loss on one wheel deserves investigation. You do not need to diagnose the cause from the gauge alone. The record simply helps explain whether the problem happens rapidly, during use, or over storage.
Look for cuts, bulges, exposed structure, damaged valves, and unusual seating at the rim. Check clearance around fenders and moving components. A tire can hold pressure and still have a condition that needs assessment. Do not reduce the inspection to whether it looks inflated.
Check the rear pair individually. A basket or cover can conceal one tire from a casual glance. Turn the vehicle or inspect from a suitable position rather than reaching into an unstable arrangement. Keep the machine immobilized as directed while working around it.
If the tire appears damaged, do not ride merely because the destination is close. Get the issue assessed and follow replacement guidance. Visible deterioration after storage is not corrected by adding air. Pressure maintenance and structural condition are related checks, not interchangeable repairs.
A protective belt, liner, tougher construction, or compatible sealant can reduce particular puncture risks. None establishes that a flat is impossible. Schwalbe explicitly notes that punctures cannot be completely excluded even in its highly protected tire ranges. Treat prevention as risk reduction, not a guarantee.
Compare the actual product, fit, and intended conditions. A protective construction can introduce trade-offs in weight, flexibility, or installation difficulty. Do not choose solely by a protection label without checking rim compatibility and the vehicle's approved tire options.
A tougher tire also does not replace inspection or pressure care. It may resist one cause while remaining vulnerable to others. Keep a recovery plan and avoid a route that assumes you will never need to stop. A product's marketing name should not determine how far from help you travel.
Check whether a sealant is approved for the installed tire or tube and valve arrangement. Tubeless sealant and tube sealant are not automatically interchangeable. The quantity, compatibility, and maintenance instructions belong to the product and system, not a generic online recommendation.
Likewise, an inserted liner must fit and be installed appropriately. A poorly matched or displaced accessory can create problems rather than solve them. Ask a mechanic about the approved options before adding several layers of protection because each sounds useful individually.
Do not attempt a tubeless conversion on equipment whose compatibility is unconfirmed. The rim, tire, valve, and installation procedure all matter. A successful-looking inflation is not proof of a safe system. This guide explains the questions to ask; it does not certify a conversion or provide a universal installation recipe.
If the vehicle feels abnormal or a tire loses pressure, slow and stop in a suitable location. Avoid continuing on a flat merely to reach a preferred repair spot. A damaged or deflated tire can affect control and damage components. Follow the vehicle instructions for safe movement afterward.
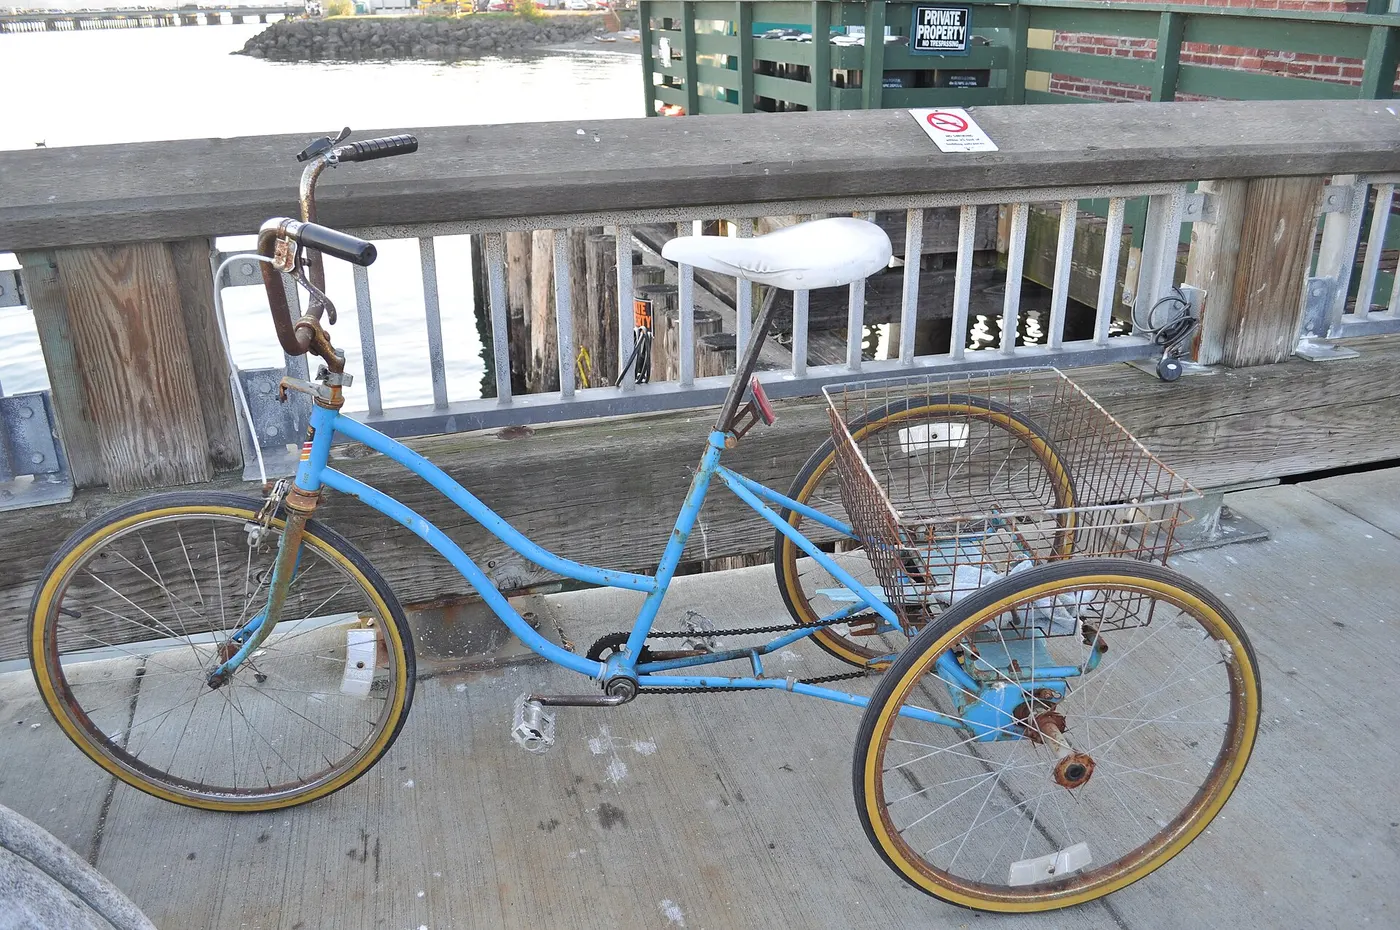
Consider traffic, the surface, and where you can position the machine without obstructing others. A tricycle's width and weight can make roadside handling different from a conventional bicycle. Do not begin a repair while balancing the vehicle on an unsuitable edge or slope.
Our safe riding guide covers recovery planning. The first decision is whether you can safely inspect and manage the situation, not whether the bag contains a patch kit. Calling for collection can be a sensible response to an unfamiliar or inaccessible wheel arrangement.
A tube puncture, damaged tire body, valve problem, and tubeless leak are different tasks. Removing a wheel without identifying the system can introduce another problem. Motor wiring, axle hardware, brakes, and rear drive components may require a specific procedure.
Read the exact wheel-removal instructions before you need them. Know what tools and support are required and whether the task is appropriate for the owner. If the documentation assigns it to a professional, do not reinterpret a general bicycle video as permission to proceed.
Use a suitable support method rather than turning a heavy vehicle upside down without checking whether controls and components can tolerate it. Removing a wheel also affects brake arrangements. Follow the brake instructions about spacers and lever operation where applicable, and protect electrical connections as directed.
Park Tool separates tube patching from tire-body repairs and distinguishes types of patches and tubeless approaches. That is a useful reminder that a tube patch does not repair every tire problem. A damaged tire casing or bead may require replacement, even when a tube can be made to hold air.
Use the repair product's preparation and application instructions. Do not substitute an unknown adhesive or claim a temporary repair is permanent. If the product is intended to get you home under limited conditions, arrange the follow-up required rather than using it indefinitely.
If you cannot identify the damage or establish that the repair is suitable, stop and seek help. A successful inflation alone does not prove that the underlying problem is corrected. The vehicle still needs safe tire seating, secure wheel installation, and appropriate brake function before riding.
Record which wheel, how soon the pressure drops, and whether the issue follows a particular route or service event. If a repaired tube fails again, another cause may remain. Do not assume the next step is automatically a thicker tube or more sealant.
A qualified inspection may need to consider the tire interior, rim protection, valve, installation, and compatible pressure. Avoid assigning the cause solely from where you first noticed the loss. Save useful information or the damaged component for the mechanic where practical.
Inspect without injuring yourself on a hidden sharp object. Follow a safe procedure and use appropriate protection. Do not run a bare hand carelessly around an unknown puncture source. A repair decision should protect the person performing it as well as restore the wheel.
Consider the surfaces, weather, load, and approved tire options. A more aggressive tread is not automatically better for ordinary errands, and a smooth tire is not automatically suitable for every path. Compare product documentation rather than assuming appearance determines performance.
Check the effect of size changes on clearance and configuration. Fenders, steering components, and other parts can limit the permitted width. A replacement should not rub when the vehicle is loaded or steered. Obtain the manufacturer's approval for a change rather than relying on empty-vehicle clearance alone.
If the tricycle is electric, consider the vehicle's requirements for the tire and intended speed. Do not assign a universal certification requirement without identifying the system and jurisdiction. Ask the manufacturer which replacements are approved for your model and use.
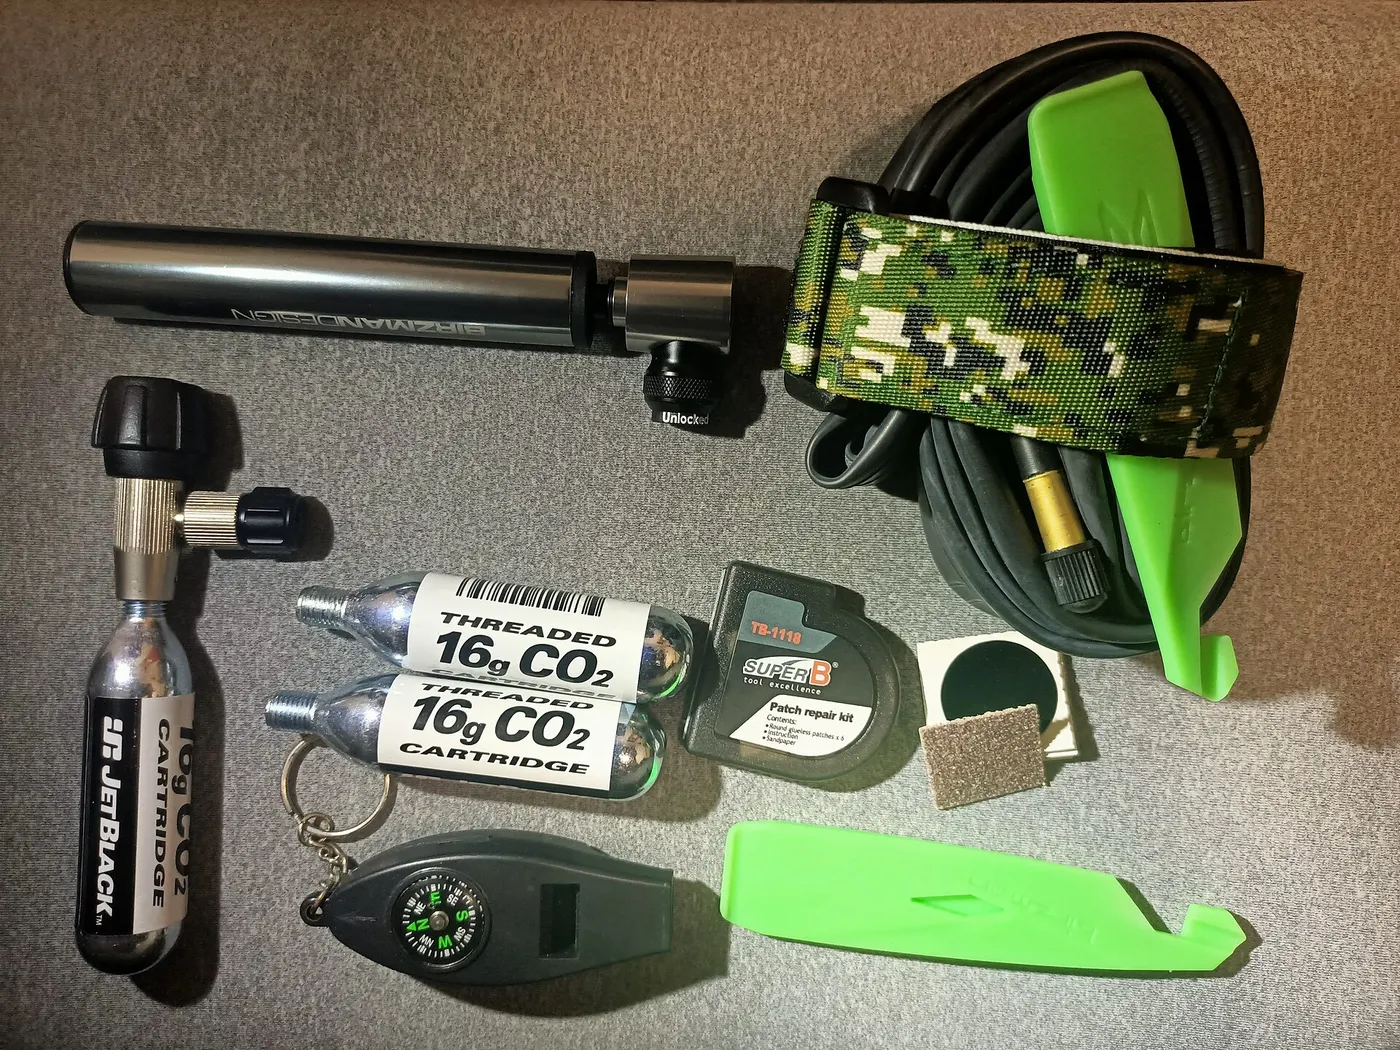
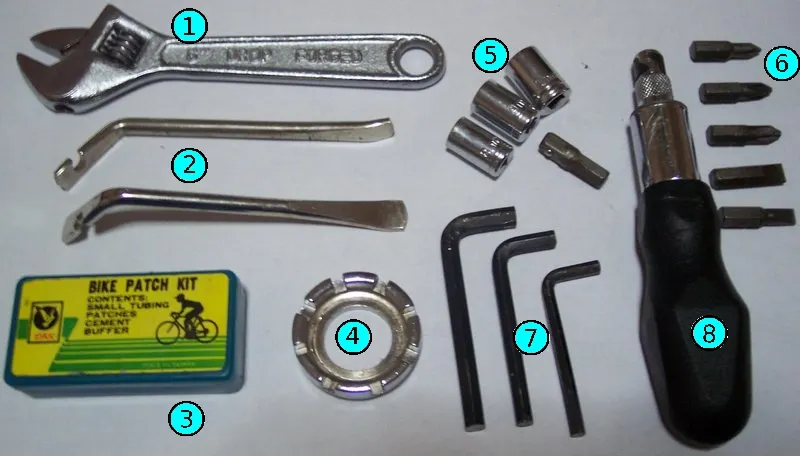
Carry compatible supplies for the tasks you can perform, and arrange an alternative for tasks you cannot. That might include collection details, contact information, and knowledge of how the vehicle fits a carrying arrangement. A heavy electric tricycle may not fit a standard bicycle rescue plan.
Practice permitted tasks at home or with instruction before a longer route. Do not make a remote roadside situation your first attempt at valve operation or wheel removal. Keep supplies dry, secured, and labeled so the right item can be found without spilling equipment into the road.
Our storage and transport guide covers loading and recovery logistics. The objective is not to carry every tool, but to avoid relying on a repair ability or transport option that has never been verified.
Follow the specified installation and verification procedure, including wheel security, brake operation, tire seating, and clearance. A repaired tube is only one part of returning the vehicle to service. Do not assume that reinstalling an axle by feel reproduces a required setup.
Test predictable operation in a suitable controlled area before returning to a demanding route. Watch for repeated loss, rubbing, or unusual handling. Stop if the result remains uncertain. Preserve the service record so later problems can be related to the work performed.
Good tire care combines accurate identification, approved pressure, condition checks, and a realistic response to damage. It should not depend on a single wheel label or a promise of puncture-proof riding. Knowing the equipment and the limits of your repair plan makes everyday tricycle use more dependable.
Pneumatic systems can lose pressure over time, but the practical response depends on the equipment and the pattern. Use the component guidance and a consistent measuring method. Do not assume that every reduction means a puncture, or that a rapid loss is ordinary because a general article mentions natural air loss. The timing and wheel involved are useful observations.
Start by confirming the gauge and connection are being used correctly. Record the reading after approved inflation and the reading before the next planned ride. Include how long the vehicle was stored and whether it was used. This record does not diagnose the problem, but it helps a mechanic distinguish a recurring pattern from an isolated uncertain reading.
If one wheel repeatedly behaves differently, stop treating top-ups as the entire solution. An inspection may need to examine several parts of the system. Preserve the exact tire and tube identification and mention recent work. A newly installed tube that loses pressure should not automatically be blamed on the road without checking installation and compatibility.
For a longer trip, use that history in the departure decision. A tire that has been unreliable and has not been assessed is a reason to postpone or shorten the route, not simply carry a larger pump. Reliability comes from understanding and correcting the issue. A repair kit is backup for an unexpected problem, not a substitute for addressing a known recurring one.
Guide
Choose your first adult tricycle by checking rider fit, storage, weight limits, gears, brakes, assembly, and service before buying.

Guide
Learn how to compare adult electric tricycles for control, fit, batteries, braking, transport, and ownership support.

Guide
Understand the leg and hip muscles used when pedaling a tricycle, plus how fit, resistance, and electric assistance change the effort.