
Guide
First Adult Tricycle Buying Guide
Choose your first adult tricycle by checking rider fit, storage, weight limits, gears, brakes, assembly, and service before buying.
We research everything we recommend. When you buy through our links, we may earn a commission. Learn more
Guide
A tricycle can make a photography outing practical by carrying equipment without requiring it all to be worn on the rider. The advantage is useful only.

Updated · 11 min read
A tricycle can make a photography outing practical by carrying equipment without requiring it all to be worn on the rider. The advantage is useful only when the load fits the vehicle and the shooting routine keeps riding and camera operation separate. A padded bag on an unsuitable mount is not a complete transport system, and a beautiful viewpoint is not necessarily a safe place to stop a wide cycle.
This guide helps plan a small photography trip with an adult upright or recumbent trike. It covers equipment selection, compatible storage, route access, parking, and returning with gear organized. It does not certify vibration protection, waterproof performance, a handlebar mount, or any particular product combination. Camera, bag, mount, and vehicle instructions should all be checked for the actual arrangement.
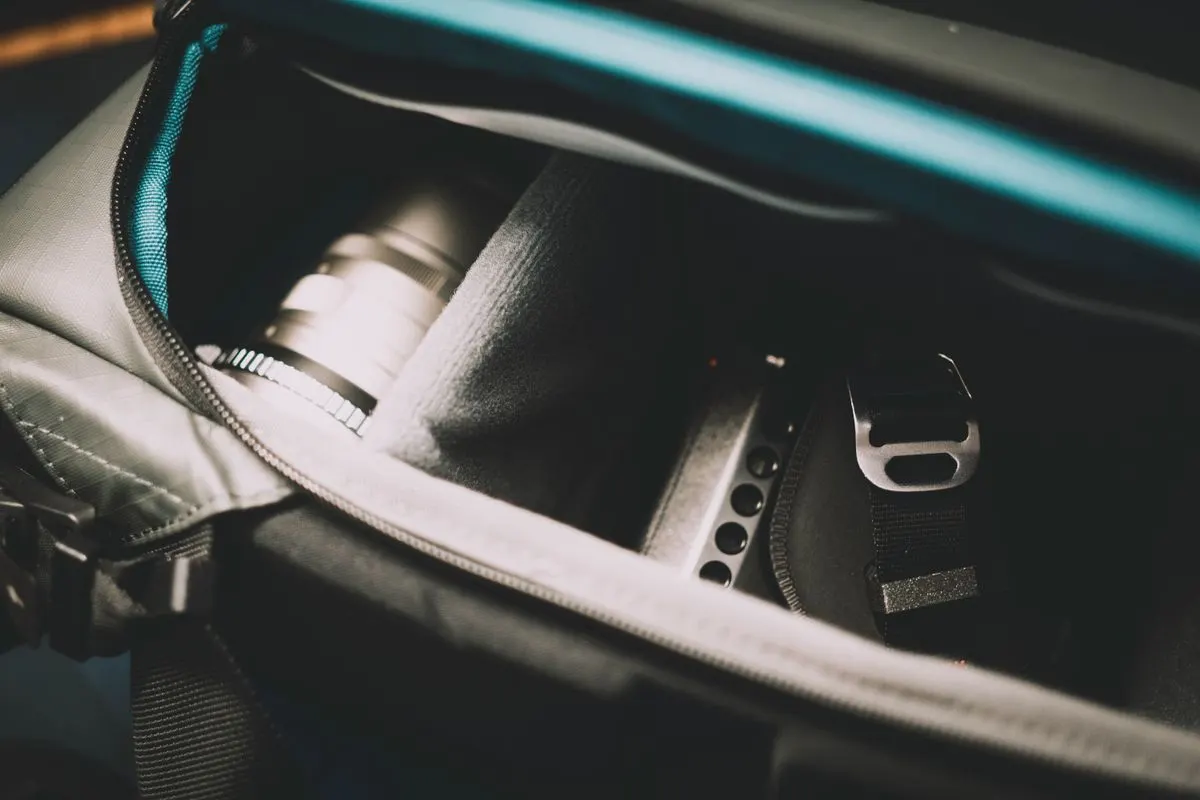
Start with the purpose of the outing: a neighborhood landscape, a park visit, architecture, or another ordinary subject. Then select the smallest suitable equipment set. Carrying every lens because the basket has room can make parking, locking, and access harder without improving the planned photographs. A deliberate kit is easier to contain and account for at every stop.
List the packed dimensions and weight of the camera, lenses, bag, tripod if needed, batteries, and personal items. The bag itself and any protective insert remain part of the load. The payload guide explains how the complete vehicle and individual supports have separate limits. Do not treat an expensive lightweight camera as permission to ignore the rest of the cargo.
Consider what will stay with you when the trike is parked. A large case may fit the rack but be awkward to carry to the actual viewpoint. A smaller removable kit may simplify the transition. The useful comparison is the whole routine from home to photograph and back, not the maximum amount of equipment the trike appears able to hold.
Padding helps organize and separate equipment within its intended bag, but it does not secure the bag to the vehicle. A camera insert inside an ordinary tote still needs a compatible support and retention arrangement. Conversely, a firmly attached bag may provide inadequate organization for the camera. Treat internal protection and external attachment as two distinct checks.
ORTLIEB's camera insert is an example of a product designed for specified bag families. Its existence does not establish that every insert fits every handlebar bag or that the resulting bag fits every trike. Check the insert dimensions, supported bag, mounting system, and vehicle interface separately before buying a collection of components that merely look compatible.
The cargo retention guide covers anchors, straps, and loose ends. Do not use a camera shoulder strap as an improvised vehicle restraint or loop it around a brake cable. The intended bag mounting should carry the transport task, while the camera strap remains managed according to its own instructions.
A handlebar bag can offer convenient access after stopping, but the available space differs between upright and recumbent layouts. Check the complete steering range, brake lever operation, display view, and the rider's normal position. A bag that fits between grips while stationary may still interfere when turning or mounting. Follow the vehicle and mount instructions for the exact configuration.
A basket or rack location can keep equipment away from the controls, but access and weather exposure may differ. Evaluate the actual support rather than assuming a rear location is automatically better. The pannier guide and recumbent seat-bag guide address different carrying interfaces.
Avoid placing a camera on an unsupported surface simply because it is easy to reach. A seat, frame tube, or front fairing is not necessarily a cargo platform. If a maker does not identify a suitable attachment for the proposed bag, change the plan rather than adding a clamp to an unfamiliar structural part.
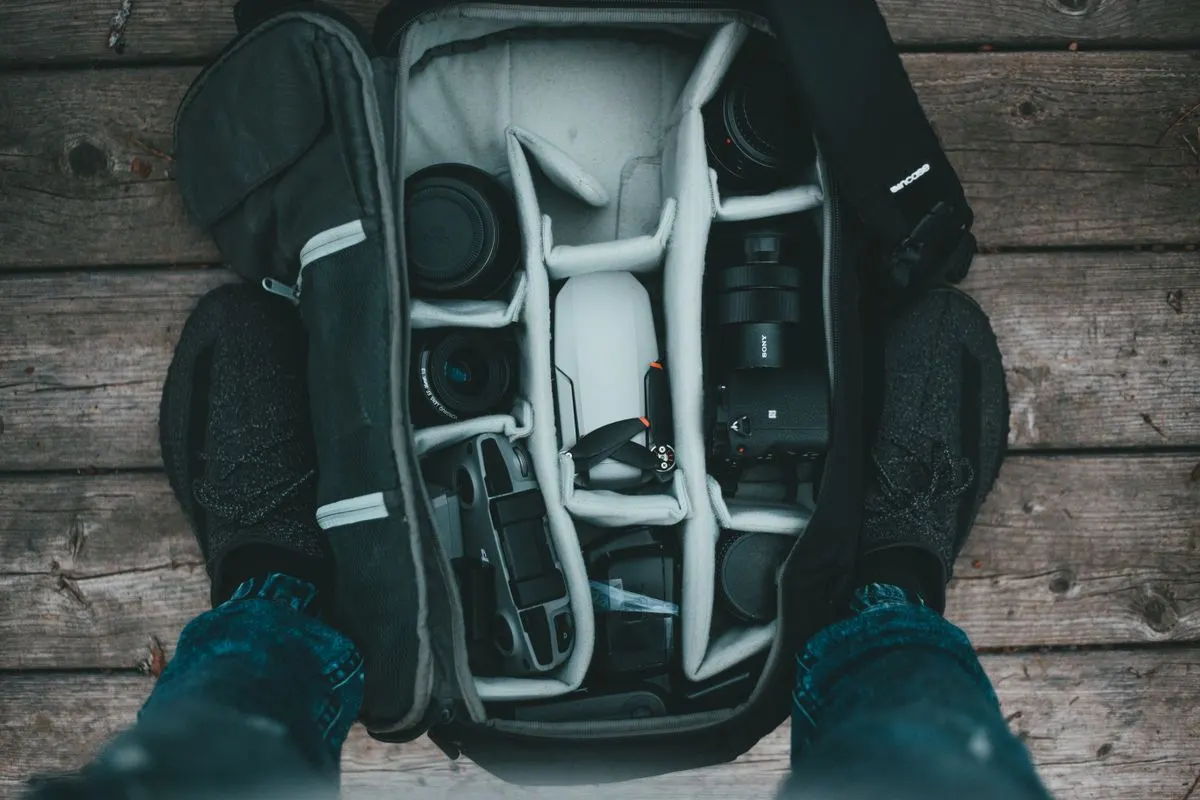
A padded container is not a guarantee against every shock or vibration. The camera maker's handling instructions, the bag's intended use, and the chosen route all matter. Do not claim that a suspension trike or soft insert makes delicate equipment immune to rough surfaces. If the equipment's transport requirements are unclear, ask the manufacturer before using the vehicle as a test platform.
Choose a route within the trike's intended use and your own capability, with surfaces suitable for the complete load. A familiar paved route may make a first outing simpler than an unverified shortcut. The tire tread guide covers surface-related buying questions, but tire choice does not certify a camera transport arrangement.
Inspect the bag and contents at appropriate safe stops according to the product instructions and circumstances. If something has shifted or a mount is uncertain, stop the trip and resolve it. Do not reach into a moving bag or try to hold it steady while riding. That turns an equipment concern into a control problem.
A tripod adds length and protrusion even when it is not heavy. Check its packed dimensions against the trike's complete outline and the carrying system's instructions. A built-in tripod loop on a camera bag may be intended for carrying the bag on foot rather than for attachment during cycling. Confirm the actual use rather than assuming the loop's purpose.
Keep the tripod clear of wheels, brakes, steering, the rider's legs, and required visibility equipment. The clearance guide helps connect the loaded outline with gates and narrow paths. A tripod that fits through the home door may still catch an obstacle during a turn or while passing parked equipment.
If a suitable transport arrangement is unavailable, use a smaller kit or another method for the outing. Do not attach a long item to fender stays, a brake hose, or a steering assembly. A strap's strength cannot make an unsuitable support appropriate. The first photography trip should not be a trial of a guessed mounting solution.
Identify places where the complete trike can be parked without blocking traffic, pedestrians, entrances, or sight lines. A roadside view may look attractive but offer no suitable stopping area. Keep riding and photographing separate. Do not operate the camera, review images, or change lenses while the vehicle is moving.
At a destination, distinguish cycle access from access to the precise shooting position. You may need to leave the trike in a suitable permitted place and carry a small kit farther. Check the responsible authority's current rules, including any photography restrictions where relevant. A route shown on a map does not establish permission for every vehicle or activity.
The day-trip guide offers a framework for choosing an accessible endpoint and an early return. For photography, add the time spent setting up and waiting for light. A trip planned around sunset can end in different riding conditions from the outward journey, so the return needs its own assessment.
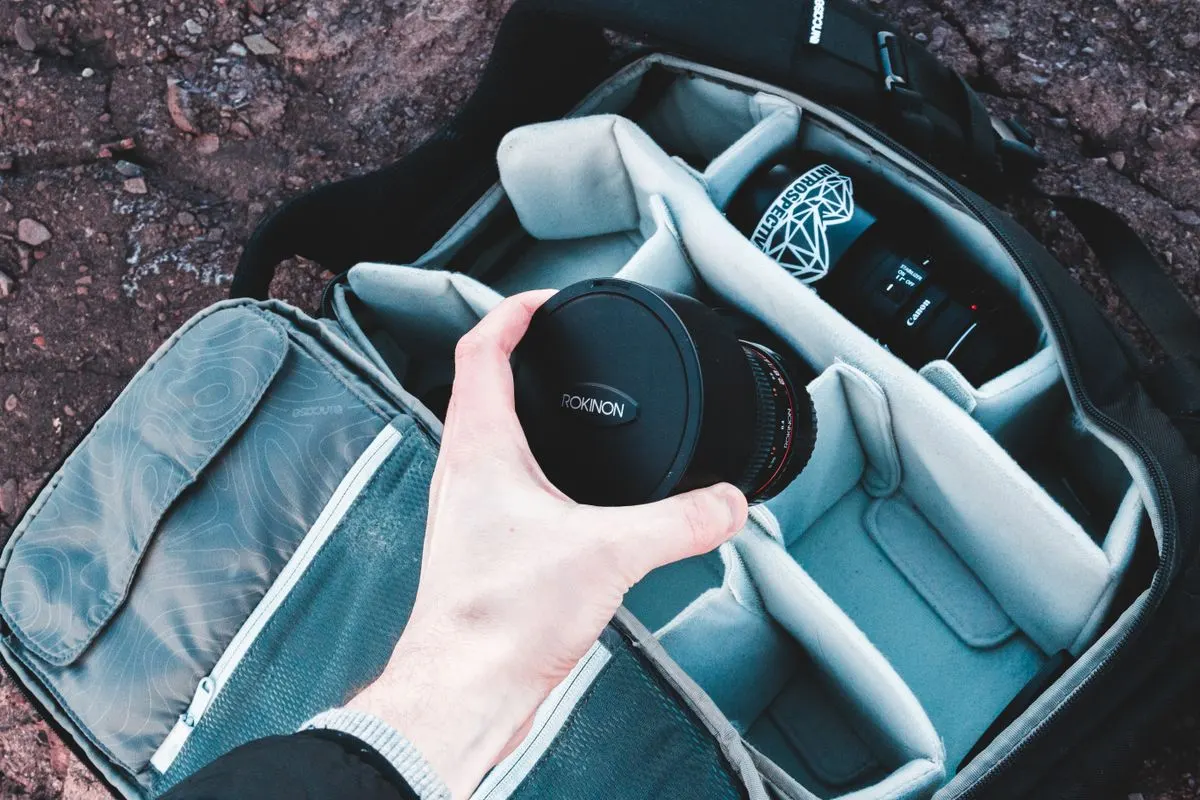
First stop in a suitable location, secure the trike according to its instructions, and establish a stable working position. Then remove the camera or bag. Do not balance an open case on the seat or handlebar while trying to apply a lock. A clear sequence reduces the chance of dropping equipment or leaving the vehicle unsecured during the transition.
Keep small accessories in closed compartments until needed. Lens caps, cards, and batteries can fall through a basket or disappear among cargo. A simple inventory can make each stop easier: camera, lens, card, battery, and any support equipment. The goal is not a complicated checklist for every frame, but a repeatable way to avoid leaving an item behind.
Before riding again, close the bag, restore its intended mounting, manage every strap, and check controls and visibility. A camera returned quickly to an unclosed bag is not ready for transport. Do not let an approaching change in light pressure you into skipping the normal setup check.
Read the camera and bag instructions for moisture, temperature changes, cleaning, and storage. A bag's water-resistance description does not automatically describe the camera inside or the bag with its closure open. A separate cover may have its own fitting and ventilation requirements. Use the intended arrangement rather than wrapping loose material around the whole load.
Keep rain equipment accessible without exposing the entire kit unnecessarily. The rain-riding guide covers the broader route decision. A photography outing should have an early-ending option when conditions no longer suit the equipment or rider. Owning a cover is not a reason to continue into weather outside the planned use.
After a wet trip, follow the equipment makers' drying and storage instructions before sealing items away. Do not assume the interior is dry because the outside has been wiped. If a device is damaged or concerning, stop using it and seek appropriate support rather than testing it repeatedly at the next stop.
Charge devices through their approved methods before departure. Keep spare camera batteries identified and protected according to their instructions. A trike display's socket is not automatically a suitable charging source for a camera or phone. The accessory power guide explains why connector shape and electrical compatibility are different questions.
If an approved connection is used, verify the complete cable routing and permitted operating conditions. Do not leave a lead dangling near a wheel or stretched across steering movement. Charging during use may have different requirements from charging at home, so read both device and source instructions before relying on the arrangement.
Keep navigation and communication reserves separate from the camera's shooting plan. A long session should not consume the only phone power available for the return route or a pickup request. A simple independent reserve may be appropriate if compatible and ready, but it still needs its own condition and charging check.
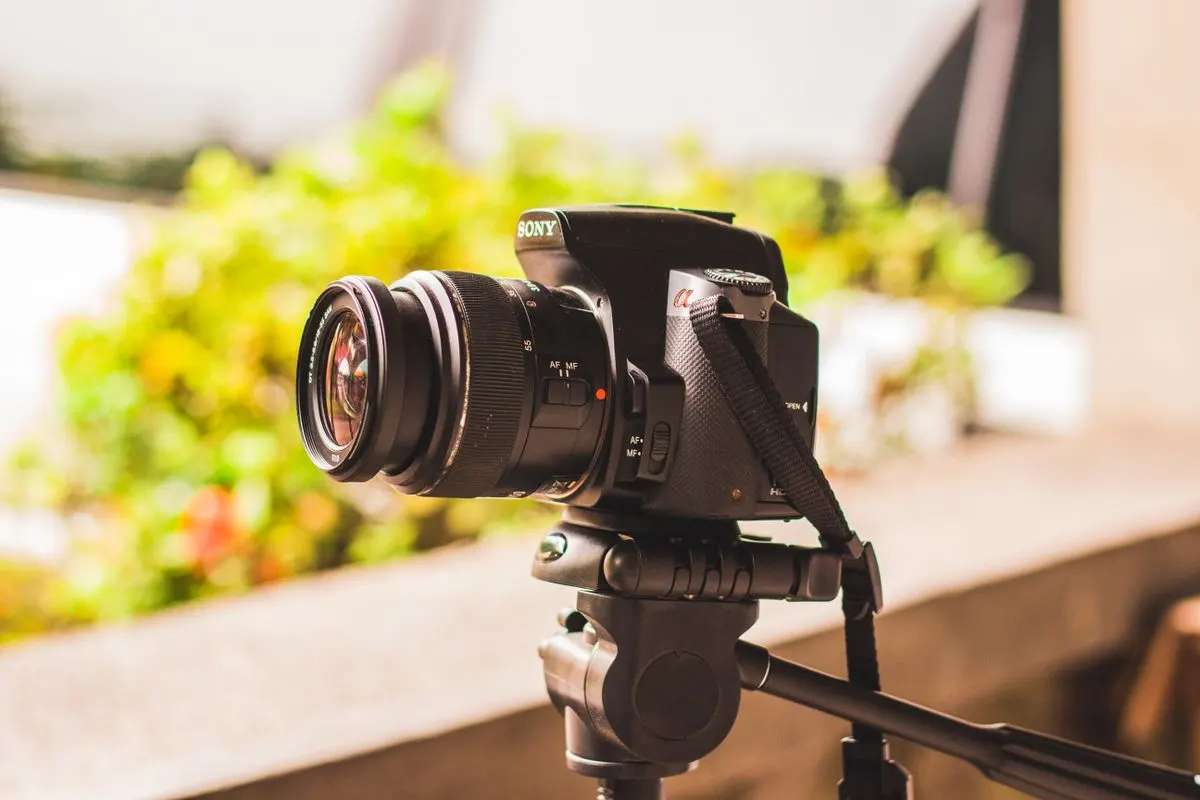
Decide what stays with you and what remains secured on the trike. A locked vehicle does not automatically protect a removable camera bag, and a bag left in view can create a separate risk. The locking guide addresses equipment and location choices. Avoid treating any single product as a guarantee against theft.
Keep the kit small enough that taking it with you is practical where needed. A bag that is convenient on the rack but painful to carry may encourage leaving equipment behind. Compare walking access and vehicle retention together during the purchase. A removable mount is useful only when its removal and reinstallation can be completed correctly.
Do not publish sensitive details in trip photographs. Keys, serial labels, a home entrance, or location information may be visible unintentionally. Review what is shared publicly, especially when asking a forum about a mounting arrangement. A technical question can often be answered with a close view that omits personal information.
Photography can involve waiting longer than expected. Check weather, daylight, and the route before deciding to stay for another frame. The range planning guide explains electric-trip margins, while the night-light guide addresses different visibility conditions. A successful photograph is not a reason to abandon those margins.
Keep an early departure option and a realistic pickup plan. A helper needs the trike's dimensions and any additional long equipment. The recovery guide explains why ordinary bicycle transport may not fit. If the vehicle develops a concerning fault, stop using it rather than riding farther to protect the camera from a delay.
After returning, review the carrying arrangement before enlarging the kit. Note which compartments were awkward, what remained unused, and whether the stop sequence worked. Follow the camera, bag, and trike care instructions. The best improvement may be carrying less or choosing a better stopping place rather than buying another mount.
A small stop card can list the intended sequence without trying to teach photography: park in a suitable place, secure the trike, remove the supported bag, establish the camera setup, and keep loose items contained. Before departure, reverse the equipment tasks through their instructions and complete the vehicle check. This is particularly useful when a tripod or removable mount adds several steps that are easy to skip while watching changing light.
List the items that must remain accessible without unpacking the camera kit. Communication, a route note, rainwear, and the intended lock may need separate locations. If everything is placed in one padded compartment, retrieving a phone can expose delicate equipment unnecessarily. The layout should match the outing's tasks rather than arranging objects solely to look tidy in an open-bag photograph.
Consider a rider using one camera and a compact support at two planned viewpoints. At the first stop, the bag is removed and carried to the subject while the trike stays in a permitted location. At the second, the parking area is occupied. The prepared alternative is to continue to another suitable stop or omit the photograph, not to operate the camera from the moving vehicle or park across a shared path.
A tripod setup also needs its own space. Do not use the trike as an improvised camera support or anchor unless the relevant makers explicitly permit the arrangement. The vehicle's parking function does not certify it as a photographic platform. A separate supported setup can keep the camera task from changing the vehicle's intended loading and stability conditions.
Keep performance claims out of the trip log unless they were actually measured through an appropriate method. A note saying the camera arrived without visible damage on one paved outing is an observation, not a vibration-protection rating. Likewise, a bag remaining dry once does not establish its limits in prolonged rain. The log can still improve packing, route selection, and the stop sequence without pretending to be a product test.
When the kit changes, repeat the fit and retention assessment. A larger lens can change internal support, bag shape, and the convenience of carrying the kit away from the trike. Update the inventory and avoid assuming that unused space in a padded bag is automatically suitable for a heavier item. The useful setup remains the one documented for the current equipment and actual routine.
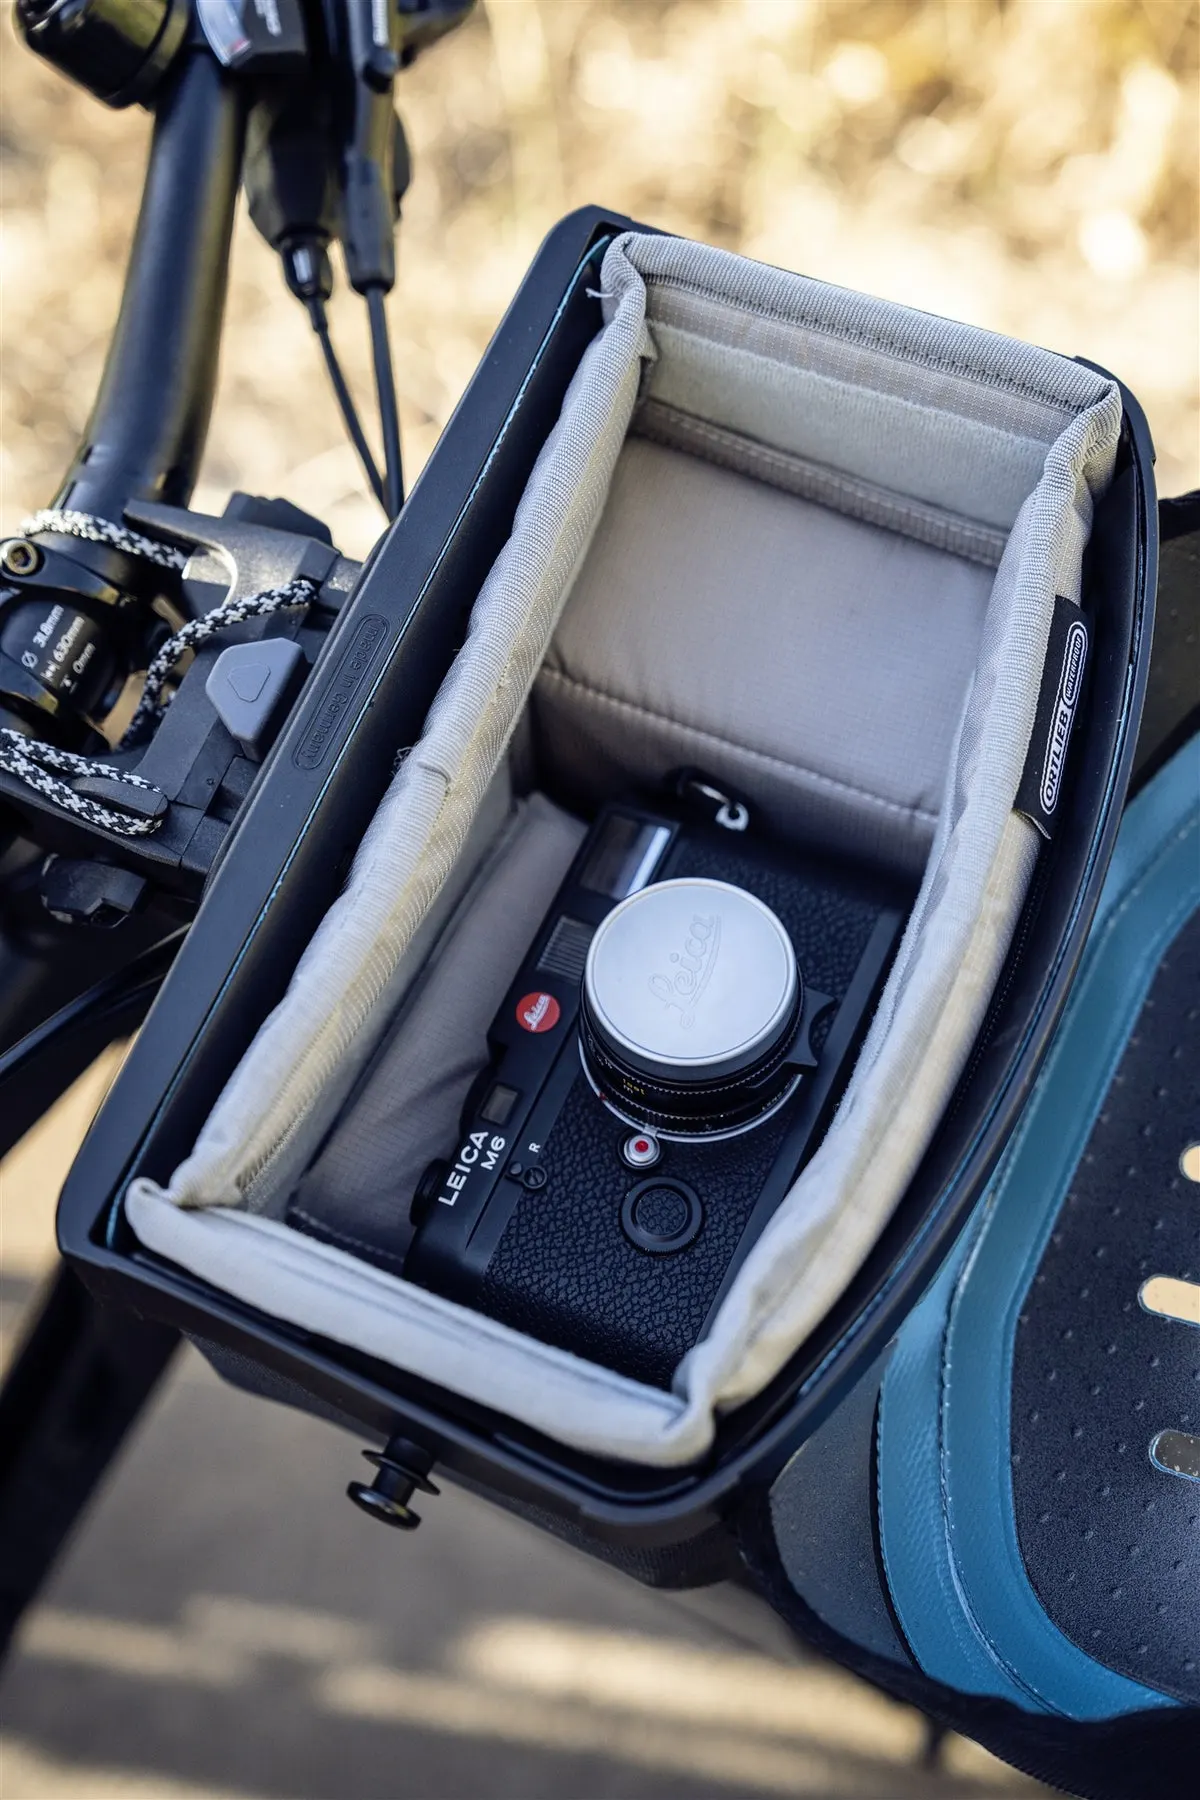
Update the inventory when changing a lens, case, or support. The packing and retention assessment should describe the equipment on the current outing rather than a smaller kit used months earlier.
Research-based guide, 15 October 2026. No camera vibration, waterproofing, or mounting tests were performed.
Guide
Choose your first adult tricycle by checking rider fit, storage, weight limits, gears, brakes, assembly, and service before buying.

Guide
Learn how to compare adult electric tricycles for control, fit, batteries, braking, transport, and ownership support.

Guide
Understand the leg and hip muscles used when pedaling a tricycle, plus how fit, resistance, and electric assistance change the effort.