



Guide
First Adult Tricycle Buying Guide
Choose your first adult tricycle by checking rider fit, storage, weight limits, gears, brakes, assembly, and service before buying.
We research everything we recommend. When you buy through our links, we may earn a commission. Learn more
Guide
Plan a first overnight recumbent-trike trip with manageable daily effort, verified access, restrained luggage, accommodation storage, and recovery.

Updated · 12 min read
An overnight recumbent-trike trip adds several tasks to an ordinary ride: repeated days, unfamiliar access, luggage, accommodation, and a recovery plan away from home. Begin with a modest itinerary based on rides you already manage, not a generic daily-mileage target.
This guide helps plan a first overnight journey without recommending a particular destination or claiming that every recumbent suits touring. Check the exact trike's intended use, loads, setup, and local permissions. The examples are planning exercises, not accounts of field-tested routes.
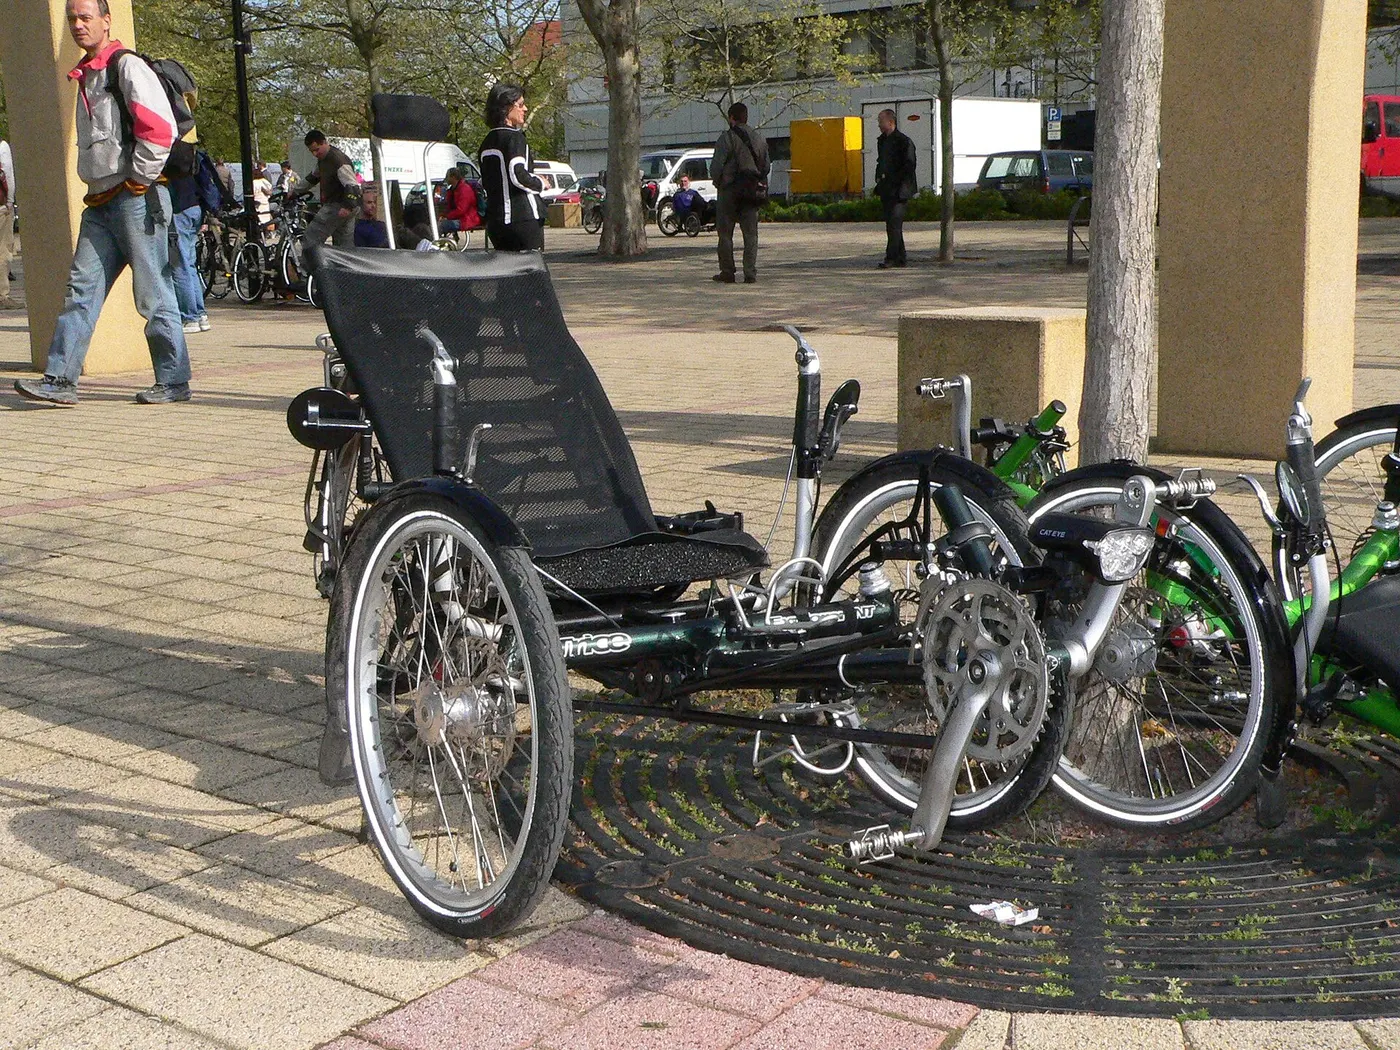
Select an itinerary short enough to turn back, stop early, or use an arranged alternative without turning the trip into a recovery expedition. Base the distance and effort on comparable ordinary rides with the planned approved load.
Avoid combining a first overnight tour with a new trike, unfamiliar retention system, remote terrain, and the longest ride you have attempted. Each adds uncertainty. Establish the basic setup and rider control before adding the accommodation and luggage tasks.
The safe-riding guide and fit guide provide the foundation. Touring should extend a reliable routine rather than become the first test of essential controls.
Use maps to discover options, then verify current permissions, surfaces, barriers, and practical stopping points. A route described as a cycle path may contain gates or turns unsuitable for a wider trike. Elevation data also cannot show every drainage dip or broken edge.
Inspect critical entrances where possible or ask the operator for current details. Record the complete trike width and length when making an inquiry. The clearance guide helps identify the measurements that matter.
Check both days and the return direction. A broad outward entrance can lead to an awkward exit after overnight closure or a different approach. Keep alternatives that are realistic for your control, load, and available energy.
Record recent comparable rides, including duration, surfaces, assistance, luggage, and how the return felt. A longest-ever distance made while fresh and unloaded is weak evidence for two consecutive loaded days.
Plan breaks and stopping opportunities rather than treating daily distance as the only target. If discomfort, fatigue, or weather changes the task, shorten the plan. Seek appropriate advice where a medical limitation affects the activity; this guide does not provide training or clinical clearance.
Do not assume a supported seat means the rider can stay in one position indefinitely. The recumbent comparison covers the trade-offs. A suitable itinerary should remain manageable after the first day's riding and luggage handling.
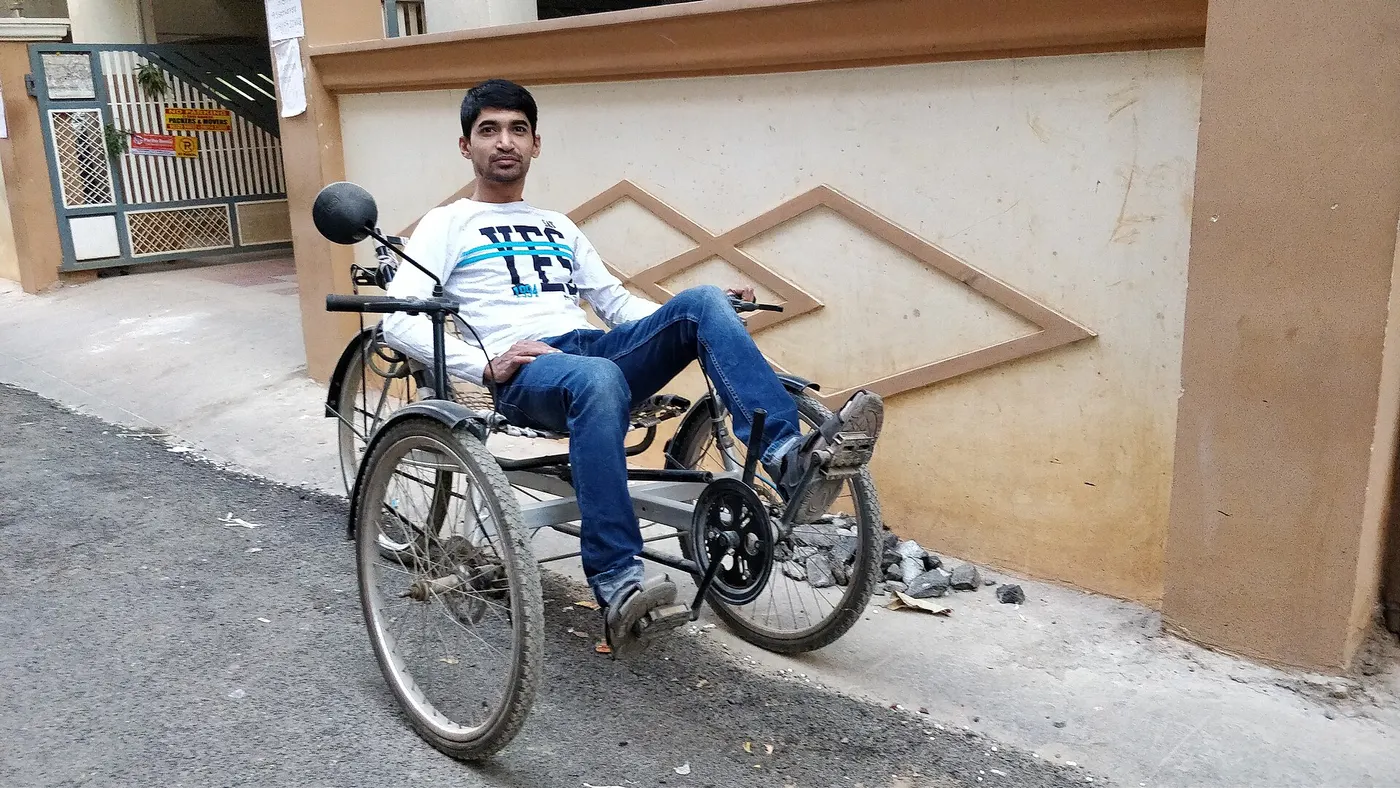
List the items required for the actual accommodation and route. Separate essential riding equipment from optional extras. Check vehicle, rack, bag, and any trailer limits under their exact definitions.
Keep permitted heavy items low and restrained as instructed and preserve lights, reflector visibility, steering, and pedal clearance. A large bag can change the operating envelope and the ability to enter accommodation storage.
The payload guide explains the calculation. A camping itinerary can require more equipment than an accommodation-based trip; compare the complete load rather than assuming one is automatically simpler or cheaper.
Recumbent racks and luggage mounts can be model-specific. Confirm compatibility with suspension, seat angle, wheel size, and folding where relevant. Do not attach a pannier to an unsupported tube because a clamp appears to fit.
Check bag position through the manufacturer's permitted movement and keep straps clear of wheels and chain routing. The accessory guide provides the inspection sequence.
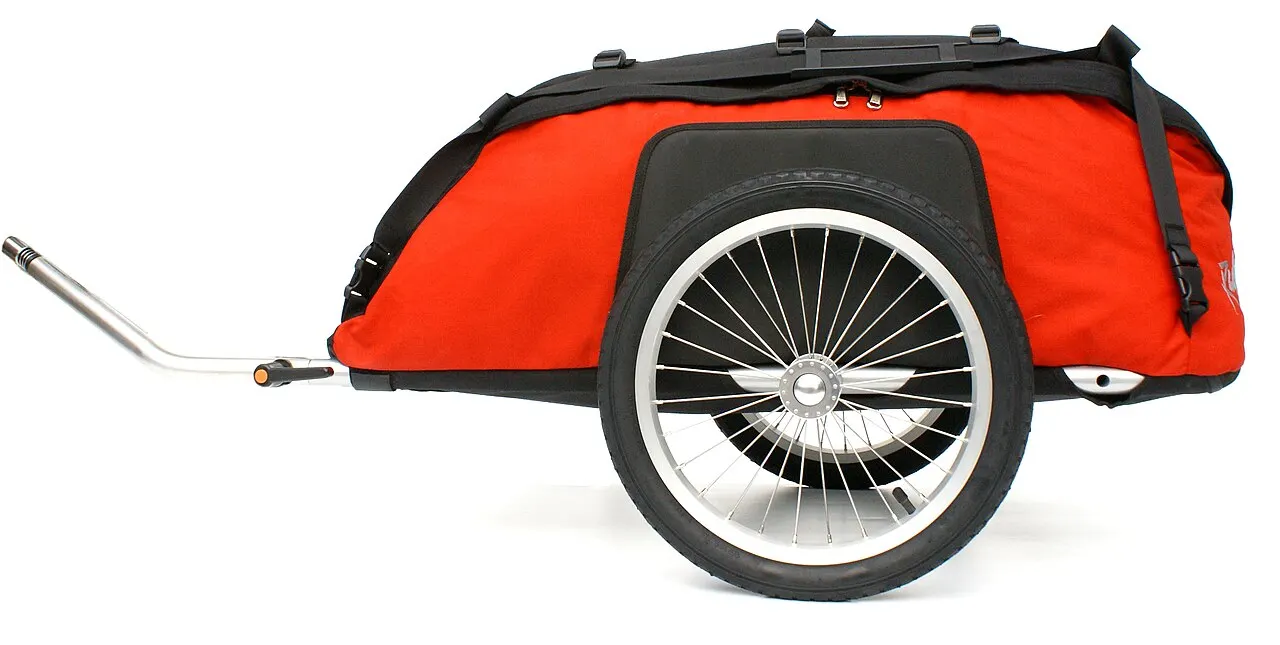
If using a trailer, obtain explicit vehicle and trailer approval and include the combination in route access and recovery. The trailer guide explains why single-rear-wheel category compatibility still requires exact confirmation.
Ask about the actual place where the trike can be stored, entrance dimensions, steps, turns, and access hours. A promise of bicycle storage may refer to a narrow rack or staircase. Provide the complete vehicle dimensions and describe any approved folded state.
Confirm security arrangements and whether the vehicle can remain accessible for departure. Do not assume an outdoor rail is a suitable permitted anchor or that staff will lift a heavy trike up steps.
The security guide and folding guide help formulate the questions. Keep material answers with the booking information so the arrival plan does not depend on memory.
If assistance is fitted, use observed range under comparable conditions and leave a practical reserve. Do not plan two days around a maximum marketing claim. The range guide covers the log and recovery margin.
Before booking, ask whether an appropriate charging arrangement is permitted and available. The location must follow the battery and charger instructions, preserve exits, and support presence during charging. A socket offered in a hallway is not automatically suitable.
Use the approved charger and documented battery removal method. The battery-care guide addresses those boundaries. If suitable charging is unavailable, change the itinerary or vehicle plan rather than substituting an unfamiliar charger.
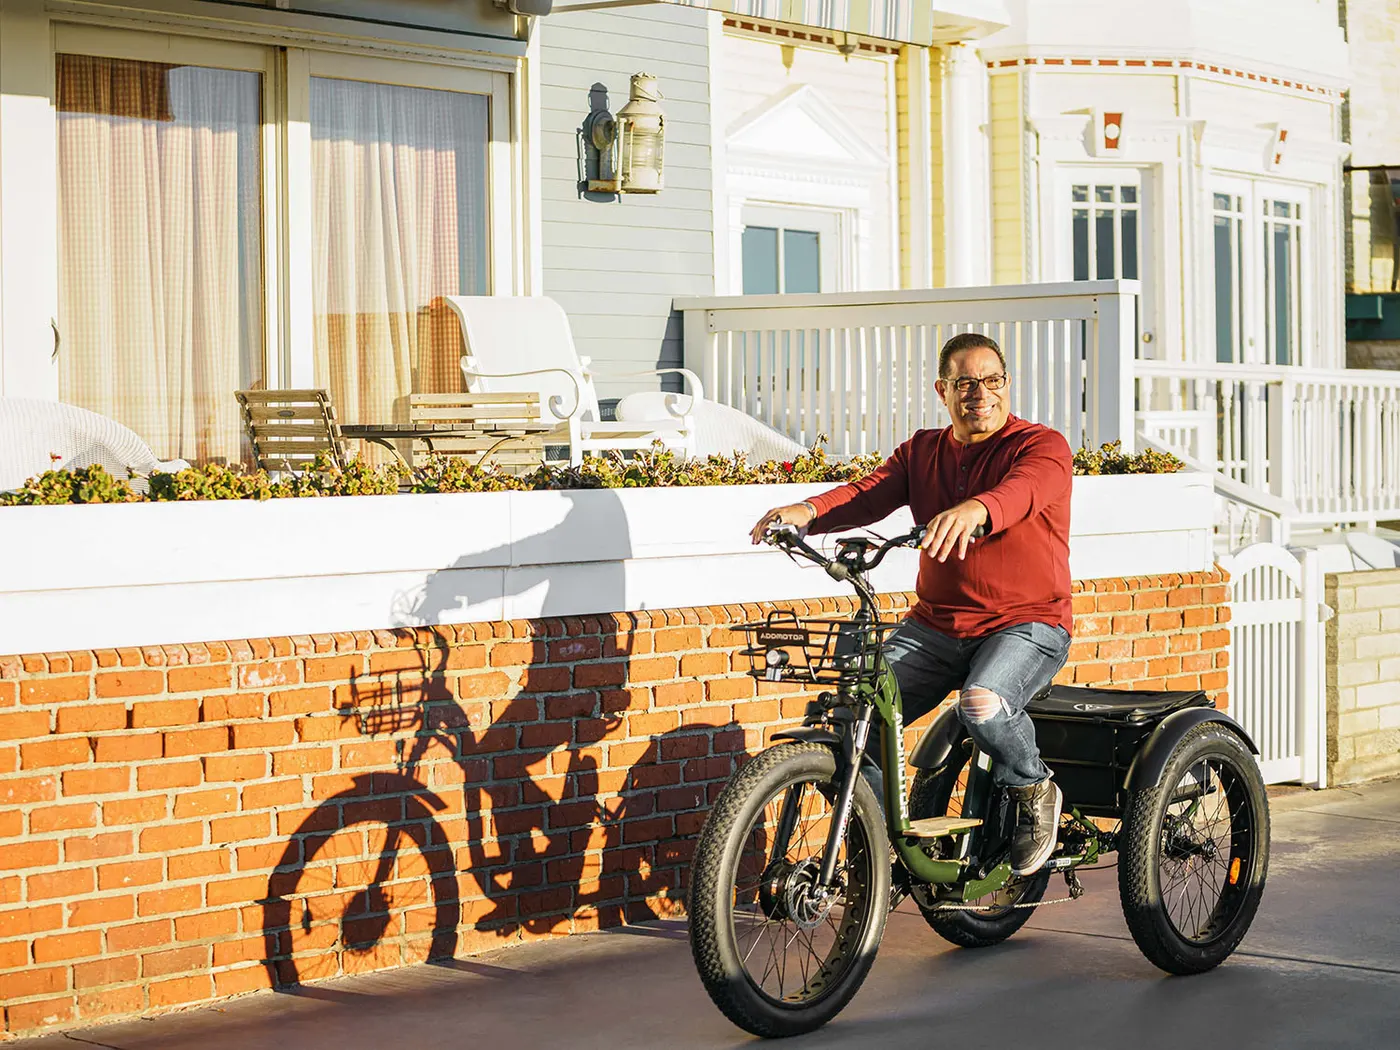
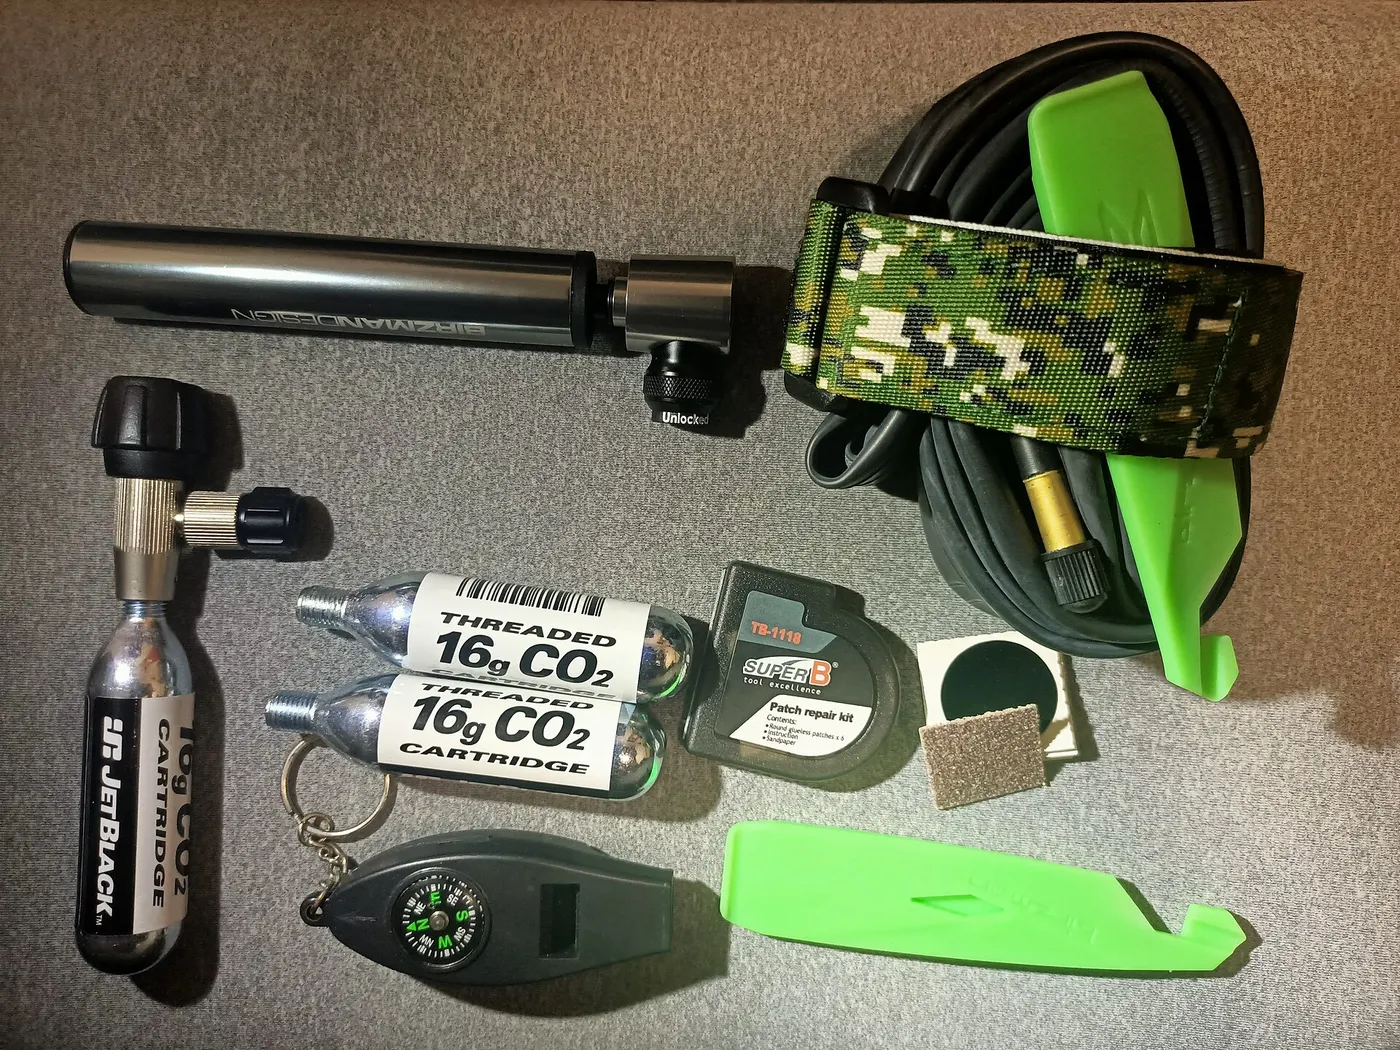
Identify exact tire and tube requirements for every wheel and any compatible basic tools. Mixed sizes may need different spares. Do not assume a generic repair kit covers a specialized motor wheel or axle.
Carry equipment within your knowledge and the manufacturer's owner scope. The puncture guide explains when recovery is preferable to roadside disassembly. A tool you have never used is not a dependable repair plan.
Check service options along the route without assuming any bicycle shop handles the trike. Ask about the exact model and specialized components where necessary. Keep support contacts accessible when mobile coverage is limited.
Prepare the route and alternatives before departure and keep essential information available without relying entirely on one device. Mapping data can be incomplete, and a battery or connection can fail. A paper overview or another suitable backup can support orientation.
Mount any device through a compatible arrangement and stop at a suitable place before making complex changes. Do not stare at an elevation screen while negotiating camber or a barrier. The route ahead remains the priority.
Adventure Cycling's route-planning guidance discusses the different roles of broad maps and digital tools. Use those tools for planning and verification, not as evidence that every path shown is accessible to the trike.
Review conditions for both days and identify shelter, a shorter route, and cancellation or transport options. Use the vehicle's intended-use limits and your ability to see and control it. Rain equipment does not make flooding or strong gusts acceptable.
The rain guide covers drying and electrical boundaries. The night guide covers an unexpectedly delayed return. A first tour is easier to manage when the plan avoids depending on unfamiliar night riding.
At accommodation, dry clothing and bags as appropriate without blocking exits or exposing electrical equipment to moisture. The next day's setup should be inspected rather than assumed unchanged after a wet arrival.
Identify how the whole arrangement can be moved if the rider or vehicle cannot continue. A car suitable for a narrow bicycle may not accommodate a recumbent frame and luggage. Verify opening dimensions, handling, and securing requirements in advance.
If a transport provider is involved, describe the exact vehicle, battery where applicable, and cargo. Check current acceptance and restrictions. Do not assume public transport or a taxi will take the combination because the trike can fold.
Keep an accessible contact and a suitable place to wait. A recovery plan should not require pushing a heavy loaded vehicle for an unknown distance or opening electrical components at the roadside.
Use a short familiar permitted route with the planned approved load. Check restraint, control, lights, pedal clearance, and unloading. Then rehearse storage and any folding or battery steps.
Record the actual problems rather than adding equipment preemptively. A shifted bag or inaccessible lock can often be corrected with a better arrangement. Do not add a trailer simply because the first packing attempt is disorganized.
Repeat the relevant checks after a change. The aim is a load and routine you understand before arriving at unfamiliar accommodation, not a list of accessories bought in response to a generic touring checklist.
| Area | What to confirm |
|---|---|
| Rider and trike | Familiar fit, controls, and documented intended use |
| Route | Current access, surfaces, stops, and both directions |
| Luggage | Defined limits, restraint, and complete envelope |
| Stay | Storage entrance, security, and access hours |
| Electric system | Observed range and permitted charging if needed |
| Recovery | Transport capable of handling the entire setup |
Leave unresolved items visible and change the itinerary when necessary. A slightly shorter first trip with clear logistics can teach more than an ambitious route whose essential storage and recovery arrangements are guesses.
Begin with rides the rider already completes comfortably in comparable conditions. Use that evidence to choose a first day's effort that leaves time for arrival, unloading, and storage. The second day should account for possible fatigue and weather changes rather than repeat the longest-ever distance automatically.
Break each day into manageable sections with identified stopping points and alternatives. Check current access and opening times for relevant gates or facilities. A route that is convenient during one period may be inaccessible when the rider reaches it later.
Add accommodation arrival and departure as tasks in the itinerary. Ask about storage, charging where needed, and any steps or narrow doors. Do not plan the day's riding so tightly that an access problem forces rushed handling or an unapproved battery arrangement.
Keep a shorter return and recovery option. The success criterion is a complete trip within the vehicle and rider's abilities, not meeting a round distance number. A modest first tour can provide better information for the next one than a long journey completed through improvised assistance.
Provide the trike's complete dimensions, approximate handling requirements, and any permitted folded configuration. Ask for the actual entrance width, steps, receiving turn, storage location, and access hours. A bicycle-friendly label is useful discovery information but not a dimensional answer.
For electric equipment, ask about a suitable charging arrangement consistent with the manual and presence during charging. Explain the need without assuming staff will handle or monitor the pack for you. The rider remains responsible for following the approved equipment instructions.
Keep the reply and any photographs for layout context. A photograph may help identify a staircase or gate, but it cannot establish precise clearance or a safe lifting method. Seek measurement or another arrangement when the answer determines whether the stay works.
If a key, staff opening, or reservation is required for storage, confirm the arrival and departure process. Include a realistic alternative if access fails. A good booking question addresses the entire routine, not only whether the trike can be placed somewhere overnight.
An accommodation-based trip may need different luggage from a camping trip. List the actual required items and their compatible storage rather than copying a generic expedition packing list. More equipment adds weight, attachment checks, and unloading work even when the distance is short.
Check every relevant load definition and keep the approved equipment baseline visible. Bags, locks, tools, charger, and other items may count before personal luggage is added. A rack's volume should not become the target for how much to carry.
Pack the representative load for a short shakedown and inspect control, visibility, pedal clearance, and bag movement. Then perform the storage and unloading sequence. An arrangement that rides acceptably can still be awkward to handle at accommodation.
Remove unnecessary items before adding more carrying hardware. A trailer is a separate approval and recovery task, not simply extra space when packing becomes untidy. The first overnight trip is easier to assess when the configuration remains familiar and understandable.
Keep the itinerary, access details, accommodation contact, relevant vehicle instructions, and recovery arrangement accessible. Use a format that does not depend entirely on mobile coverage or one device. A broad overview can help when a digital route suggests an unsuitable shortcut.
Mark the sections whose access was verified and those still requiring caution or a decision on arrival. Do not treat a downloaded route line as proof that every gate is open or every surface is permitted. Update information that is time-sensitive before departure.
Plan navigation changes for stopped use in suitable places. The rider should not search accommodation messages while negotiating camber or a barrier. A compatible device mount helps positioning but does not make screen interaction safe during every riding task.
If sharing the plan with a trusted person, describe the agreed contact and recovery role clearly. This guide does not send messages or create an emergency monitoring service. The practical benefit is that someone with an agreed role can understand the itinerary if help is requested.
After arrival, secure the vehicle, unload, inspect any problems from the ride, and complete permitted charging or drying. Keep wet cargo accessories away from electrical handling areas and preserve exits. Do not postpone an abnormal brake, tire, or control symptom simply because the first day ended successfully.
Prepare the next day's configuration before departure: bags restrained, lights visible, mirrors set, pedal retention checked, and the manufacturer's pre-ride tasks completed. If the luggage arrangement changes, repeat the relevant checks rather than relying on yesterday's shakedown.
Review the weather, access, and rider condition and decide whether the original return remains appropriate. Use the shorter or recovery option when needed. A booked itinerary should not become pressure to ride outside the plan's boundaries.
After returning home, record what was useful and what was unnecessarily complicated. Keep observations tied to the route, load, and actual vehicle. That creates a sound basis for a later trip without turning an illustrative planning guide or personal preference into a universal touring recommendation.
Choose a small number of practical questions before departure: whether the luggage stays restrained, accommodation access is manageable, and the second day's effort fits the rider's evidence. Keep the itinerary modest enough that those observations can be made without pushing through an unsuitable situation.
Afterward, record the answers with the actual configuration and conditions. Do not treat one completed trip as proof of a universal daily distance or a product's long-term durability. The useful result is a better-informed next plan, with equipment and logistics simplified where possible and unresolved tasks addressed before another booking or longer route.
Research-based planning guide; no itinerary, accommodation, or transport service was tested or recommended. No universal daily-distance or medical clearance is provided.
Guide
Choose your first adult tricycle by checking rider fit, storage, weight limits, gears, brakes, assembly, and service before buying.

Guide
Learn how to compare adult electric tricycles for control, fit, batteries, braking, transport, and ownership support.

Guide
Understand the leg and hip muscles used when pedaling a tricycle, plus how fit, resistance, and electric assistance change the effort.