



Guide
First Adult Tricycle Buying Guide
Choose your first adult tricycle by checking rider fit, storage, weight limits, gears, brakes, assembly, and service before buying.
We research everything we recommend. When you buy through our links, we may earn a commission. Learn more
Guide
Choose a replacement tricycle chain by drivetrain compatibility, complete routing, required length and approved joining components.

Updated · 11 min read
A replacement chain needs to match the installed drivetrain and its required length. That sounds simple until a trike has more than one chain run, a long recumbent route, an internal gear hub, a differential assembly, or parts changed by a previous owner. A package advertised for adult bicycles may provide neither the correct chain family nor enough chain to complete the job.
This guide explains how to prepare a replacement purchase and service request. It is separate from cleaning a chain, diagnosing skipping, or selecting gears for hills. It does not provide a universal chain-sizing or installation procedure. The goal is to identify the drivetrain, resolve the approved chain and connector, and account for a trike's actual routing before buying a part or booking work.

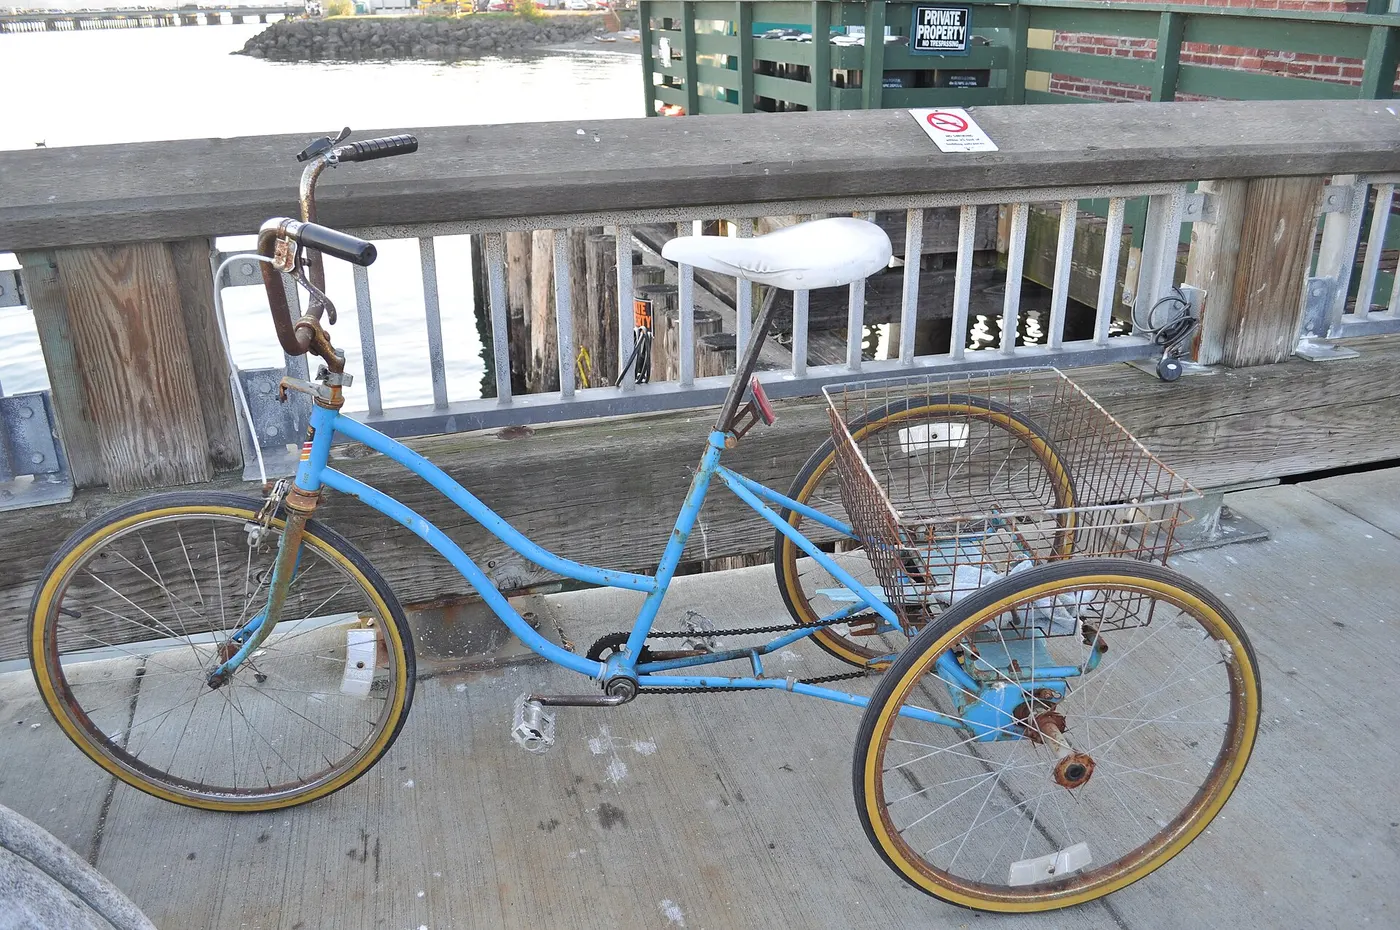
Look at the trike as a complete machine. Does one chain travel from the pedals to the driven wheel, or are there separate primary and secondary runs? Does the chain pass through tubes or idlers? Is there a rear derailleur, an internal gear hub, or a single external sprocket? Record what you can see without opening guards or removing components.
An upright trike with multiple runs may use different specifications in different positions. A long recumbent may require more material than one ordinary bicycle chain package. The drive layout guide explains why the word tricycle does not describe one drivetrain architecture. A sketch with each run labeled is useful when discussing replacement with a shop.
Do not assume a short exposed section represents the entire route. Chain tubes and guards may hide part of a recumbent's system, while an axle arrangement may conceal a secondary drive. If the route is unclear, consult the exact manual or have a technician map it. Buying from an incomplete visual estimate can leave the replacement job short of parts or using the wrong family.
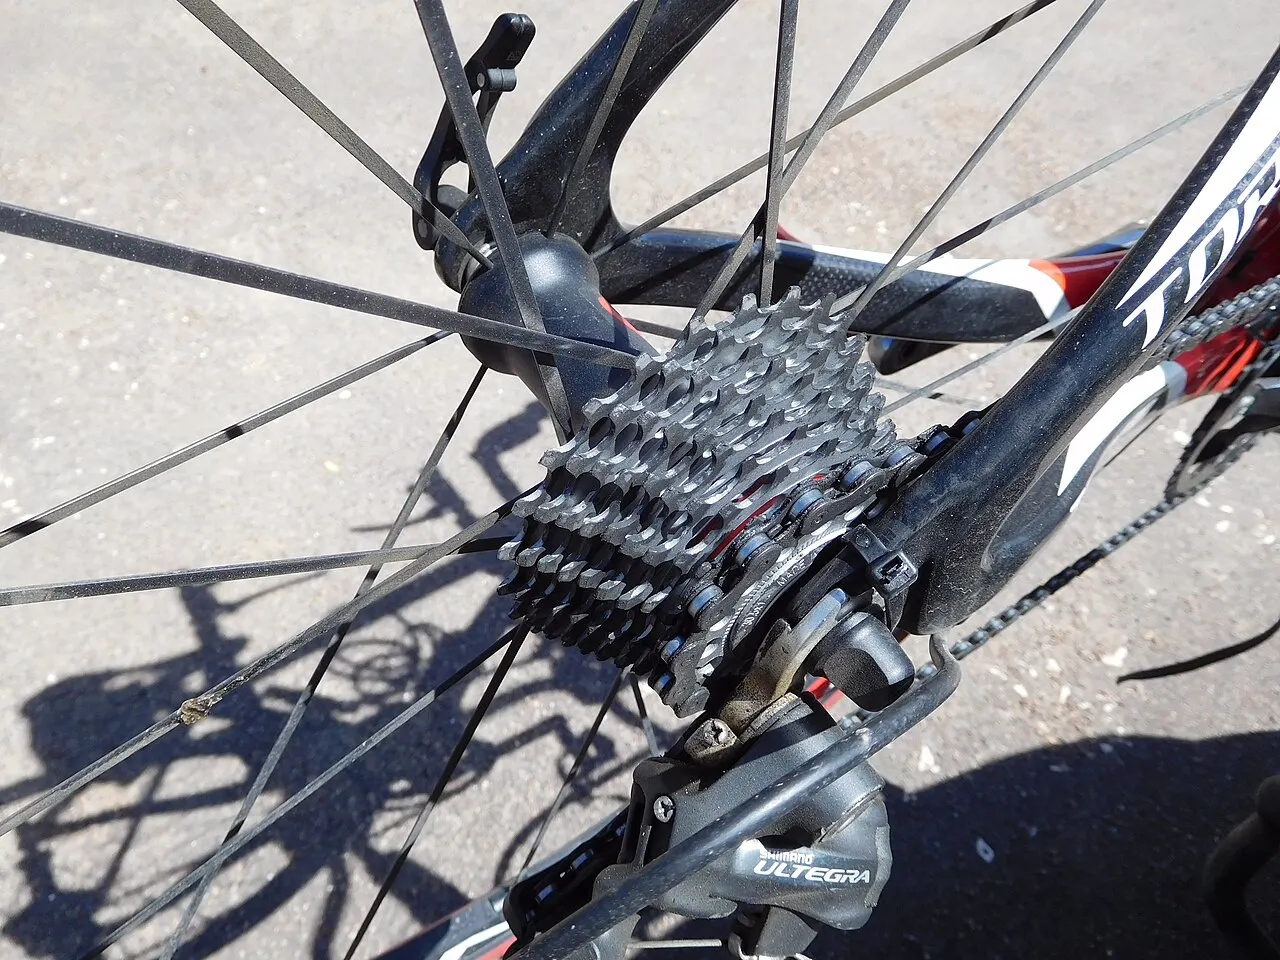
Marketing descriptions such as seven-speed or twenty-one-speed can obscure which component determines chain selection. For a derailleur drivetrain, the rear sprocket arrangement and the manufacturer's system compatibility are important information. Front chainrings also matter. Park Tool's chain compatibility guidance emphasizes that shared pitch does not make every chain interchangeable.
Write down the cassette or freewheel, derailleur, chainring, and existing chain markings where readable. Do not count a motor assistance setting as a mechanical gear. If the rear gears are internal to a hub, record the hub model separately from the number of visible sprockets. The hub versus derailleur guide helps distinguish these systems.
A drivetrain assembled from mixed brands deserves extra care. Some combinations are supported; others need a professional assessment. A chain's speed label is a starting clue rather than a complete compatibility statement. Ask for a specific chain family approved for the installed combination instead of assuming that any product with the same number on the box will behave identically.
Chains vary in dimensions and details that affect how they interact with sprockets and shifting systems. A broad description such as single-speed chain or derailleur chain is useful vocabulary, but it may not be precise enough for a current component family. Certain drivetrain designs use specific chains whose requirements go beyond a generic speed count.
Avoid choosing a chain solely because its links appear to fit around one sprocket while stationary. Correct operation involves the whole system, including shifting where present. A trial fit is not the same as documented compatibility. If a retailer proposes an equivalent product, ask for confirmation against the exact installed components and retain that response.
An internal gear hub does not automatically establish one universal chain width either. The sprockets and chainring fitted to that hub's installation should be considered. Where the vehicle manufacturer specifies the chain, use that part reference as the initial anchor and check whether the drivetrain still matches the original configuration. Previous modifications can change what is needed.
A compatible chain can still be the wrong installed length. An upright bicycle method shown in a video may not account for a recumbent's route, idlers, boom position, or a trike's secondary drive. The replacement plan must identify the correct sizing procedure for the actual assembly. This is a service question even when the owner already knows which chain family to buy.
Do not copy the removed chain's length blindly if its previous sizing is uncertain. A used trike may have an incorrectly fitted chain, and a fit adjustment may have changed the required route. The old chain can provide useful information to a technician, but it is not proof that the new one should duplicate every detail. Explain recent boom, chainring, or drivetrain changes.
For a long recumbent, ask how many packages and approved joining components are required. A quoted chain price may refer to one package rather than the complete installed length. Clarify whether the estimate includes all chain material, connectors, sizing, routing, and checks. This avoids a purchase that looks affordable but covers only part of the replacement.
On some recumbents, changing the pedal position affects chain length or routing. Establish the intended rider fit before final sizing according to the vehicle instructions. A chain selected for one configuration may need reassessment after an authorized change. The recumbent crank and fit guide discusses the surrounding fit decisions without offering a universal sizing formula.
Record the setup that will remain after service: rider, boom position if applicable, chainrings, and any approved chain-management equipment. If several people share the trike, ask the maker or shop how its design accommodates their adjustments. Do not assume a single fitted length covers every position just because the trike can physically be adjusted through that range.
Where the maker offers a specific chain-length management system, identify that equipment and its instructions. Its presence should not be inferred from a generic model photograph. A secondhand trike may lack an option shown in promotional images. Give the service provider photographs of the actual vehicle so the replacement plan describes the installed setup rather than an imagined one.
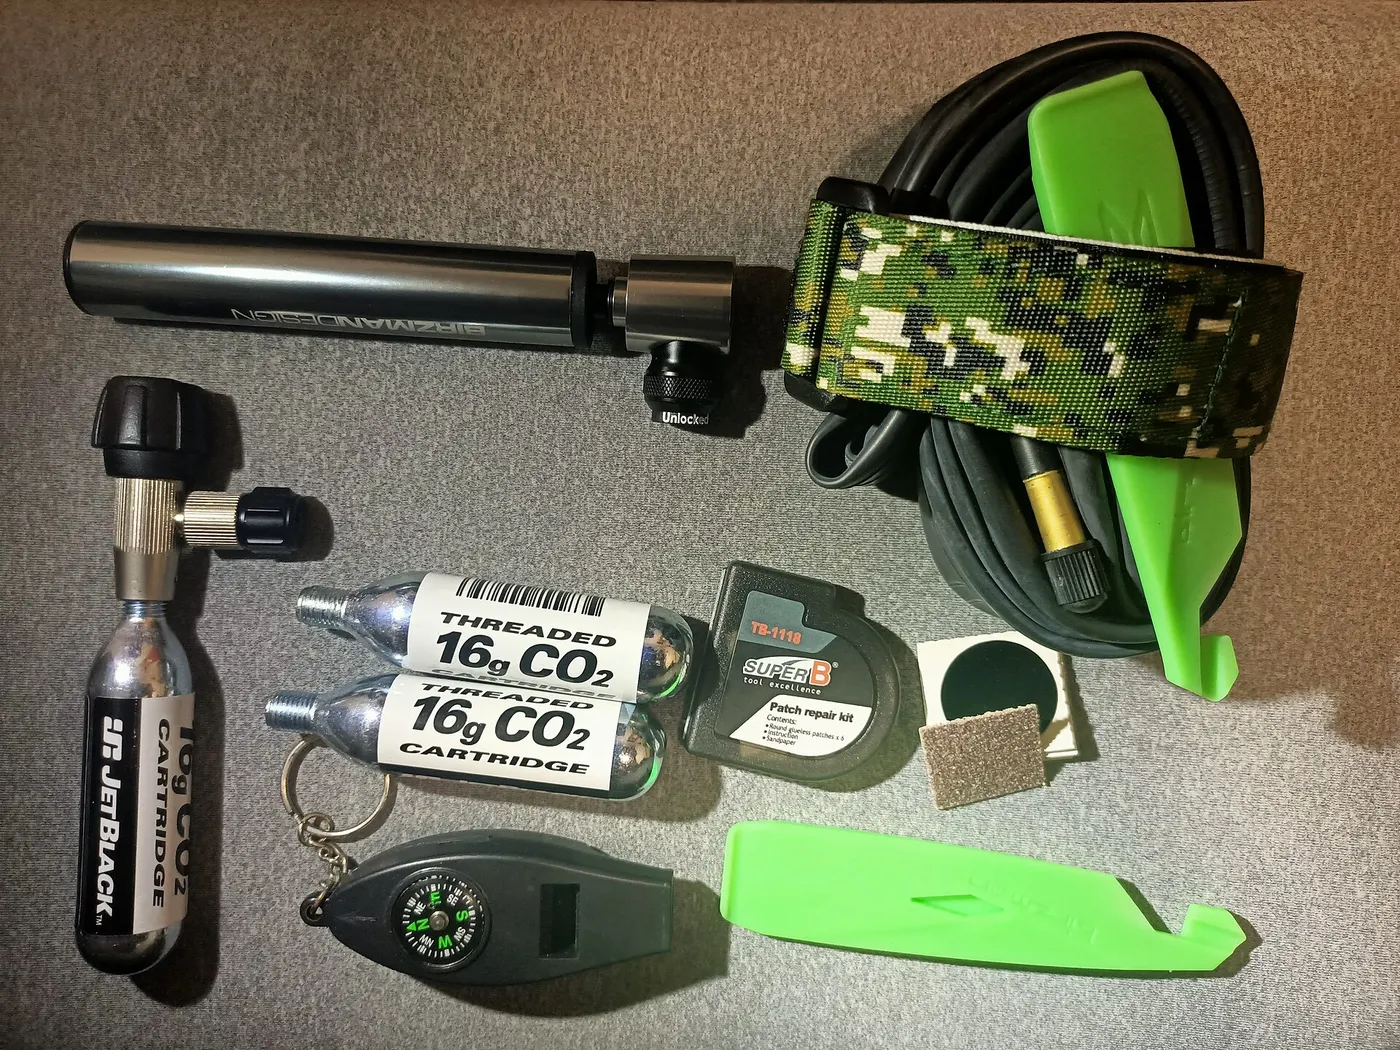
A joining link or connecting pin must be compatible with the chain family and used as its maker instructs. A connector marketed for a similar speed count is not automatically interchangeable. Reuse rules, orientation, installation tools, and inspection requirements can differ. Read the chain and connector documentation together before treating a small spare link as a universal rescue part.
Keep the connector in its labeled package until needed. A loose joining link in a tool bag can become difficult to identify, particularly in a household with several cycles. Write the intended chain model on the repair-kit inventory. This is more reliable than trying to distinguish similar small parts at the roadside when lighting and working conditions are poor.
Do not install an unidentified connector simply to complete a chain that arrived without one. Ask the supplier whether the package is complete and what joining method the maker requires. A correct chain purchase can be undermined by an unsuitable connection. The service invoice should identify the installed chain and connector so the next replacement starts from known information.
Electric tricycles can have hub motors, mid-drive systems, or other arrangements, and the chain's role differs across them. A product labeled e-bike chain may be suitable for some systems but not every trike. Compatibility with the installed mechanical components remains essential. Ask the drivetrain or vehicle maker which chain is approved rather than using the electric label as the complete specification.
The motor architecture guide explains the broader distinction. For chain selection, document whether and how the motor interacts with the pedal drivetrain. Avoid claiming that a stronger-looking chain increases the vehicle's permitted load or makes an unsuitable hill route acceptable. Chain replacement does not alter the complete trike's operating limits.
During service preparation, follow the vehicle's power handling instructions. Do not run assistance to move a chain while reaching into the drivetrain. A stable support arrangement and appropriate isolation are separate prerequisites for mechanical work. If they cannot be established at home, arrange shop service rather than turning a buying task into an improvised repair.
This article does not set a universal mileage interval for chain replacement. Use the chain and drivetrain maker's wear criteria and the appropriate inspection method. A chain that looks clean can be worn, while a dirty chain is not necessarily beyond its service limit. Appearance alone should not determine the purchase or return-to-use decision.
If the chain skips, consult the chain skipping observation guide rather than assuming a new chain will solve the problem. Other drivetrain condition or setup issues may be involved. Explain the symptoms when requesting service so the technician can assess the system, not merely fit the part you already selected.
Ask whether related sprockets or chainrings require assessment. A replacement chain is not a complete diagnosis of the drivetrain. A quote that includes inspection can differ from one for simple installation. Keep the scope visible when comparing prices and discuss what happens if the shop finds additional wear or incompatibility during the work.

A chain may pass through components that guide or protect it. Replacement must preserve the correct route and any manufacturer requirements concerning those parts. A chain threaded through the wrong path can create contact or interfere with operation even if its family and length were otherwise appropriate. Record routing before work and use the exact vehicle instructions.
The chain tube and idler guide covers those components more fully. For the purchase, ask whether they need inspection or service at the same appointment. A damaged guide should not be ignored merely because the chain is the item on the shopping list. Related work may be practical when access is already available.
On an upright trike, a guard may make owner observation difficult. Do not force it aside or remove unfamiliar fasteners to read a marking. The shop can identify the chain during approved access. Tell the provider about limited access when requesting an estimate, since removing and reinstalling surrounding equipment may affect the work involved.
Use a supplier that identifies the actual chain model, package length, connector inclusion, and compatibility clearly. Keep the order confirmation and compare the delivered label with it. If the package differs from the listing, resolve the discrepancy before installation. An opened or shortened chain can be harder to return, and a substitution should not be accepted without a compatibility check.
Avoid treating a low price as evidence of equivalence. Two chains may serve different component families or include different quantities. Compare like-for-like specifications and the full installed cost. For a long recumbent, a chain with a slightly higher price per box might still be quoted differently because the required number of boxes or connectors varies.
Do not scrape manufacturer labels off spare packaging or discard the instructions before the job is complete. They establish what was installed and how it should be joined. Once the service is finished, transfer the model and relevant part information into the trike record. That small administrative step makes future maintenance and roadside-kit preparation much more dependable.
Imagine two riders sharing a recumbent trike after a fit adjustment. The owner notices that the chain replacement quote covers only one ordinary package. Instead of ordering immediately, the owner sends photographs of the drivetrain, its guiding components, and the intended fit arrangement. The shop confirms the chain family, complete length requirement, and joining method before providing a revised scope.
The decision also clarifies how the trike may be adjusted between riders and whether its installed equipment supports that arrangement. The purchase now describes the actual task rather than an assumed bicycle chain replacement. It does not promise that every shared recumbent uses the same solution; it demonstrates why fit, length, and routing belong in the same service conversation.
For an upright trike with two chain runs, the equivalent worksheet has two rows. Each row identifies its function, approved chain, length procedure, and connector. If the manufacturer specifies different parts, the record preserves that distinction. The owner can then keep the appropriate spare without assuming that one package will service both positions.
After installation, record the chain model, joining components, date, and any associated sprocket or guide work. Follow the manufacturer's and technician's return-to-use instructions. If shifting, rubbing, or skipping remains abnormal, report it promptly instead of assuming it will disappear because the chain is new. The installed system should be assessed as a whole.
Store the remaining labeled material only if the manufacturer and provider confirm how it may be used. A short leftover piece is not automatically a useful repair spare. Keep connectors separately identified and follow their reuse rules. The maintenance checklist can include inspection and cleaning without replacing the component maker's actual wear and service instructions.
Before comparing chain replacement prices, write the scope in ordinary language. State how many chain runs are involved, whether the recumbent route requires multiple packages, and whether the final rider fit has been established. Ask whether the quote covers compatible joining components, access through guards or tubes, and assessment of the surrounding drivetrain. An estimate that covers only one retail chain is not directly comparable with a complete installed replacement on a long or multi-run trike.
Where the shop cannot confirm the required parts without seeing the vehicle, separate the inspection estimate from the final repair estimate. This is a reasonable limitation when the installed components differ from the original specification or their markings are hidden. Ask how further work will be approved and which findings will be reported. A clearly bounded inspection is more useful than a guessed fixed price that later needs several unexpected additions.
When collecting the trike, ask the technician to identify the completed chain route and any parts changed beyond the chain itself. Retain the explanation with your photographs and component list. If an old spare connector is no longer suitable after the replacement, update the repair-kit inventory as well. The maintenance record and trip kit should describe the same installed system, so a later roadside decision is not based on obsolete equipment information.
Research-based buying guide, reviewed 14 October 2026. No hands-on chain comparison, sizing, or installation was performed.
Guide
Choose your first adult tricycle by checking rider fit, storage, weight limits, gears, brakes, assembly, and service before buying.

Guide
Learn how to compare adult electric tricycles for control, fit, batteries, braking, transport, and ownership support.

Guide
Understand the leg and hip muscles used when pedaling a tricycle, plus how fit, resistance, and electric assistance change the effort.