



Guide
First Adult Tricycle Buying Guide
Choose your first adult tricycle by checking rider fit, storage, weight limits, gears, brakes, assembly, and service before buying.
We research everything we recommend. When you buy through our links, we may earn a commission. Learn more
Guide
Check adult tricycle fender compatibility, mounting, tire clearance, steering and suspension movement, spray protection, and debris inspections.

Updated · 12 min read
Fenders can reduce some spray reaching the rider and cargo, but a loose or incompatible part can contact a tire, interfere with steering, or obscure equipment. Adult tricycles also have three wheel paths and often unusual rear mounting points, so a bicycle fender set should not be assumed to fit.
This guide explains selection, inspection, and the questions to ask before installation. It does not provide a universal bracket-bending or fastener procedure. Use the exact tricycle and fender instructions and qualified service when fit or clearance is uncertain.
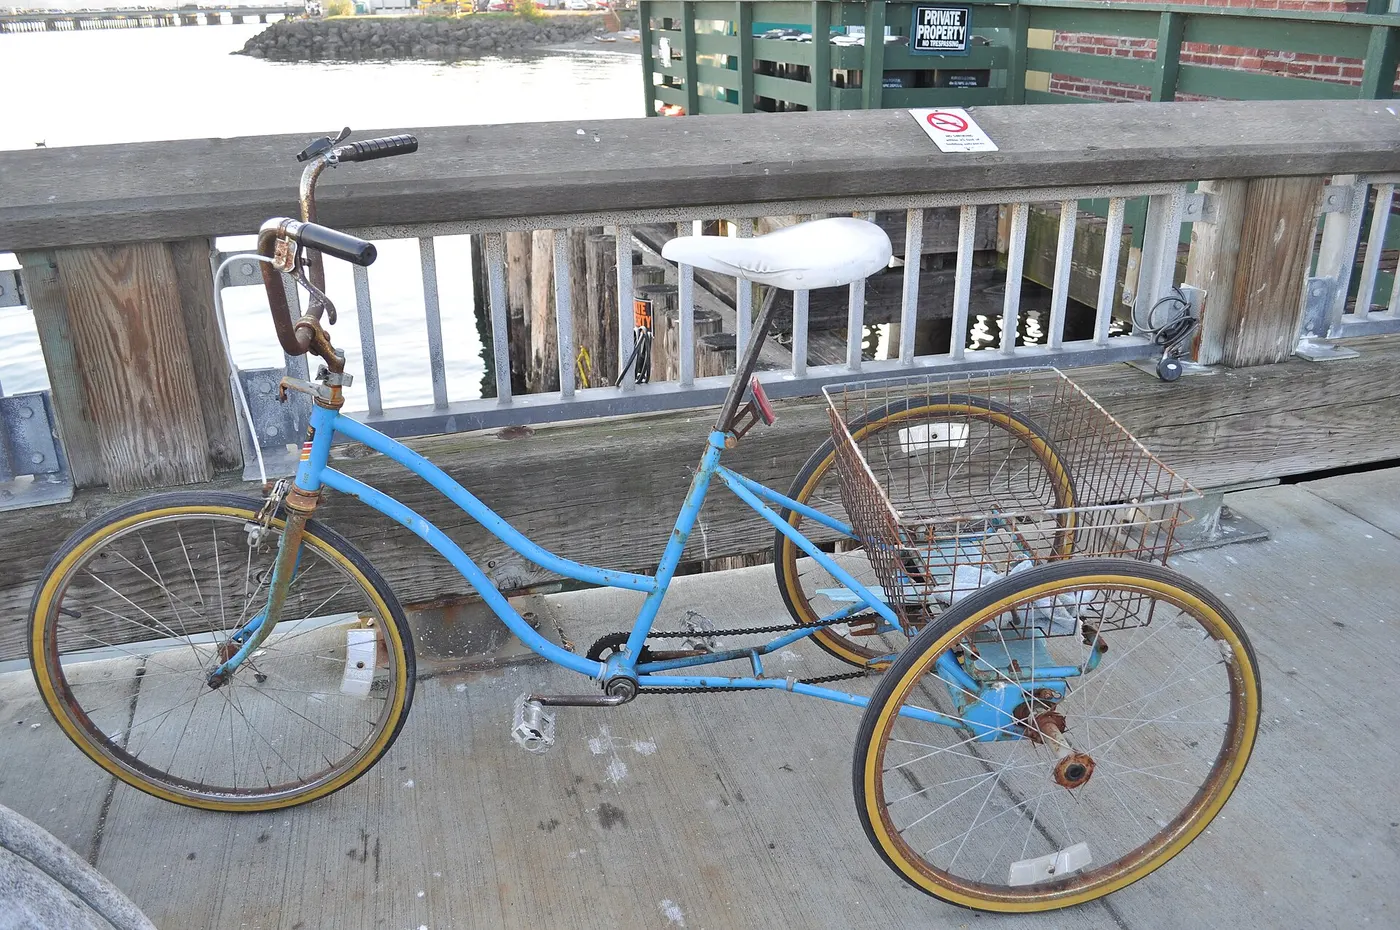
Record the tricycle's layout and each wheel's exact tire specification. A delta has one front and two rear wheels; a tadpole reverses that arrangement. Front and rear shapes, mounting points, and steering behavior can differ even when tire diameters match.
Ask whether the offered kit covers the complete model and configuration. A product photograph may show another version or omit a rear pair. The wheel-size guide explains why nominal inch labels are not enough.
Check whether existing lights, reflectors, racks, and brakes share mounting areas. Installation should preserve all intended functions rather than relocate a safety component to an unsupported place simply to make the fender fit.
Use the manufacturer's compatible size range and measurement method. A fender can match diameter while being too narrow for the tire or too close to the tread. A larger tire can also change outside dimensions without changing the broad sales category.
Do not select a near-fit and rely on flexing the plastic during every ride. Clearance must remain suitable through the prescribed steering and suspension movement. Ask about an approved alternative if the actual setup falls outside the kit's range.
The fat-tire guide treats complete-vehicle comparisons separately. A fender should fit the approved tire configuration, not become another reason to modify the frame around oversized rubber.
Identify brackets, stays, spacers, fasteners, and any model-specific supports from the instructions. A hole that accepts a bolt is not necessarily a structural fender point. Do not drill a frame or substitute an unrelated clamp without approval.
Follow tightening and assembly order for the exact product. Some maker-specific procedures include forming or positioning parts, but that should not be generalized to every stay or material. EVELO's Compass instructions illustrate how detailed a particular installation can be.
The accessory guide helps separate physical attachment from complete suitability. Keep unresolved hardware questions open and obtain the correct parts before riding.
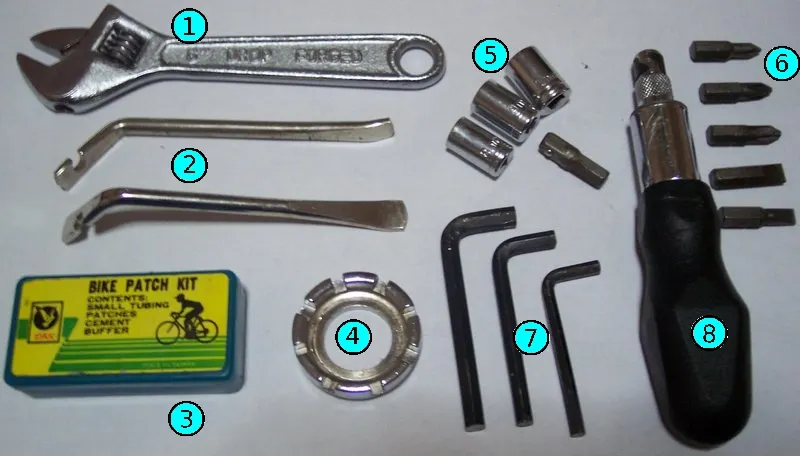
Check the front fender and any stays through the permitted steering movement while the vehicle is appropriately secured. Look for contact with the frame, basket, brake components, wiring, or the rider's normal foot position.
Do not assume a straight-ahead gap proves a turn is clear. A fender mounted to a steering part can move relative to nearby equipment. Complete the prescribed static checks before any controlled trial.
If the arrangement contacts or binds, stop and seek the approved correction. Do not ride to see whether the material wears away. The turning guide covers riding control; it cannot resolve a mechanical interference.
Use the suspension and fender instructions to check the intended movement. A stationary unloaded gap can change with rider, luggage, or mechanism travel. Do not invent a universal spare-space measurement for every tricycle.
Check racks and bags as well as the fender itself. A shifted bag can push a stay or fabric against a wheel. The suspension guide explains why exact configuration and setup matter.
Get qualified inspection when the process requires handling or measurements beyond your skills. A visible gap in a photograph does not establish full-motion clearance or structural compatibility.
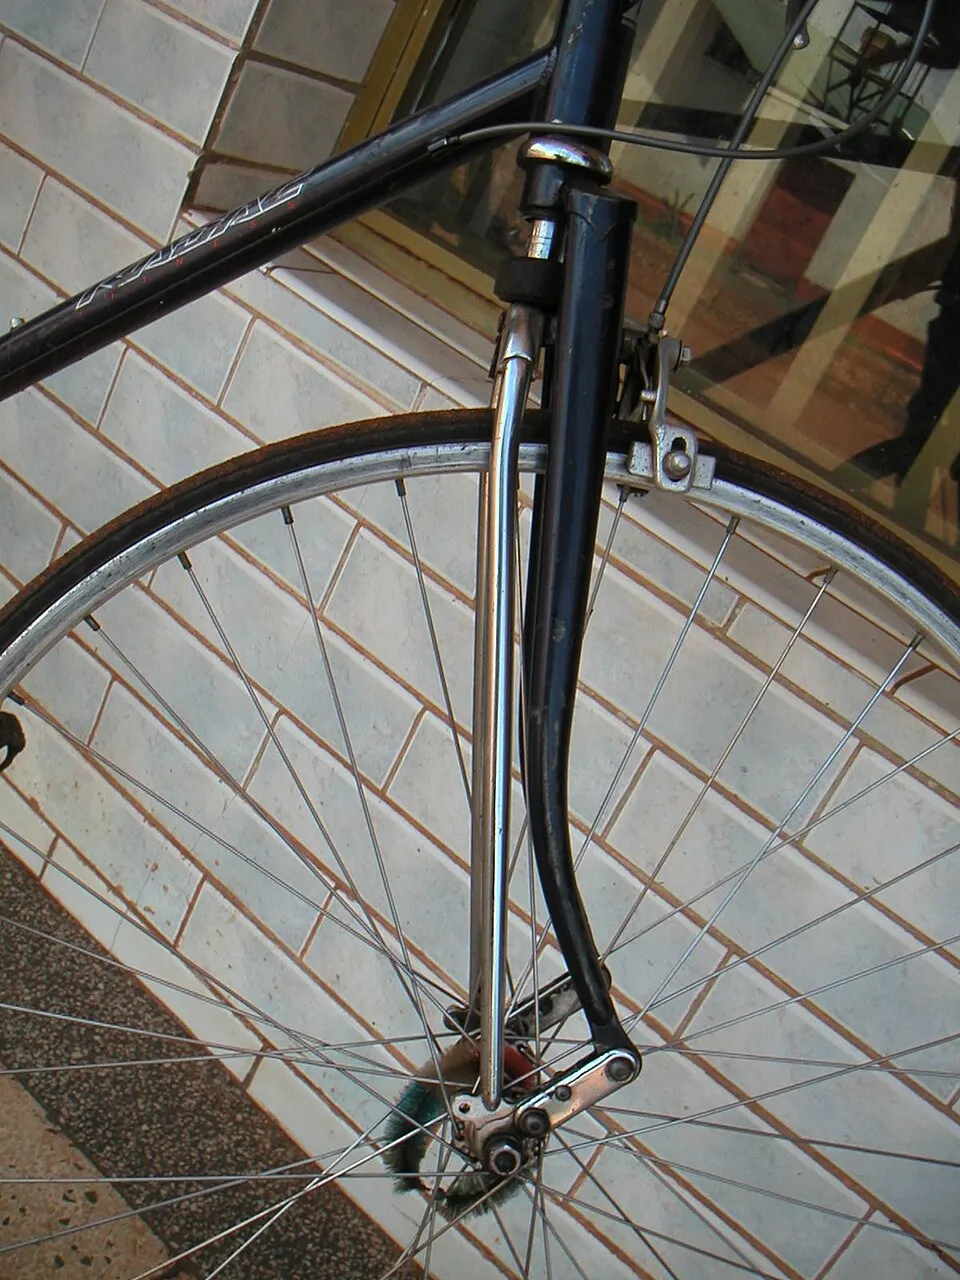
Inspect both sides and do not assume symmetry proves correct fit. Mounting, brake equipment, drive parts, and cargo supports can differ. A stay clear on one side may contact another component on the opposite side.
Check the rider's access, basket use, and parking routine with rear fenders fitted. A protruding part can become an obstacle during entry or storage even when it clears the tire. The mounting guide covers the full entry task.
Preserve required reflectors and lamps. Some original equipment mounts them on or near fenders, so removal or replacement needs the model's approved arrangement rather than leaving the function incomplete.
A fender can intercept some spray but does not protect every angle or make a basket bag waterproof. Rain, splashes from another vehicle, and water entering from below remain separate exposures. Read each accessory's actual limitations.
The basket-bag guide covers water claims, fastening, and unloading. Do not move a light behind a tall bag to fit a new fender support or use fabric that can sag into the wheel path.
For ordinary permitted wet rides, use the vehicle's weather instructions and conservative route decisions. The rain guide explains why equipment coverage does not permit flooding or excess electrical exposure.
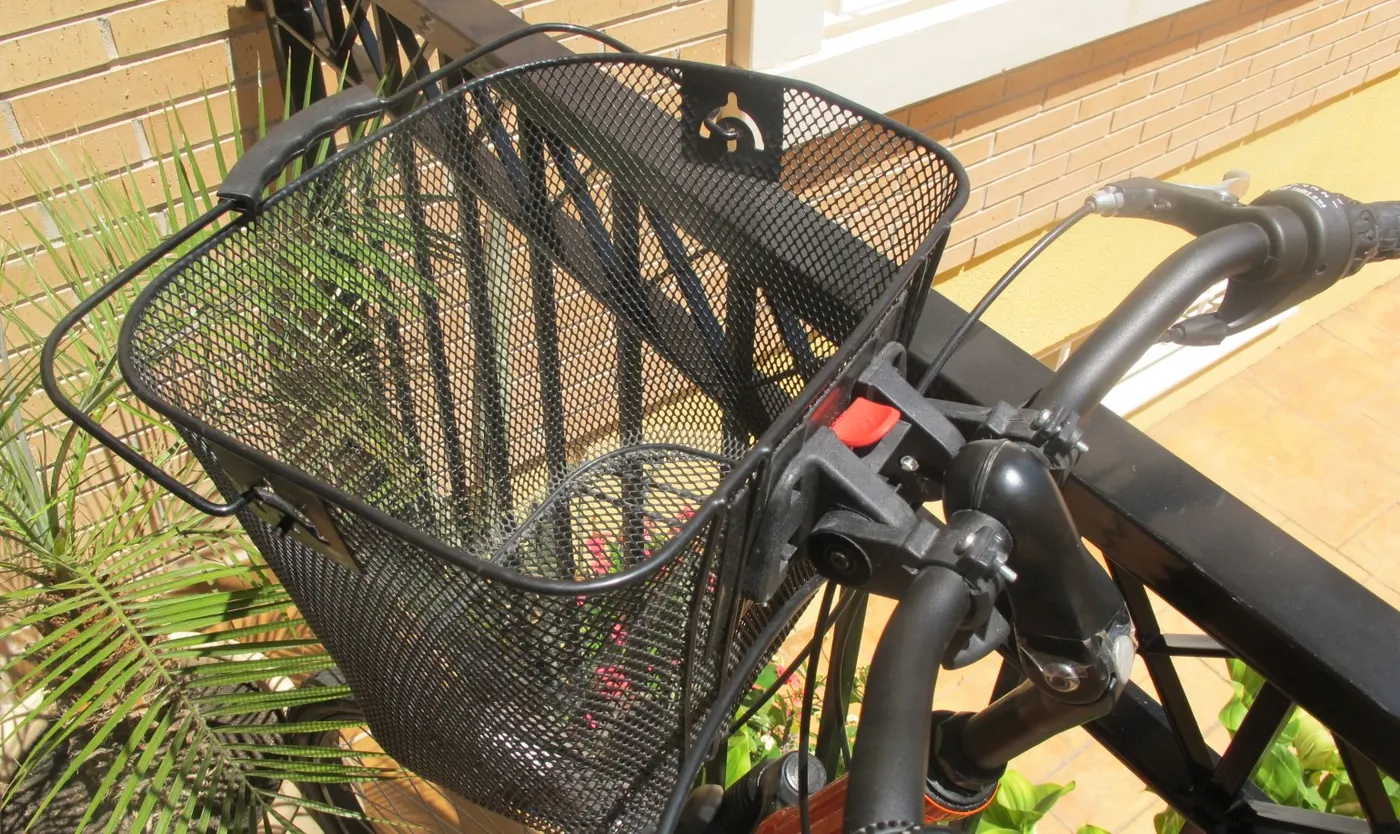
Inspect according to the manufacturer's schedule and after a significant knock or changed behavior. Mud, leaves, or another object can create contact even when initial fit was correct. Stop safely before inspecting; keep fingers clear of moving wheels.
Do not pull debris from a powered or rotating assembly. Disable the system as instructed and use only permitted owner checks. If a stay or fender is damaged or displaced, arrange the appropriate correction before riding.
Record when rubbing or noise occurs: straight travel, a turn, loaded use, or after transport. That helps a mechanic identify the condition without the owner guessing which bracket to bend.
Noise near a wheel can involve a fender, brake, tire, bearing, or another accessory. Describe the location and conditions rather than immediately tightening fender hardware. A brake issue should not be treated as harmless plastic contact.
Use the brake guide and maintenance checklist for the appropriate boundaries. Stop for binding, strong drag, wobble, or unpredictable control.
If the cause remains unclear, seek qualified assessment. Do not continue because the noise only appears under load; that pattern is useful evidence and still deserves a correct explanation.
Read whether the fenders remain fitted during folding or loading. A stay or guard can approach a hinge, wheel support, or carrier strap. Riding compatibility does not automatically establish transport compatibility.
The folding guide and carrier guide cover those sequences. Do not use a fender as a lifting handle or load-bearing restraint point.
After travel, inspect position and clearance before riding. A light knock during loading can shift a part without obvious external damage. Keep the check in the departure routine rather than relying on the original installation.

Ask what a complete fitting service includes: exact parts, installation, movement checks, lights or reflector preservation, and a rider handover. A shop attaching the parts without assessing the actual configuration may leave important questions unresolved.
Obtain current compatible-part information and a quote where price matters. Do not compare a bare kit with a prepared installed arrangement as if the scope were identical. The ownership-cost guide provides that comparison method.
If a universal kit requires unapproved drilling or repeated improvised adjustment, a model-specific solution or another vehicle arrangement may be preferable. The goal is a durable manageable routine, not simply filling the space above each tire.
Record model, kit identity, hardware, approved adjustments, and the service provider where used. Keep the instructions available for later inspections and replacements. An old product photograph is weaker than the actual parts record.
After a tire or suspension change, recheck the fender through the prescribed process. The original fit may no longer apply. Update the record rather than ordering replacements only from the tricycle's sales name.
For shared vehicles, explain any changed access or folding step. A seemingly small accessory can alter the handler's routine and deserves a clear handover.
| Area | What to verify |
|---|---|
| Identity | Exact tricycle layout and wheel/tire configuration |
| Kit | Intended mounts, materials, and included parts |
| Movement | Steering, suspension, and all wheel clearances |
| Other functions | Brakes, wires, lights, reflectors, and cargo |
| Routine | Entry, folding, loading, storage, and inspection |
| Service | Approved adjustment and replacement path |
Use the worksheet with the retailer or mechanic. Keep uncertain entries open rather than turning a nominal diameter match into complete approval. A well-fitted system reduces an ordinary spray problem while preserving the tricycle's other functions.
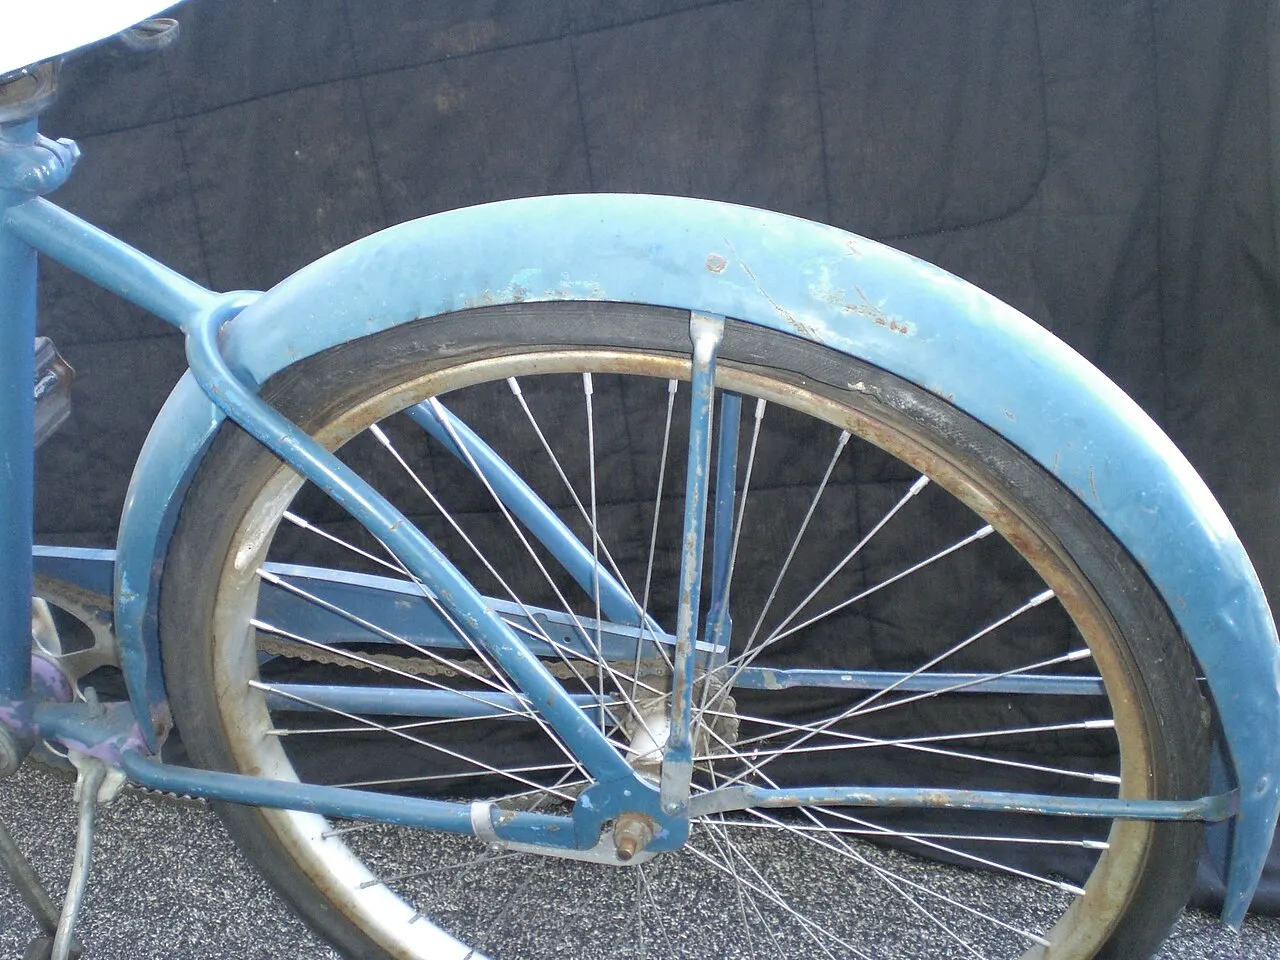
A mudguard intercepts some material thrown from a particular wheel. It does not form a sealed enclosure around the trike. An upright adult tricycle may have separate guards over its rear wheels and a different assembly over the front wheel, while a recumbent uses another layout. The direction of spray depends on wheel location, guard shape, road conditions, and movement. Evaluate the areas the product is designed to protect rather than assuming that three guarded wheels keep every rider, bag, and electrical connection dry.
Ask whether the product includes the complete set for your vehicle. A photograph can show a front guard beside two rear guards, while the listing sells only one component or omits mounting hardware. Confirm the part numbers, quantities, brackets, stays, and required small parts. If an installation uses a proprietary bracket, a superficially similar spare may not establish the intended position. Obtain the complete approved combination instead of adapting an incomplete set around whatever holes happen to be available.
Also distinguish a decorative wheel cover from a functional spray-control assembly. A short shield may have a different intended role from a full-length fender. Read the description and instructions to learn what the maker claims, then compare that role with your route and cargo. Neither style changes the vehicle's permitted exposure to water. Continue to follow the relevant drying, electrical, and storage instructions even when less spray reaches the rider or basket.
Write down the exact trike model, year, tire designation, and actual fitted tire. Replacement tires may differ from the originals in width or profile, so the model name alone is incomplete. Note whether suspension is present, which mounting points the manual identifies, and which accessories share those points. Include the basket, lights, mirror hardware, brakes, and any trailer arrangement that could occupy the same space. Photographs can explain these relationships more clearly than a list of isolated dimensions.
Request the dimensions and clearance method specified by the fender maker. Do not choose a universal gap based on an unrelated bicycle tutorial. Required clearances may depend on the tire, guard stiffness, bracket arrangement, suspension travel, and expected operating conditions. A guard that clears the unloaded wheel in one position can still be unsuitable elsewhere in the approved movement. This is why fit checks need the exact installation instructions rather than an impression that the tire looks smaller than the guard.
When instructions are unavailable, ask the seller to supply them before buying. A product title naming a wheel diameter is not enough to resolve mounting or movement. If the answer relies on bending, drilling, or substituting hardware, establish whether that action is expressly included in the exact procedure. The EVELO example cited in this guide includes model-specific positioning and adjustment; it should not be treated as general permission to reshape every fender stay.
Follow the maker's specified checks for steering, wheel movement, and suspension where applicable. Keep hands clear of moving wheels and do not perform a road test to discover a potential interference that should have been checked during installation. If the work requires lifting the vehicle, supporting it, or evaluating suspension travel beyond your skills and equipment, have a qualified shop complete the procedure. A trike's unusual shape can make a familiar two-wheel work stand unsuitable.
Look for contact with more than the tire. A stay can conflict with a brake cable, a bracket can obstruct a light, and a guard edge can interfere with an accessory or a restraint used in transport. Check each relevant configuration through its approved instructions. If a folding trike has different operating and storage positions, both need consideration. Do not assume a guard that works while riding will permit folding or fit a carrier without a separate clearance assessment.
After installation, retain the hardware specification and setup notes. If something loosens, the correct response is to inspect the joint and follow its instructions, not simply increase tightening force. A cracked bracket or distorted guard is not repaired by making the bolt tighter. Repeated changes in position deserve investigation. Document when the movement occurs and ask the manufacturer or service shop to assess the cause before returning to ordinary riding.
An unusual scraping sound, sudden drag, visible obstruction, or changed guard position is a reason to stop in a safe place. Do not reach into a moving wheel or continue riding in the hope that debris will clear itself. Inspect only after the trike is stationary and secured appropriately. Follow the maker's procedure for removing debris, and seek service if the guard, bracket, wheel, or tire appears damaged. Releasing an obstruction does not prove that no component was affected.
If your route repeatedly packs material into the guard, discuss the operating conditions with the trike and fender makers. The answer may involve a different approved configuration or a different route, rather than trimming the guard or removing a safety feature. Avoid universal advice to remove fenders in mud because the relevant assembly and conditions differ. A guard's suitability should be assessed against its intended use, not against a single successful outing after an improvised modification.
Include the guard assembly in routine checks after cleaning, transport, and work around the wheels. Look for newly displaced parts and interference before riding. Cleaning should follow the vehicle and guard instructions; forcing water into nearby bearings or electrical parts is not justified by a dirty fender. Dry and inspect through the approved routine. The practical benefit of a well-chosen mudguard is that it reduces the cleanup burden while remaining compatible with steering, braking, cargo, and normal maintenance.
Photograph the approved assembly from enough angles to show bracket orientation, cable clearance, and the completed mounting arrangement. Keep those images with the exact instructions and part numbers. They can help when a component is removed for another permitted service task, but they do not replace the procedure or prove that a changed tire still fits. If the configuration changes, update the record after compatibility has been established. This is especially useful for a shared trike, where the person cleaning or transporting it may otherwise mistake a displaced guard for its normal position.
Research-based selection guide; no fender kit was fitted or spray-tested. Manufacturer procedures govern the actual installation.
Guide
Choose your first adult tricycle by checking rider fit, storage, weight limits, gears, brakes, assembly, and service before buying.

Guide
Learn how to compare adult electric tricycles for control, fit, batteries, braking, transport, and ownership support.

Guide
Understand the leg and hip muscles used when pedaling a tricycle, plus how fit, resistance, and electric assistance change the effort.