



Guide
First Adult Tricycle Buying Guide
Choose your first adult tricycle by checking rider fit, storage, weight limits, gears, brakes, assembly, and service before buying.
We research everything we recommend. When you buy through our links, we may earn a commission. Learn more
Guide
Plan a compatible adult trike wash around materials, separate tools, brake contamination, electrical restrictions, drying, and final checks.

Updated · 12 min read
An adult tricycle cleaning routine should remove ordinary dirt while preserving the condition of brakes, bearings, finishes, and electrical equipment. The useful starting point is the exact vehicle's cleaning instructions, followed by a modest kit that suits the permitted method. A large selection of chemicals does not improve a routine that applies the wrong product to a sensitive component.
This guide covers organizing the whole cleaning job, selecting compatible supplies, and inspecting the result. It leaves detailed drivetrain work to the chain cleaning and lubrication guide and exposure damage to the corrosion and salt guide. Cleaning is neither a mechanical repair nor evidence that a dirty-looking concern was harmless.
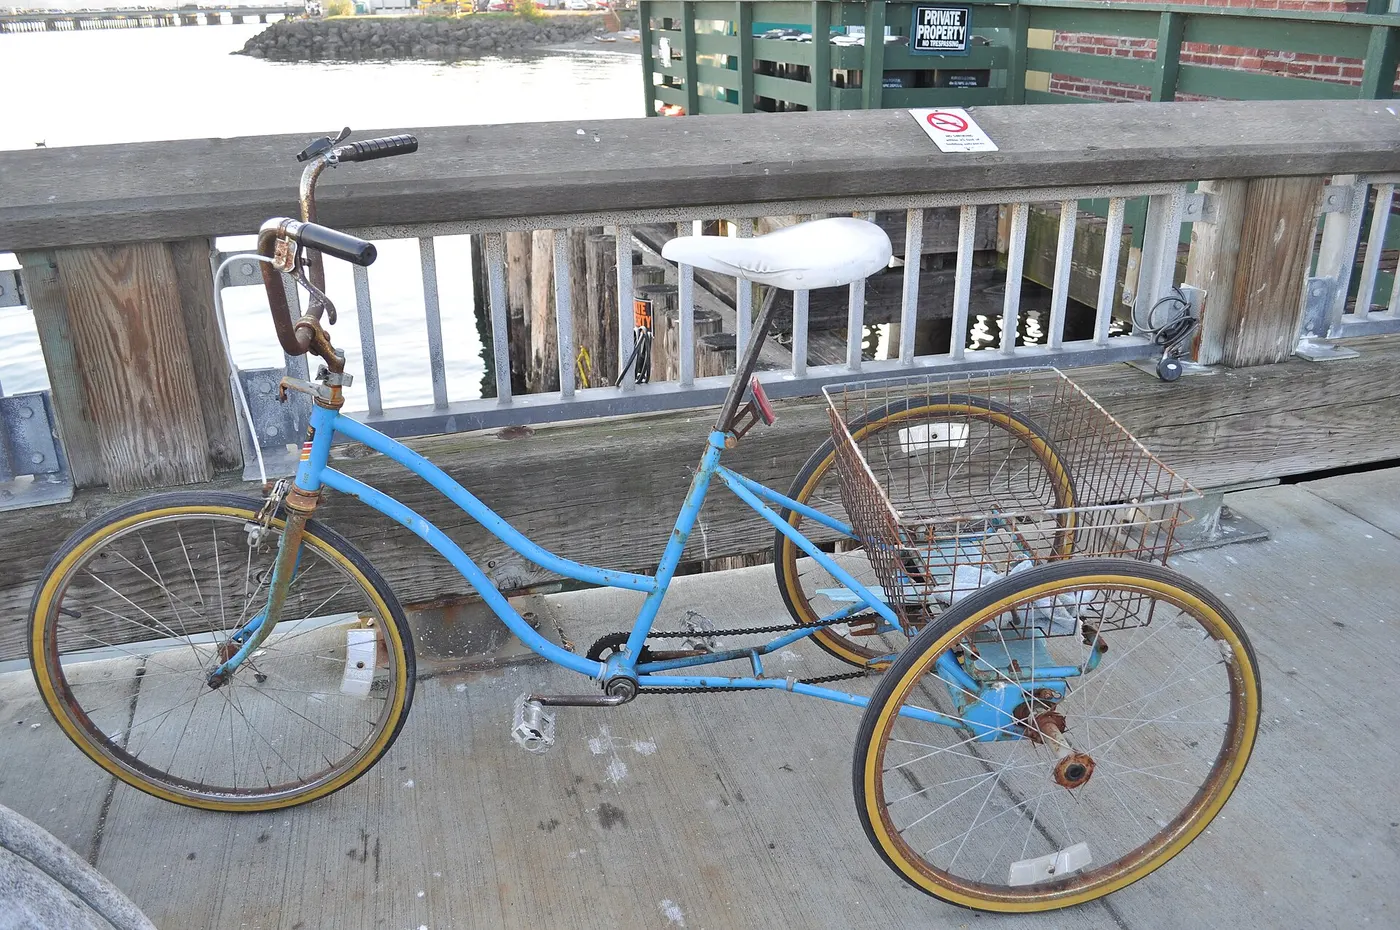
Identify the exact model and relevant components. An electric trike can combine painted metal, plastic covers, rubber, fabric, brake surfaces, exposed hardware, bearings, connectors, and a battery in a small area. A cleaner suited to one surface may be unsuitable for its neighbor. Read both the vehicle guidance and the proposed product's instructions, including permitted materials, application, dilution, rinsing, and drying.
Do not assume that a bicycle cleaner label approves use on every trike part. Marketing categories are broad; the component instructions are specific. Where a cleaner, lubricant, or protectant has unresolved compatibility, ask the relevant maker or choose a documented alternative. Avoid mixing products or increasing concentration to make them appear more effective. A stronger solution can introduce a problem without resolving the original dirt or residue.
Park Tool's bicycle washing article illustrates useful general organization and advises low pressure with a wide spray when using a hose. Its ordinary bicycle procedure is not permission to copy wheel removal, support methods, or water use onto every electric trike. Apply the trike's restrictions first. If the manufacturer specifies a wiping method or prohibits a particular exposure, that boundary controls the job.
Allow space to reach both rear wheels on an upright model or both front wheels on a tadpole recumbent. Avoid a location where you must stretch across the vehicle or move it repeatedly through a narrow gap with cleaning supplies on the ground. Establish a suitable stable position through the vehicle's instructions. Do not assume that a conventional bicycle stand can support an unusually wide or heavy trike.
Consider drainage and the handling of cleaning products. Follow local disposal requirements and the product's instructions; do not pour concentrated chemicals into an unsuitable drain or onto the ground. Keep children, pets, and unrelated equipment away. A contained, organized cleaning area makes it easier to keep contaminated tools separate and to notice an abnormal component before the trike is moved again.
Plan drying space before adding moisture. A clean vehicle that cannot dry through its permitted routine may begin storage in an unsuitable condition. Do not cover it immediately to make the area look tidy. The cover and condensation guide explains why fabric is not a substitute for drying or a suitable storage environment.
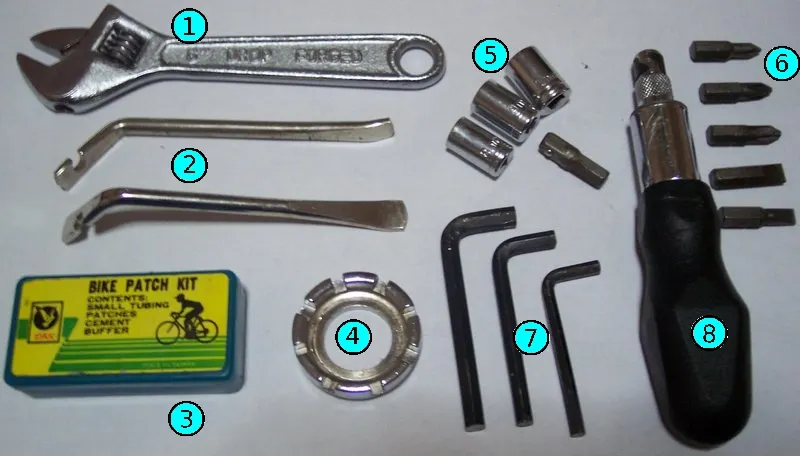
Useful categories include compatible cloths or sponges, suitable brushes, the permitted cleaning product, containers where the method calls for them, and supplies for the prescribed drying routine. Read the tool and product instructions rather than buying everything in a promotional kit. A soft brush for a finish and a drivetrain brush have different roles. Keep dirty drivetrain tools from spreading oily residue onto brakes or clean surfaces.
Label or separate tools if more than one person cleans the trike. A cloth used for chain lubricant should not become the general wiping cloth because it looks clean. Storage matters too: contaminated tools can transfer material on the next wash. Clean and maintain the kit through its instructions, and replace tools that can scratch or no longer perform their intended role. More tools are useful only when they solve a real access problem.
Before buying a narrow brush, inspect where it must fit and what is nearby. A brush that reaches between a fender and wheel may also contact wiring, a brake fitting, or a delicate surface. Do not insert a tool blindly into a recess or use stiffness to force access. Where the instructions require disassembly for cleaning, determine whether that task is within owner scope or should be performed by a shop.
Switch off and secure an electric model as directed. Handle removable electrical equipment only through the exact instructions, and protect the areas the maker identifies. Do not infer that removing a battery makes all remaining connectors waterproof. A cover over a port also does not necessarily authorize spraying. If the guidance is unclear, resolve it before exposing the area to water or cleaning fluid.
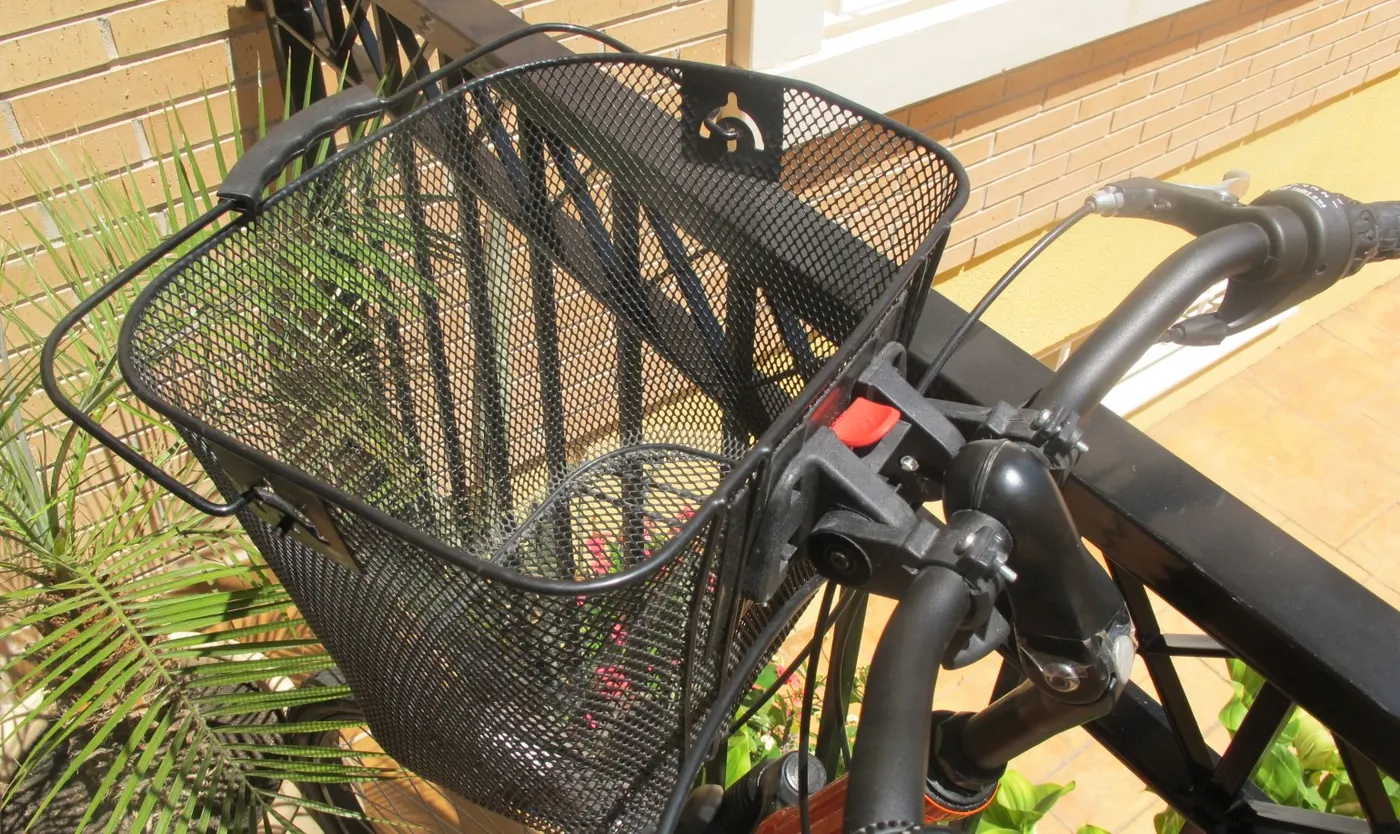
Remove bags and other accessories only where their procedures permit it. Note how they are attached and whether they need separate care. A basket liner can trap dirt or moisture beneath it, while a seat bag may obstruct the surface you are trying to inspect. Do not remove a structural seat, brake part, or proprietary bracket simply because access would be easier. Keep the cleaning job within its documented scope.
Look over the trike before cleaning. Photograph cracks, corrosion, damaged wiring, abnormal tire condition, or other concerns that may need assessment. Washing can change the appearance of evidence without correcting the cause. If a critical component appears damaged, pause the job and obtain the relevant advice. A shiny frame should never be the reason to disregard an unresolved wheel, steering, brake, or electrical concern.
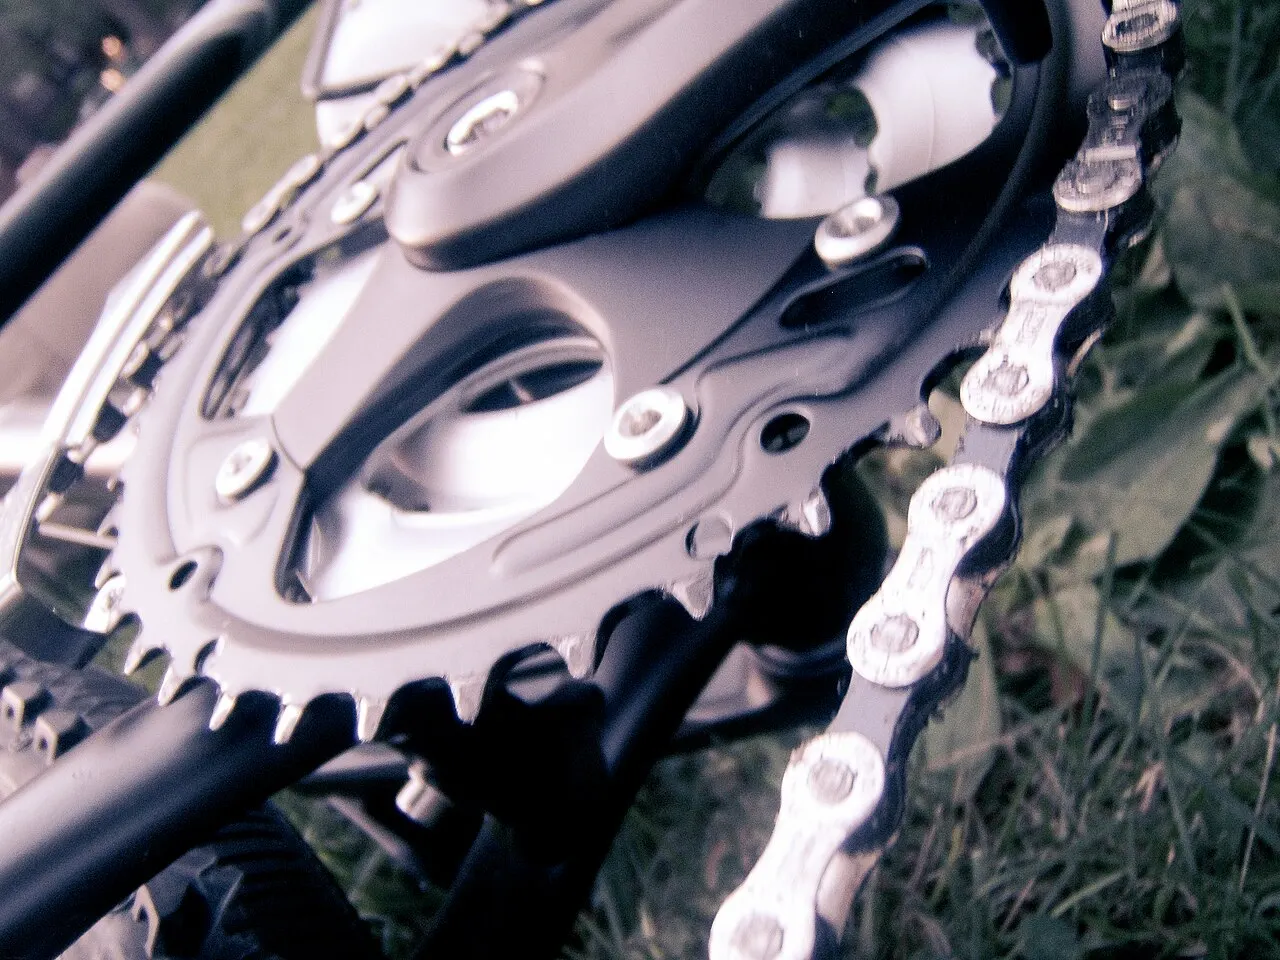
Organize the job around the actual surfaces and the permitted method rather than a universal sequence. Separate the greasy drivetrain area, general frame surfaces, wheel-related parts, brakes, fabric, and electronics. This makes it easier to use the correct supplies and notice when a procedure changes. Do not apply drivetrain solvent to the entire vehicle because it removes stubborn marks quickly.
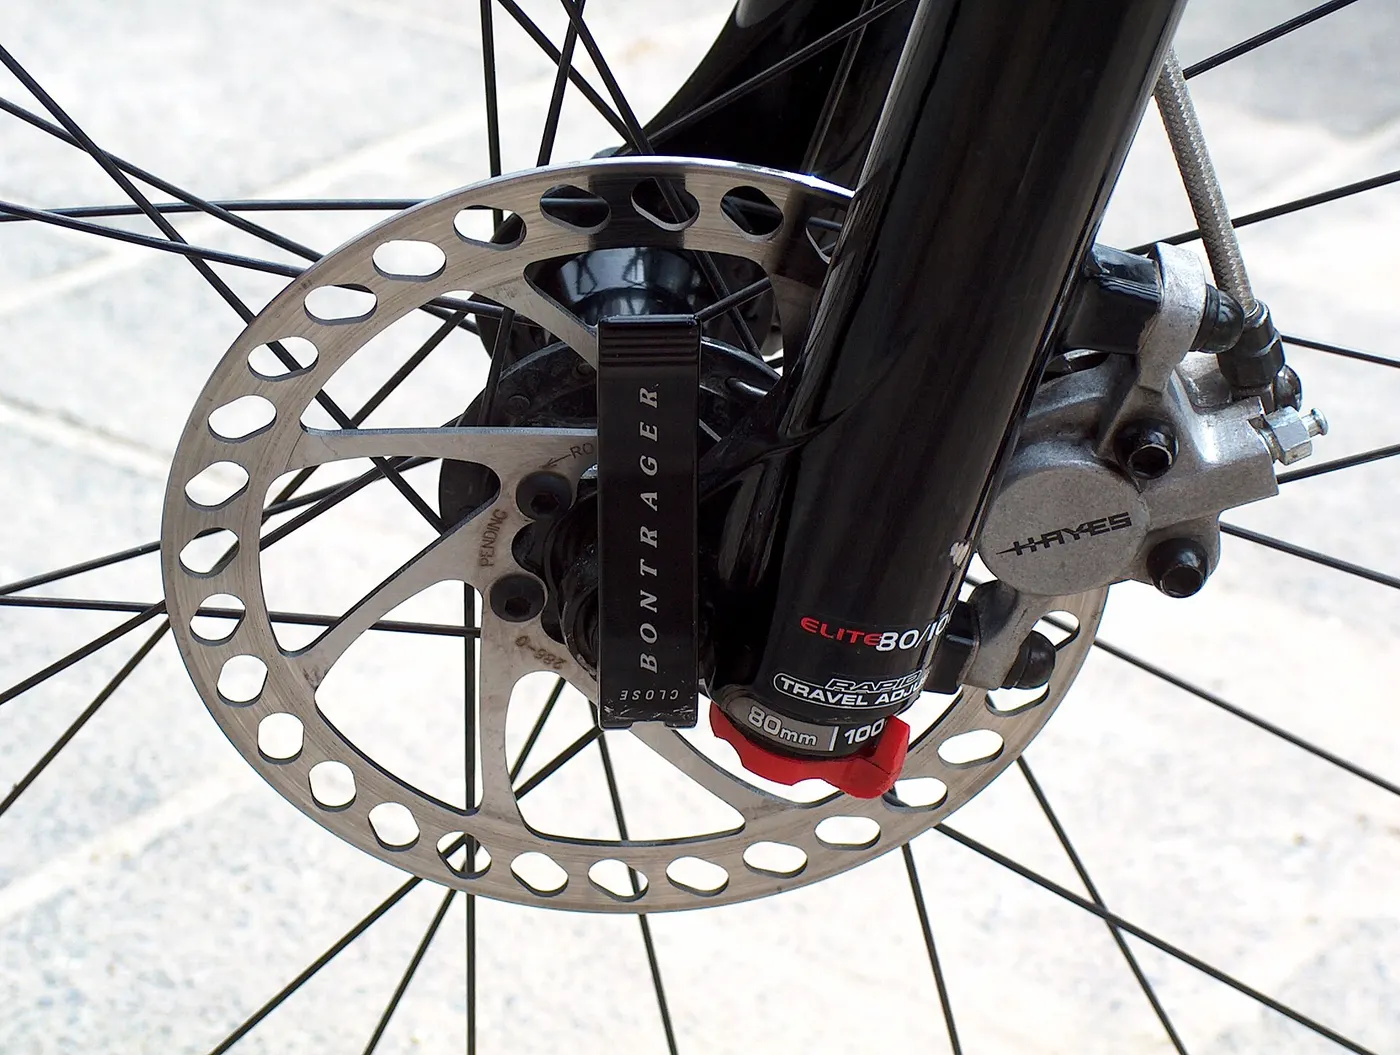
Keep inappropriate oils and cleaning residues away from brake friction surfaces. Follow the brake maker's instructions for cleaning and suspected contamination. An ordinary frame cloth is not automatically suitable for a rotor or pad. If contamination occurs, obtain the specified service response instead of trying an arbitrary solvent and assuming braking is restored. The brake and parking-brake guide treats operation as a separate inspection.
Fenders, baskets, and accessory brackets can create sheltered areas. Clean accessible surfaces through their instructions and inspect the relevant attachment points without adjusting them unnecessarily. If an area remains inaccessible, ask about the approved method. Do not bend a guard or loosen a bracket casually to fit a brush. The fender guide explains why subsequent clearance checks matter when that assembly is changed.
Avoid treating a pressure washer as a convenient substitute for the prescribed method. Concentrated pressure can reach areas the product is not designed to have cleaned that way. General bicycle guidance favoring a low-pressure wide spray still requires the exact trike's approval for water exposure. A wet-weather rating for use is not automatically a washing procedure or permission for immersion.
If a wiping routine is specified, use it as directed and manage the cloth's condition. A contaminated cloth can spread grit, while a saturated cloth can apply more liquid than intended. If rinsing is allowed, follow the product and component instructions for the relevant surfaces. Do not point water into a bearing, motor housing, connector, or opening merely because residue is visible there.
Where dirt persists after the allowed method, pause and ask for guidance. Repeated scrubbing, more pressure, abrasives, or a stronger chemical can damage a finish or component. Describe the residue and prior products accurately. Salt exposure, sticky deposits, and ordinary road dust may need different assessment; they should not all be solved by escalating the same wash routine.
Follow the vehicle and component drying instructions. Do not use an unapproved heater, forced-air method, or concealed charging arrangement to accelerate the process. Pay attention to removable accessories that have their own fabric, seal, or electrical care requirements. A dry-looking outer surface does not establish that an affected connector is ready for charging or use.
Inspect while drying where the procedure permits. Look for new marks, displaced accessories, remaining residue, or an abnormal component condition. Record unresolved findings rather than polishing over them. Reinstall only the parts removed through their instructions, then complete the required fastening and clearance checks. A basket bag or strap should not be left near a moving wheel because it was temporarily shifted during washing.
Perform the normal pre-ride checks separately. Cleaning does not establish tire pressure, brake function, wheel attachment, steering condition, or control operation. Use the maintenance checklist and exact manual. If a problem appears after the wash, stop and investigate through the relevant guidance. Do not conclude that it is only water because it began after cleaning.
A trike used on a clean dry path and one exposed to muddy roads or coastal conditions can need different care. Follow the maker's schedule and respond to actual condition rather than adopting an arbitrary site-wide wash interval. Frequent washing is not inherently better if it repeatedly exposes restricted components to moisture. The aim is compatible cleaning when needed and inspection at the required times.
Record unusually demanding exposure, the method followed, and any change noticed afterward. This can help a service provider assess recurring residue or moisture. Keep the record simple enough to use: date, location or exposure, approved product where relevant, and unresolved issue. It is a maintenance aid, not proof that the trike has been professionally inspected.
For a shared vehicle, explain which tools belong to which zone and where the clean kit is stored. A second person should not unknowingly use a chain cloth on the brakes or charge equipment still awaiting assessment. Clear instructions matter more than a large shelf of products. Make deferred service visible so cleaning is not mistaken for permission to return the vehicle to use.
Before buying a kit, list the tasks your manual allows and the supplies you already have. Compare what is genuinely missing: an appropriate brush shape, a permitted cleaner, or a better way to keep tools separate. Avoid paying for chemicals whose use is unresolved. A modest kit that fits your procedure is often more practical than a broad package designed around a different bicycle or maintenance style.
Consider where the supplies will be stored, how containers are closed, and what ongoing replacements cost. Read the current product instructions for storage and shelf-life information. Do not leave chemicals in an unsuitable location near electrical equipment or children. Affiliate buying decisions should be based on the actual cleaning task, not the assumption that every trike owner needs a complete professional workshop.
If access or handling makes the wash difficult, ask a suitable shop about permitted cleaning support. The service-provider guide explains how to describe the vehicle and scope. A professional service can still require exact component instructions; its availability does not make every generic wash method suitable for your model.
Imagine an upright electric trike returns from a permitted trip with ordinary road dirt on the fenders and a damp basket liner. First secure the vehicle, follow its electrical preparation, and remove the liner through its instructions. Clean each approved surface with its own suitable supplies, keep drivetrain residue away from brakes, and dry the liner separately. Inspect the area beneath it before refitting.
If a connector appears wet or damaged, stop the charging decision and follow the electrical guidance. If a fender has shifted, resolve the mounting and clearance issue rather than continuing to ride because the frame is now clean. These are separate findings produced by the cleanup, not problems that the act of washing automatically fixes. The useful result is a documented, restored configuration with any remaining concern clearly identified.
Lay out the existing supplies and identify what each is allowed to do on the actual vehicle. Read labels and instructions rather than relying on color or the word bike. Separate frame-care items, drivetrain products, fabric-care supplies, and any component-specific cleaner. Mark unresolved products as awaiting compatibility advice instead of leaving them beside the approved kit where another person may use them accidentally.
Check condition and storage. A dirty sponge, worn brush, damaged container, or unreadable label can undermine an otherwise suitable method. Follow the product's replacement, storage, and disposal guidance. Do not pour unidentified leftovers into a new bottle to save space. Keeping the original identity visible makes future compatibility and service questions easier to answer.
Buy only what resolves a defined task. If the permitted method needs a soft cloth and a compatible cleaner, a large kit of aggressive brushes and solvents may offer little practical value. If a narrow approved area requires a suitable brush, compare that shape and material specifically. The useful affiliate buying context is the missing capability in the routine, not the assumption that more products produce better care.
Write a brief note showing the vehicle preparation, separated cleaning zones, drying requirement, and final checks. Include where the current instructions are kept. Avoid replacing them with a vague command to wash normally, especially for an electric model or unusual component. The person cleaning should know which areas need their own procedure and when to stop for advice.
Use a clear unfinished-work marker if the vehicle is waiting to dry, awaiting inspection, or missing a removed accessory. A clean-looking trike can otherwise be taken out by someone who did not see the job begin. State the actual status and required next step. Do not label the vehicle ready because the most visible surfaces are finished while a connector or brake concern remains unresolved.
After the routine is complete, clean and store the tools separately so their next use starts with known condition. Record any unusual finding that needs service. Routine dirt removal usually does not require a long log, but recurring moisture, contamination, or component changes deserve a factual note. This supports the next decision without turning cleaning into a false mechanical certification.
A new basket bag, fender, seat accessory, motor component, or coating can change access and care requirements. Obtain the relevant instructions before using the old method on the new part. A product that was compatible with the previous configuration may remain suitable for some areas while becoming unsuitable elsewhere. Keep the distinction visible in the kit and routine.
If the change makes an area inaccessible, ask for the intended cleaning method rather than forcing a brush or loosening hardware casually. A better arrangement may involve an approved removable accessory or occasional professional work. Include that recurring effort in the accessory decision. Cleaning practicality is a legitimate ownership question, and resolving it before purchase can prevent a routine that becomes difficult to perform consistently.
Research-based cleaning-planning guide. No cleaner, wash kit, finish, water resistance, or drying method was tested. Exact vehicle and product instructions govern the permitted procedure.
Guide
Choose your first adult tricycle by checking rider fit, storage, weight limits, gears, brakes, assembly, and service before buying.

Guide
Learn how to compare adult electric tricycles for control, fit, batteries, braking, transport, and ownership support.

Guide
Understand the leg and hip muscles used when pedaling a tricycle, plus how fit, resistance, and electric assistance change the effort.