
Guide
First Adult Tricycle Buying Guide
Choose your first adult tricycle by checking rider fit, storage, weight limits, gears, brakes, assembly, and service before buying.
We research everything we recommend. When you buy through our links, we may earn a commission. Learn more
Guide
Care for an adult tricycle chain with compatible cleaning and lubrication methods, brake protection, wear checks, and clear service boundaries.

Updated · 12 min read
A clean, appropriately lubricated chain can support smooth drivetrain operation, but an adult tricycle may have more than one chain or specialized axle components. Identify what the manufacturer permits the owner to service before copying a two-wheel bicycle tutorial. An enclosed drive or gearbox is not an invitation to add oil through any visible opening.
This guide organizes routine care for accessible conventional chain systems. It covers inspection, cleaning, drying, lubrication, and the decision to seek service. It does not prescribe chain length, tension, wear limits, or gearbox lubricant for every tricycle.
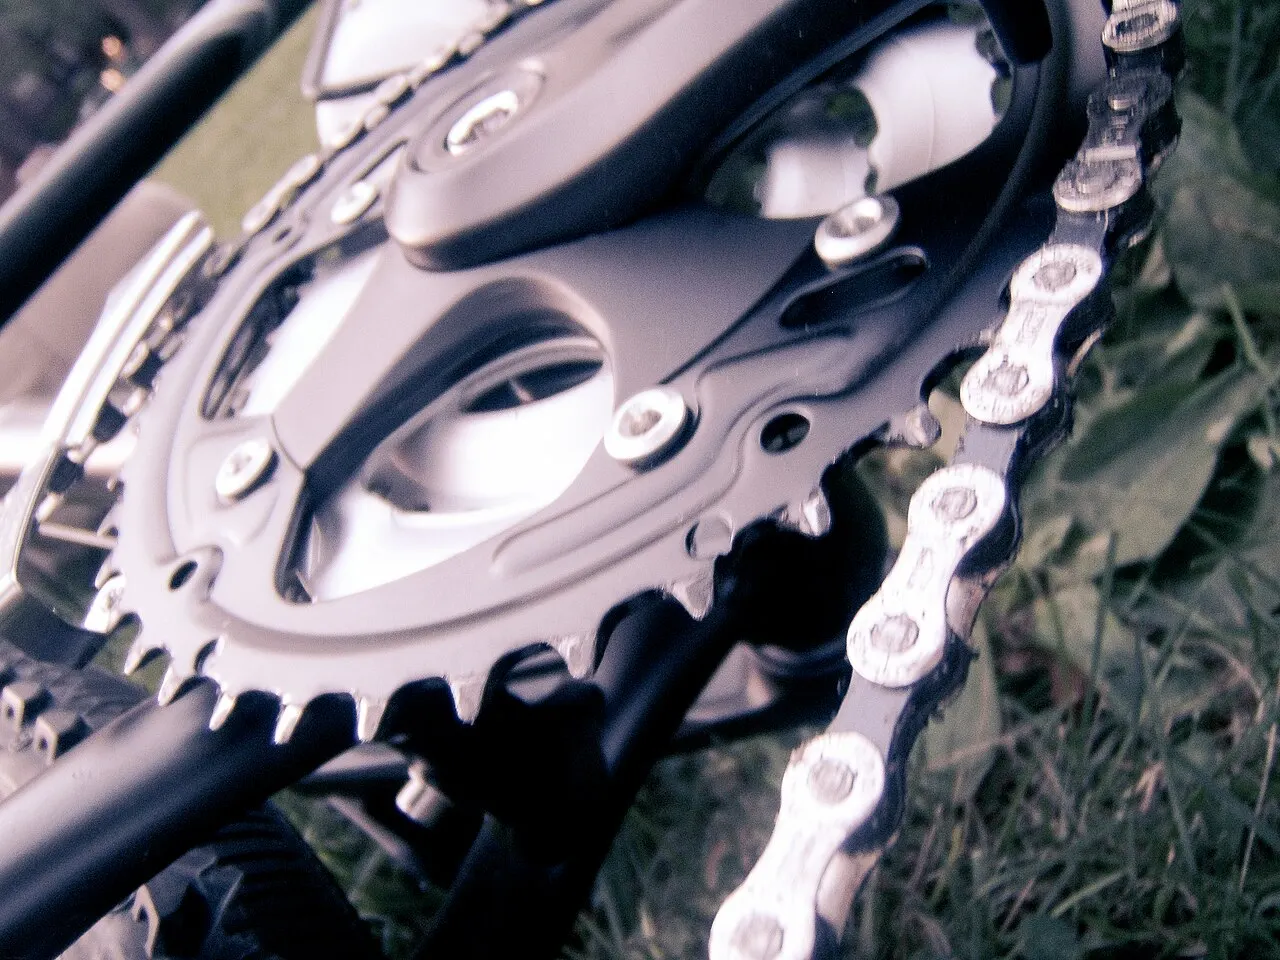
Read the manual and locate each chain, belt, idler, tensioner, or enclosed section. A long recumbent chain can have different routing from a compact upright tricycle. A delta axle may use an additional drive section that is not treated exactly like the main pedaling chain.
Record the component identifiers where available and distinguish owner care from professional service. If the manual specifies a particular lubricant or excludes an enclosed component from owner maintenance, follow it. Do not assume a chain-cleaning article applies to an internal axle mechanism.
The drive-layout guide explains the terminology. Understanding where pedal and motor power go helps you ask the right service question without dismantling parts to find out.
Look for corrosion, damaged links, stiff movement, unusual slack, or repeated derailment. Cleaning can reveal condition, but it does not repair a bent link or restore a worn drivetrain. Stop and seek service for damage or a fault that affects operation.
Check wear using the component manufacturer's appropriate method or a qualified mechanic. Park Tool's cleaning guidance recommends assessing wear before the process. Do not use a universal replacement percentage here; chain types and drivetrain instructions differ.
If the vehicle makes a noise, note whether it occurs during pedaling, coasting, shifting, braking, or motor operation. A rattle may come from a fender or basket rather than the chain. Keep observations separate from diagnosis and avoid buying parts until the cause is understood.
Turn the electric system off and remove or isolate the battery as the manual requires for mechanical work. Do not use the motor to spin the drivetrain during cleaning. Keep hands, cloths, brushes, and clothing clear of moving components.
Support the tricycle only through an approved method. A standard bicycle stand may not suit its geometry or weight. Do not ask someone to hold a heavy vehicle tilted while another person rotates the pedals. Use a safe stationary procedure or professional service if access is difficult.
Protect the floor and organize materials. Choose a well-ventilated location appropriate to the cleaner and wear the protection specified on its label. Keep cleaning products away from children, pets, and food preparation. A mild-looking fluid still has handling and disposal instructions.
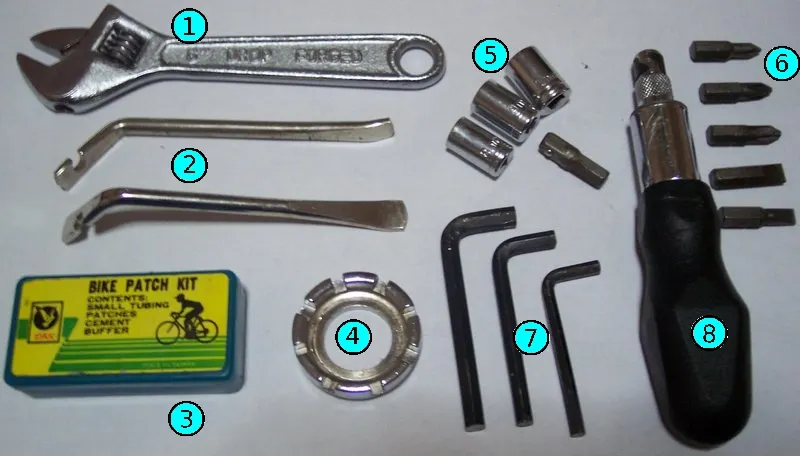
Use the chain and vehicle manufacturers' recommendations and the cleaner's instructions. A purpose-designed chain-cleaning tool may suit an accessible chain, but a guard, idler, or unusual routing can prevent correct use. Do not force the tool into the system.
A brush and cloth may be appropriate for some tasks, while a more thorough cleaning process needs additional equipment. Avoid spraying strong solvent indiscriminately over the whole drivetrain. Bearings, seals, plastics, finishes, and electrical components may have different compatibility limits.
Do not pressure-wash the tricycle to speed the process. The force can expose bearings and electrical parts to conditions they are not intended to withstand. The rain and aftercare guide explains why ordinary wet exposure and high-pressure cleaning are different.
Keep cleaners and lubricant away from brake pads, rotors, and rim braking surfaces. Contamination can affect brake function. Position materials and cloths so a drip or spray does not reach those areas, and follow any component-specific protection procedure.
Use separate clean cloths for brakes and drivetrain work where appropriate. Do not wipe a rotor with the rag used to apply chain oil. If contamination occurs, stop and follow the brake manufacturer's service guidance rather than assuming one wipe solves it.
The brake guide covers the service boundary. A contaminated pad may require action different from cleaning a metal surface. Do not keep riding to burn off an unknown fluid or apply an unapproved solvent to the brake.
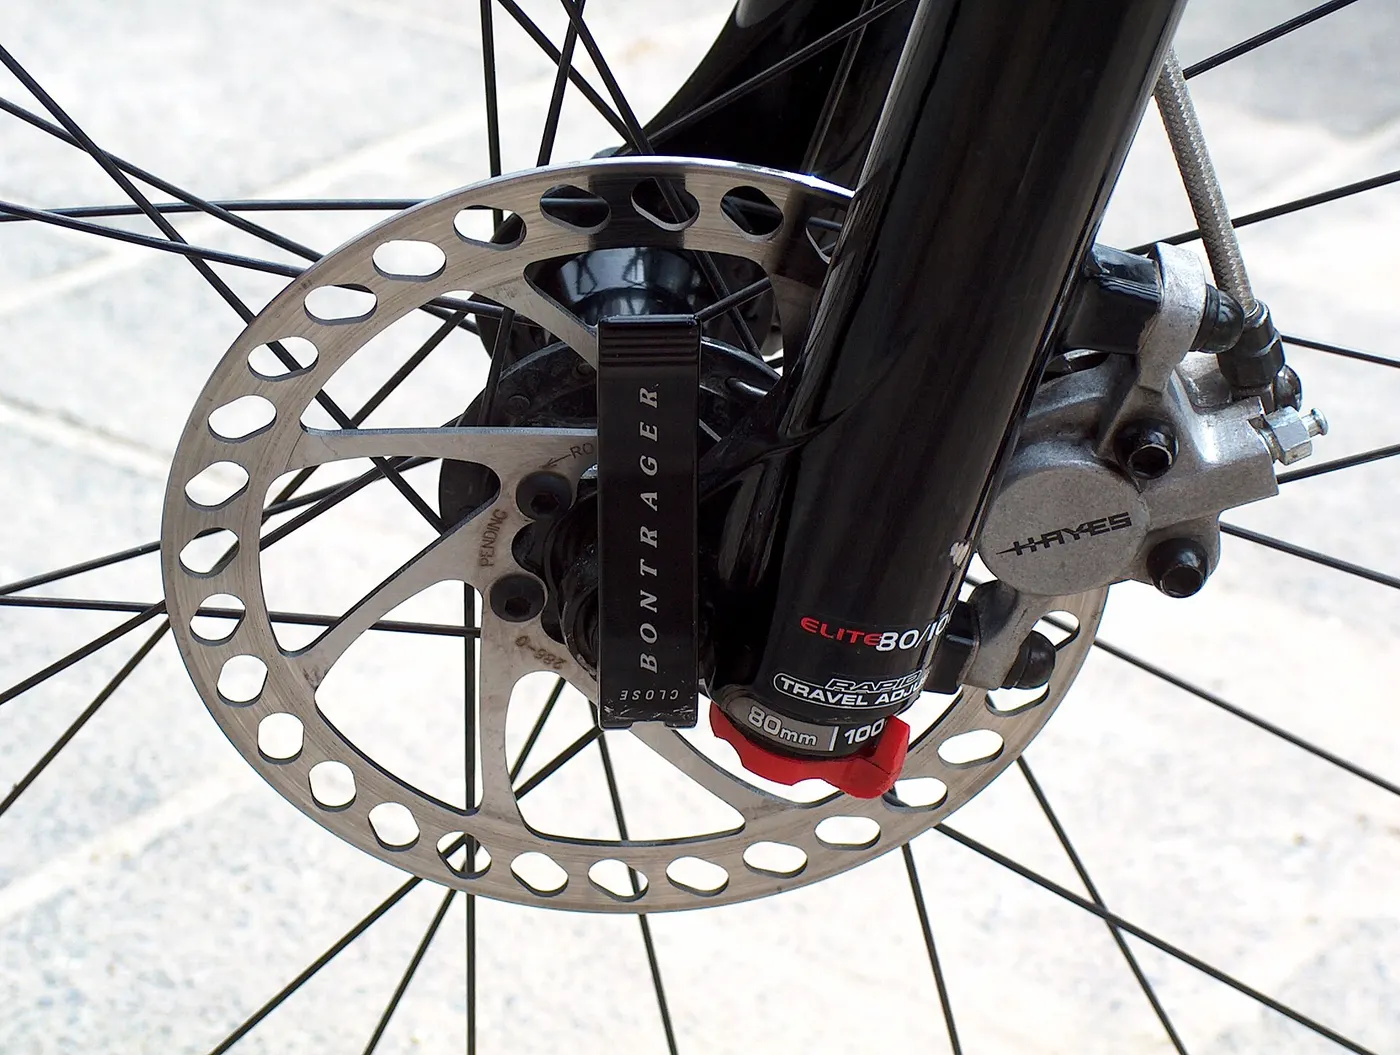
Remove loose surface dirt through the permitted method before applying the cleaner. Work on the accessible section with the vehicle secure and power disabled. Follow the tool's direction and fluid instructions and keep fingers away from pinch points.
Clean relevant sprockets or accessible surfaces according to their instructions without dismantling an axle or derailleur unnecessarily. A buildup of debris can affect operation, but aggressive scraping can damage parts. Use suitable brushes and avoid forcing contamination into bearings or seals.
Inspect as the dirt clears. If you find a damaged link, unusual component movement, or a recurring routing problem, stop the maintenance and arrange service. Cleaning should improve visibility of the condition, not distract from a fault that needs repair.
Follow the cleaner's rinsing and drying instructions and the chain manufacturer's guidance. Do not trap residual fluid beneath a heavy new layer of oil. The required process can differ by product, so use the actual instructions rather than a generic drying time.
Keep the vehicle in a suitable environment during drying. Do not use a heater directly on electrical components or speed the process with an unapproved method. Inspect the chain and nearby surfaces before lubricating and confirm that the brakes remain protected.
A chain that remains severely corroded or stiff after permitted cleaning needs assessment. More lubricant is not a substitute for resolving damage. Ask a mechanic whether replacement and inspection of associated components are required.
Wet and dry chain lubricants are formulated for different conditions and have different dirt-attraction and application characteristics. Park Tool's lubricant guide describes that distinction. It does not mean one category is universally best for every tricycle or route.
Use a product compatible with the chain and vehicle instructions and follow the application and settling process. A household penetrating spray should not automatically be treated as the normal chain lubricant. Product names and formulations vary, so read the label rather than assuming all sprays serve the same role.
Wax-based systems can require a different preparation and maintenance method. Do not mix them casually with an existing oil routine and expect the same result. If adopting a new system, follow its complete instructions and verify component compatibility.
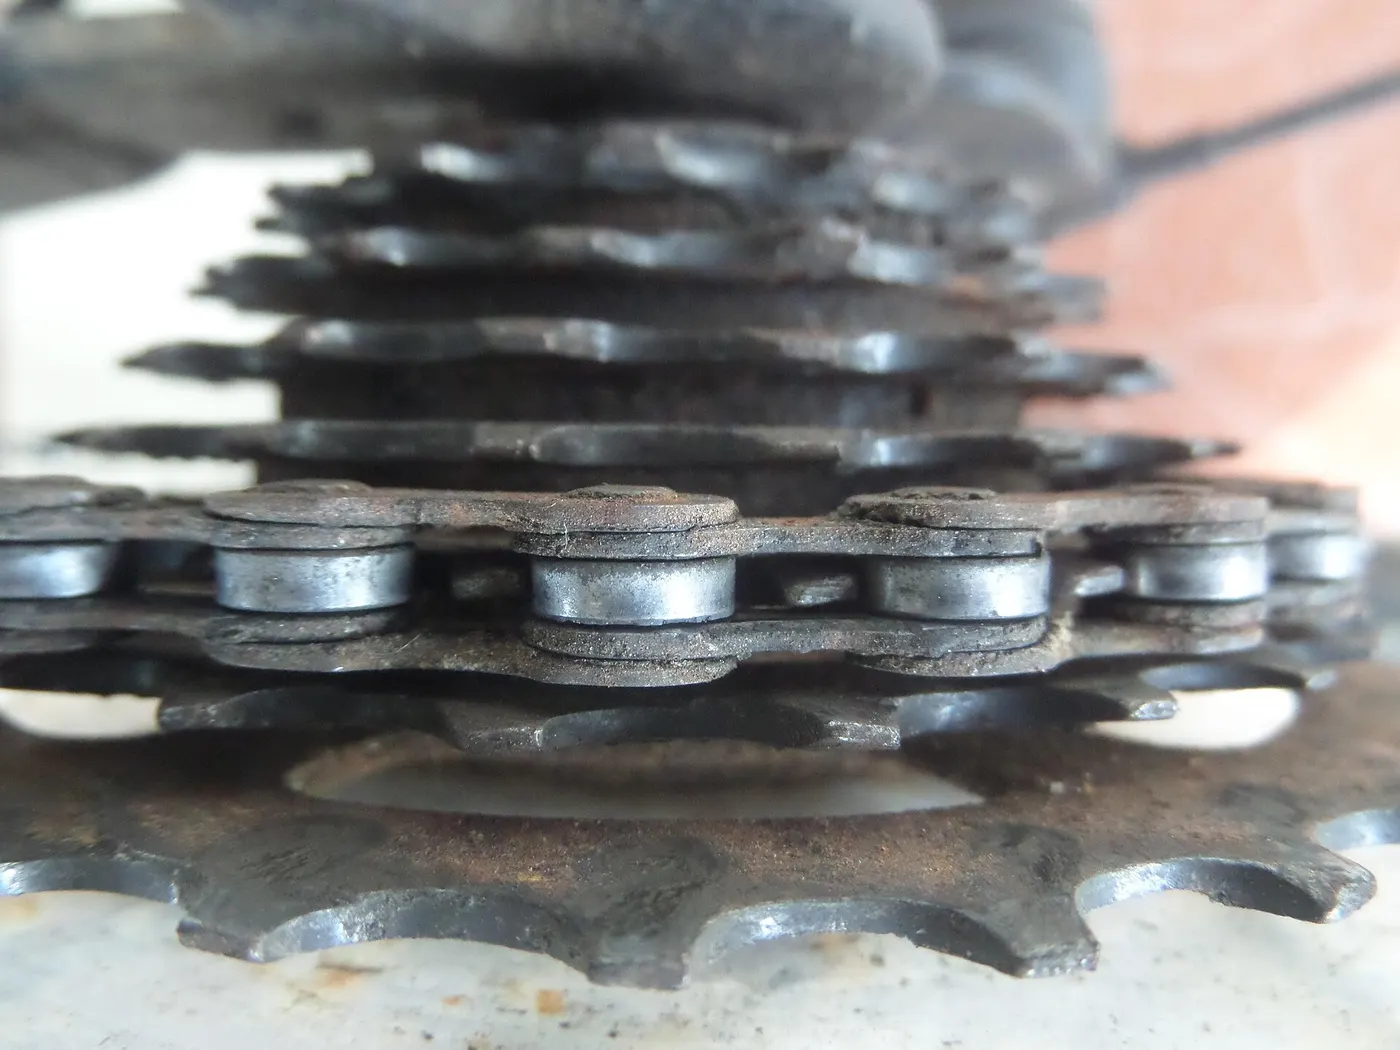
Place lubricant where the product and chain instructions specify, using a controlled amount. Keep the container and applicator clear of brakes and electrical parts. Do not flood the whole vehicle or spray toward a wheel while rotating it.
Allow the product's required settling or drying period, then remove excess from exterior surfaces as directed. Excess oil can collect grit and stain cargo or clothing. A visibly wet chain is not proof that lubrication has been done correctly.
Afterward, inspect the nearby frame, tire, and brake area for accidental drips. Perform the manufacturer's permitted functional check before riding. If braking has changed or a chain still binds, stop and resolve the problem instead of assuming the maintenance will settle during the trip.
Use the manufacturer's maintenance intervals and inspect after conditions that add contamination, such as rain, dust, or a muddy permitted route. There is no single mileage interval suitable for every chain, lubricant, and environment.
Keep a short record of cleaning, lubrication, wear checks, and service. Note unusual changes rather than recording every normal ride. The maintenance checklist can include a quick visible drivetrain inspection before departure.
Avoid both neglect and unnecessary aggressive cleaning. If the chain remains in suitable condition under the approved routine, repeated solvent treatment after every brief dry ride may add work without a clear need. Follow the product and vehicle guidance and adjust the schedule based on actual exposure.
A recumbent may have idlers, chain tubes, or a long return path. Keep the documented routing and inspect for wear or contact using the prescribed method. Do not remove a tube or reposition an idler simply because it makes cleaning easier.
On a tricycle with multiple chains, identify which sections are owner-serviceable and whether they have separate adjustment requirements. Cleaning one visible chain does not establish that the whole axle drive is maintained. Ask support for the correct procedure where the manual is incomplete.
Do not change tension or length by guesswork. A chain that derails repeatedly may have a fit, alignment, wear, or assembly cause. The assembly guide explains why critical setup uncertainty should be resolved before further use.
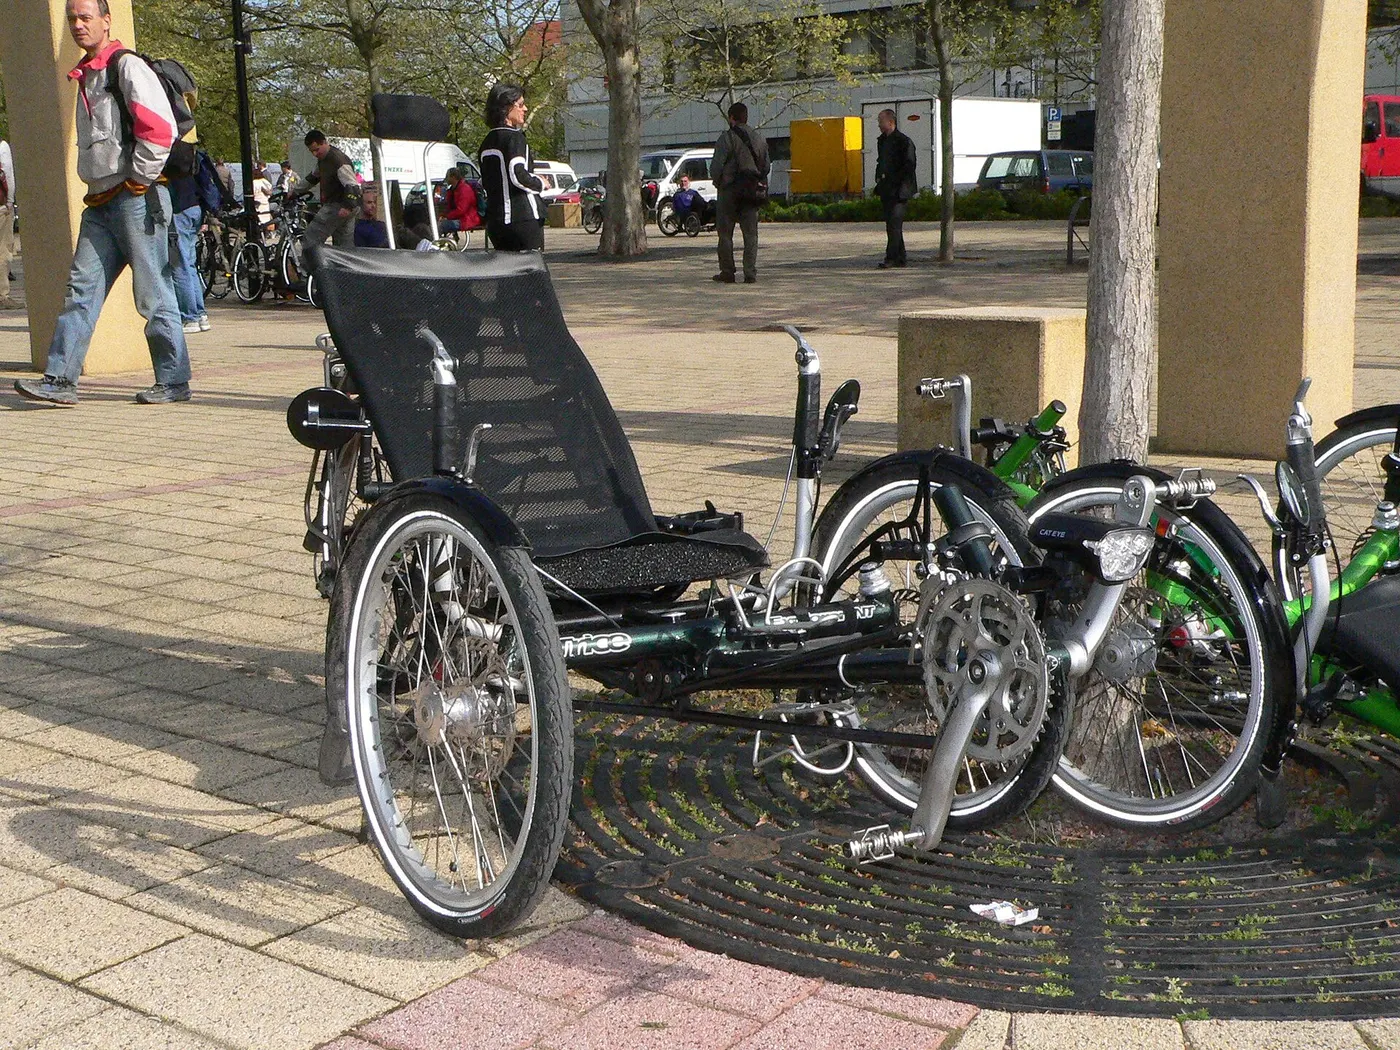
Seek qualified help for damaged links, repeated derailment, uncertain wear, axle noises, tension problems, or work beyond the manual's owner scope. Ask whether the shop handles the exact tricycle and specialized components. A common chain does not make every axle repair standard bicycle work.
Provide the maintenance record and symptoms. Tell the mechanic what cleaner or lubricant was used and whether contamination reached a brake. That information can shorten the diagnosis. Do not conceal an improvised adjustment because the vehicle still moves.
Confirm parts availability and the proposed repair before authorizing work. A chain replacement may need associated component inspection, and a specialized part may have a different lead time. Keep the vehicle out of use when the fault affects control or reliable operation.
Follow cleaner and local disposal instructions for used fluid, contaminated cloths, and containers. Do not pour solvent or oily waste into a street drain. Collection arrangements vary by locality and product.
Store remaining products in their labeled containers and within the stated conditions. Avoid transferring chemicals into drink bottles or mixing leftover cleaners. Keep the kit organized so the next maintenance session begins with identifiable compatible materials.
A tidy routine makes it easier to use the right cloth, protect the brakes, and avoid spills. Maintenance quality comes from controlled steps and inspection, not from the amount of chemical applied.
After a permitted dry ride, inspect the accessible drivetrain rather than immediately applying more oil. If surface dust has accumulated, use the approved cleaning approach and assess whether a full process is needed. Adding lubricant over contamination can create a different condition from a clean, correctly treated chain.
Record the route and product used so recurring exposure becomes visible. If the chain quickly collects heavy grit despite following the instructions, ask a mechanic or product supplier about a compatible routine for those conditions. Do not switch chemicals repeatedly without understanding preparation and mixing limitations.
Keep the rest of the vehicle in view. Dust may also affect visible controls or tire condition, while cleaning can reveal a fender rub or damaged guard. The chain is one component, and its appearance should not distract from another fault that affects riding.
Secure the tricycle, disable power as instructed, and remove loose surface dirt through permitted gentle methods. Inspect and dry according to the vehicle and cleaner guidance before applying the appropriate lubricant. Keep cargo bags and personal items away from the work area.
Use separate materials around brakes and drivetrain. If a cloth or brush has carried oil, do not use it on a rotor or rim braking surface. Position the lubricant applicator so accidental drips can be contained. A careful setup is easier than trying to correct contamination afterward.
After the process, inspect the chain and perform the documented functional checks. If the chain still binds or the brakes behave differently, keep the vehicle out of use until resolved. A clean-looking result is not proof that the system functions correctly.
Some maintenance methods involve removing a chain. That can require a compatible link procedure, tools, replacement parts, and correct routing or length verification. Do not assume every connecting link can be reused or that the same technique applies to all chain types.
Use the component manufacturer's instructions and seek service if the task exceeds your skill. A long recumbent chain or multiple drive sections can make refitting more complex than expected. Photographing the route may help documentation, but it does not replace the prescribed procedure.
If routine care can be completed through an approved on-vehicle method, that may be more practical for the owner. The choice should be based on the actual system and maintenance needs, not on a video presenting chain removal as universally necessary.
A chain can look clean and still be worn. It can also look dirty while a separate component causes a shifting problem. Use the appropriate wear check and qualified assessment rather than assigning condition from appearance alone.
If a replacement is recommended, ask about compatibility with the drivetrain and whether associated components need inspection. Do not order solely by the number of visible sprockets without confirming the actual chain specification. A tricycle's specialized drive section may require additional information.
Keep the service result in the record. That helps you compare later symptoms with a known baseline and avoid repeating an ineffective cleaning routine for a problem that needs repair.
Keep the compatible cleaner, lubricant, brushes, cloths, protection, and instructions together in suitable storage. Separate contaminated cloths from clean ones and keep chemicals in their labeled containers. A kit organized by task reduces the chance of applying the wrong product to a brake or electrical part.
Do not mix leftover fluids to save space or transfer them into food containers. Follow disposal and storage guidance and replace damaged tools where necessary. A brush that sheds material or a leaking bottle can make the next session harder rather than easier.
The useful kit is not the largest collection of specialty tools. It is the equipment needed for the owner's approved scope, with a clear route to professional service for everything beyond it.
A new chain, drivetrain, or approved fit adjustment can change the required care or routing. Read the updated instructions and revise the maintenance note. Do not continue using an old tension or lubrication assumption because the vehicle still has the same name.
After service, ask the mechanic to identify the owner checks and products appropriate to the new configuration. This short handover keeps future maintenance tied to what is actually installed rather than to the original sales listing.
Research-based guide; no drivetrain wear or lubricant performance testing was performed. Exact service procedures remain component- and model-specific.
Guide
Choose your first adult tricycle by checking rider fit, storage, weight limits, gears, brakes, assembly, and service before buying.

Guide
Learn how to compare adult electric tricycles for control, fit, batteries, braking, transport, and ownership support.

Guide
Understand the leg and hip muscles used when pedaling a tricycle, plus how fit, resistance, and electric assistance change the effort.