
Guide
First Adult Tricycle Buying Guide
Choose your first adult tricycle by checking rider fit, storage, weight limits, gears, brakes, assembly, and service before buying.
We research everything we recommend. When you buy through our links, we may earn a commission. Learn more
Guide
Plan adult tricycle delivery, assembly, critical checks, rider fitting, and a controlled first ride using the exact manufacturer instructions.

Updated · 12 min read
A delivered tricycle is not ready to ride merely because it stands on three wheels. Shipping preparation, assembly, adjustment, inspection, and rider instruction are separate steps. Even a model described as fully assembled may need documented setup and checks before its first ride.
Use this guide to organize the handover and identify when professional help is appropriate. It deliberately does not provide generic torque values or a universal axle-assembly sequence. Fasteners, frame joints, brakes, and electrical components vary, and the correct instructions must match the exact model you received.
Check the model name, version, size, and ordered configuration against the invoice and package labels. Photograph the box and any obvious transit damage before discarding packaging. Keep the serial information for support and ownership records without publishing it unnecessarily.
Compare the contents with the manufacturer's packing list. Separate accessories and small parts in a clean area where they cannot be lost. Do not assume an extra bolt is unneeded or that a missing washer can be replaced with one from a drawer. Ask support to identify discrepancies.
If the frame, battery, wheel, or brake appears damaged, stop the setup and contact the seller. Do not straighten a shipping-damaged component to keep the process moving. Record the problem and follow the return or inspection procedure. The online purchasing guide covers how to clarify those arrangements before ordering.
Find the manual for the model and version, including any separate battery, brake, folding, or accessory documents. Manufacturer sites may provide updates. A video for a similar tricycle is useful context only when the manufacturer confirms that its procedure applies.
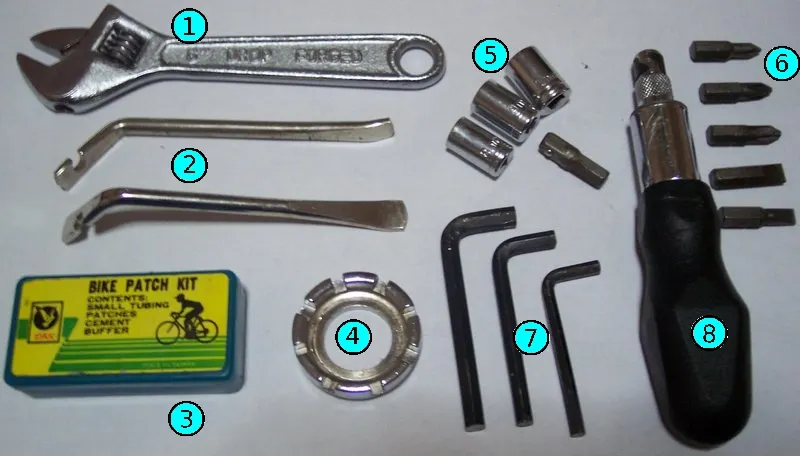
Read the whole relevant setup sequence before starting. Note the required tools, torque specifications, orientation details, and any work reserved for a qualified mechanic. Assemble a checklist from those instructions rather than improvising from the order parts appear in the box.
If a diagram is unclear or contradicts the delivered hardware, ask the manufacturer. Do not decide that a critical difference is cosmetic. A rear axle, frame latch, or brake cable can be oriented in a way that looks plausible while functioning incorrectly. Keep unresolved questions open until you have an authoritative answer.
Consider your experience with bicycle brakes, wheel retention, thread identification, and prescribed tightening. Tricycles may have specialized axle and frame components beyond ordinary bicycle work. Owning tools is not the same as knowing how to verify the assembled result.
Ask a local shop whether it handles the exact model before arranging delivery or transport. Provide the manual and describe the electrical system if present. Some shops may service common parts but decline specialized axle work or unsupported direct-sale electrical systems. Establish the scope in advance.
If the manufacturer requires professional assembly or inspection, follow that requirement. If it permits owner assembly, you can still choose a professional handover when the work exceeds your skill or lifting ability. Budget for the service as part of the purchase rather than treating it as an unexpected luxury.

Use a level area with enough room to move around the complete vehicle. Keep children, pets, and unrelated clutter away. Support the tricycle only through methods permitted by the manufacturer. A stand intended for another vehicle may not handle the weight or geometry safely.
Avoid lifting the entire tricycle by the basket, mirror, cable, seat accessory, or battery handle. Identify approved lifting points and get assistance if needed. A heavy electric tricycle requires a handling plan before you begin turning or positioning it for assembly.
Protect the floor and organize tools, but do not place loose sheets where you might slip. Keep fasteners grouped by step and photograph the supplied arrangement if helpful. Never power the motor while hands or tools are near the drivetrain. Disable or remove the battery according to the manual before permitted mechanical work.
Follow the exact instructions for connecting frame sections, adjusting any folding latch, and securing wheels. Use the specified parts and tightening values. Do not substitute a generic “tight enough” judgment for a documented torque requirement.
Check that components are seated and oriented as shown. A quick-release mechanism has its own procedure; it should not be treated as a normal wing nut. A thru-axle, axle nut, or specialized rear retention arrangement may need different verification.
If you cannot determine whether a joint is correctly closed, do not ride. Ask for a demonstration or inspection. The folding-tricycle guide explains why latch security belongs in every setup and unfolding routine, not only in the initial build.
Match handlebar and stem position to the manual, including any insertion marks and clamp instructions. Check that the bar does not rotate under the prescribed inspection. Do not raise a stem beyond a marked limit to achieve a preferred posture.
Install pedals on the correct sides using the model's instructions. Left and right pedal threads differ on common bicycle systems; forcing the wrong part can damage the crank. If the thread does not start smoothly by the prescribed method, stop rather than applying a longer wrench.
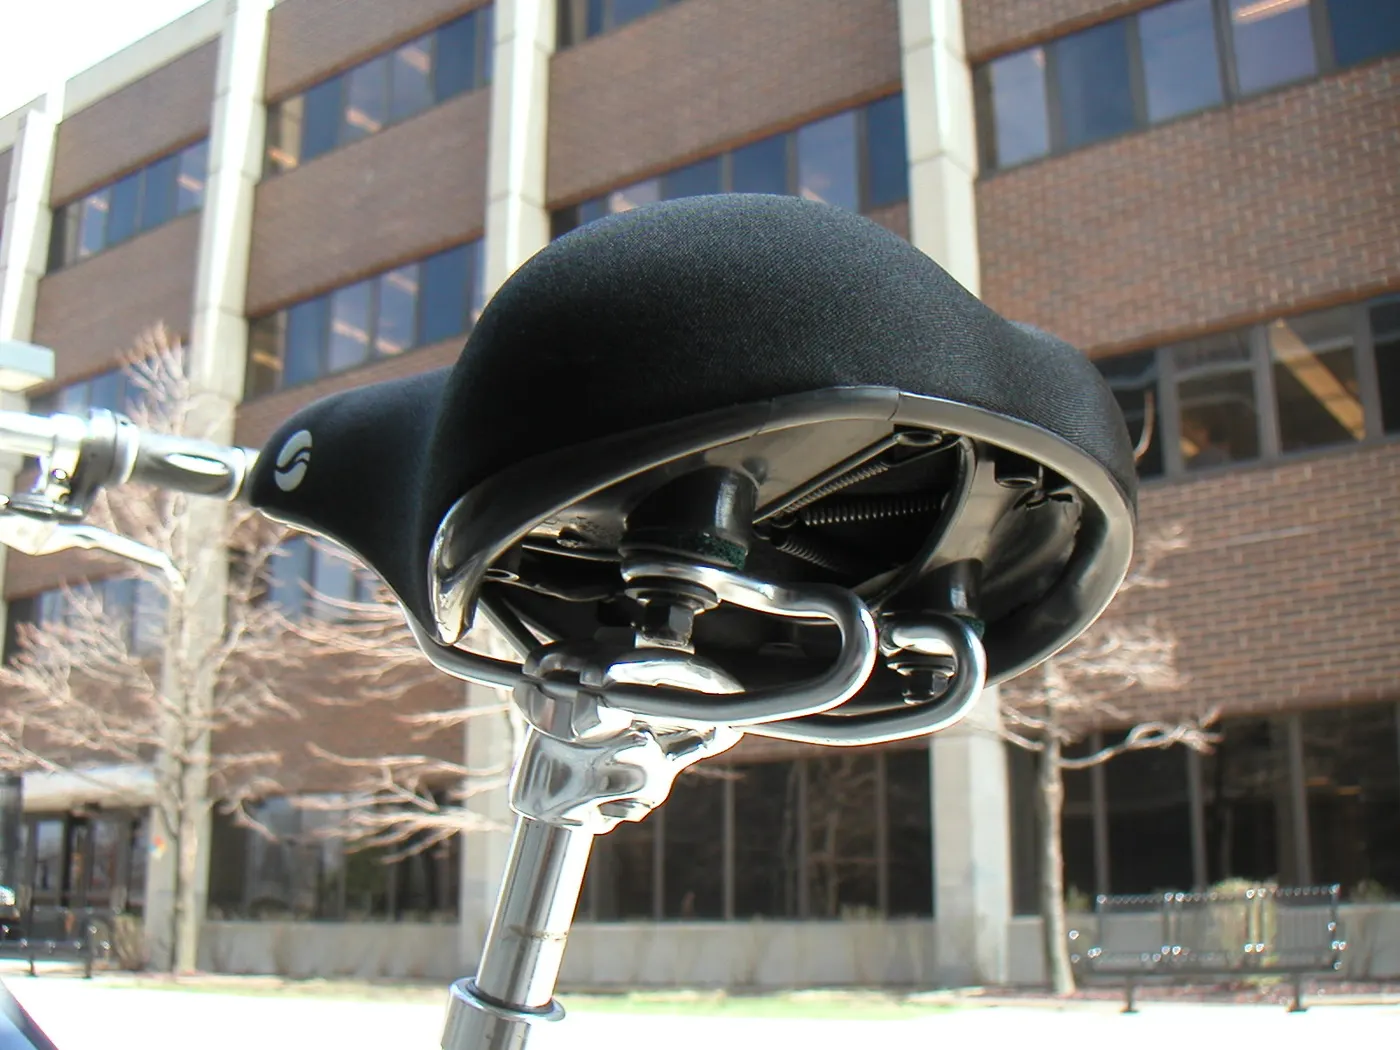
Check that the rider can reach brakes and steering comfortably after assembly. The fit guide develops seat and control adjustment. A low step-through frame does not establish that the controls are suitable for every rider.
Identify the service brake functions and the parking mechanism. Inspect cable or hose routing through steering movement and any folding operation. There should be no unintended tension, contact, or interference. Use the component manual for adjustments rather than borrowing a procedure for another brake type.
Perform the maker's static and low-speed checks in the specified sequence. A lever that reaches an abnormal position, a wheel that drags strongly, or a brake that does not release requires correction before riding. Do not assume new equipment has been correctly adjusted in shipping.
Electric motor cutoffs are separate from physical brakes. Check their documented behavior without bypassing sensors. The brake-system guide explains why a parking latch or electrical cutoff cannot stand in for a properly working service brake.
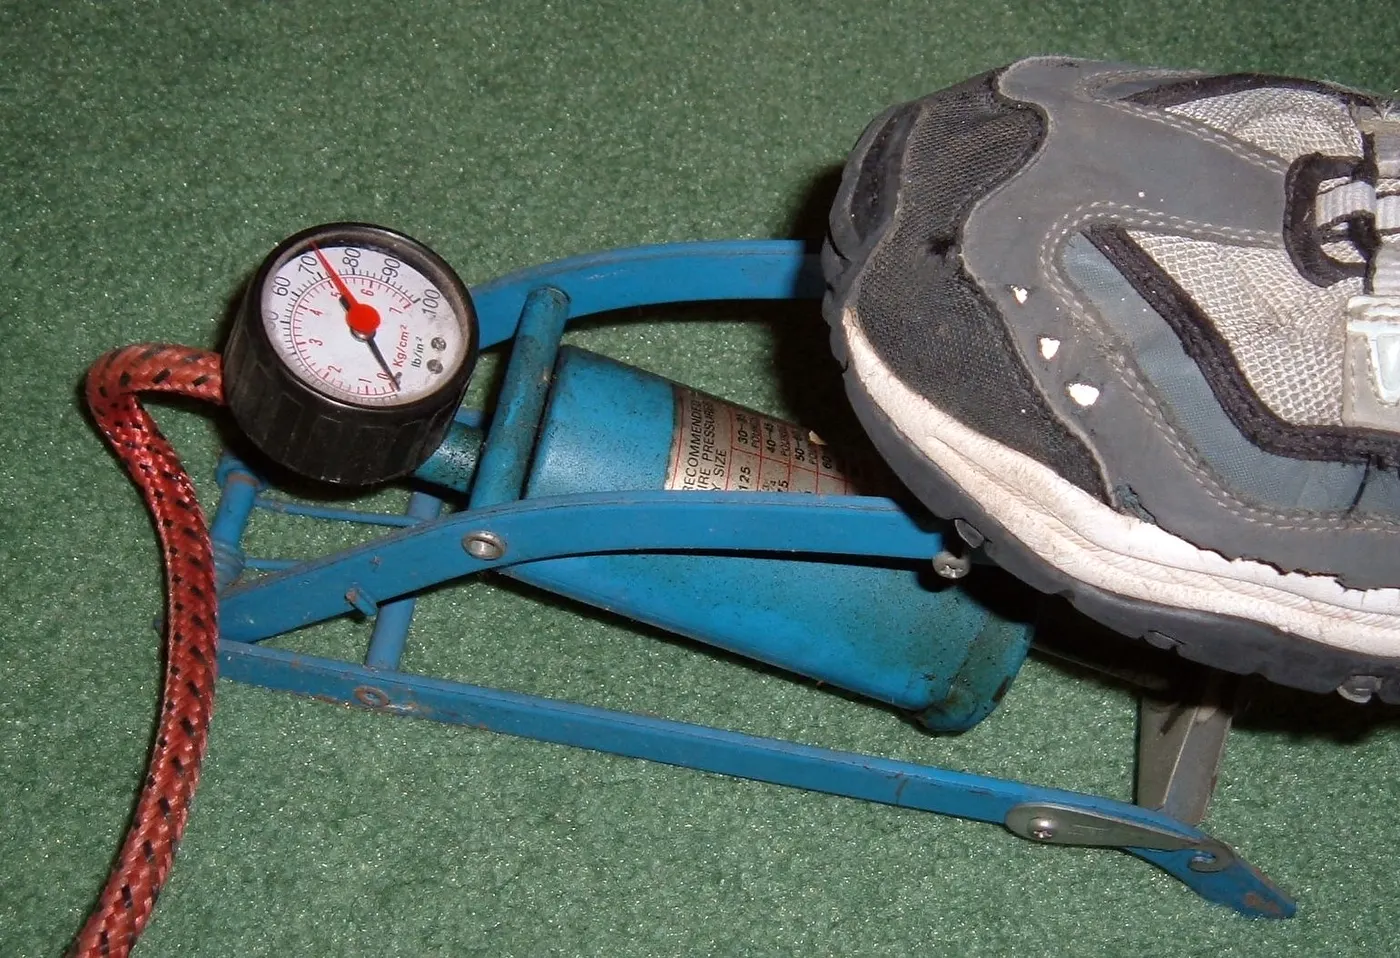
Inspect tires for shipping damage and verify inflation against the correct tire, rim, and vehicle specifications. Do not inflate every tricycle to the same pressure. Check all wheels, including paired tires, rather than stopping after the front one.
Look for tire contact with fenders, frame parts, or accessory straps. Inspect the drivetrain using the manufacturer's permitted checks and keep hands away from moving chains. A chain that repeatedly derails or binds is not something to fix by riding harder.
If wheel alignment or rear axle setup is unclear, seek professional inspection. Do not adjust steering geometry or axle hardware by guessing. The tire guide and drive-layout guide provide background while leaving model-specific assembly to the manual.
Install baskets, mirrors, lights, and bags using their own compatible hardware. Check that none affects the brake controls, steering, wheel movement, or folding latch. A product advertised for bicycles may not fit the tricycle's mounting points or load limits.
Add accessories one at a time and repeat the relevant checks. That makes it easier to identify a new rub, obstruction, or steering interference. Avoid filling every handlebar space before verifying that the rider can operate the controls in normal clothing.
Update the vehicle's overall width and height after installation. The accessory guide and clearance worksheet help check the complete configuration. A vehicle assembled correctly can still be impractical if the added basket prevents it from entering storage.
Read the battery and charger instructions before connecting power. Inspect the pack, housing, cable, and ports for damage. Use the supplied or explicitly approved charger and a suitable charging location. Do not charge while sleeping or leave a suspect battery in use.
Refit and lock the battery according to the model instructions. Confirm the display and controls using the documented startup sequence. An error code should be resolved before the first ride, not cleared repeatedly by turning the system off and on.
The battery-care guide covers charging and storage. The assist-and-throttle guide covers control practice. Assembly readiness does not mean the rider already understands how the motor will respond.

Choose a level, permitted, traffic-free area with room to stop. Begin with the manufacturer's recommended mode and no unfamiliar cargo load. Practice moving straight, slowing, and stopping before broad turns. Keep the session short enough that fatigue does not obscure feedback.
Do not start by testing maximum speed, hill performance, or a heavily loaded basket. The first ride should reveal whether the vehicle is predictable and the controls are usable. If something rubs, binds, rattles unusually, or shifts position, stop and inspect through the approved process.
A qualified handover can include explaining the parking brake, demonstrating battery removal, showing the folding latch, and confirming fit. Ask the mechanic or dealer to identify what the owner should inspect and when the first follow-up service is due. Keep those instructions with the manual.
| Area | Evidence to keep |
|---|---|
| Delivery | Model/version, packing list, damage correspondence |
| Assembly | Exact manuals and professional invoice if used |
| Critical checks | Wheel retention, frame joints, brakes, tire specifications |
| Electrical | Approved battery/charger and initial fault status |
| Rider handover | Fit, control map, practice steps |
| Follow-up | Manufacturer inspection or service schedule |
Do not invent an inspection interval from another model. Some manuals specify an early follow-up after initial use; others use different schedules. Record the actual requirement and arrange the service before the vehicle is put into a daily routine.
If a critical step cannot be verified, the build is incomplete. That applies even if the tricycle rolls or the motor powers on. A safe-looking static photograph does not establish wheel retention, brake adjustment, or latch security.
Use support and professional service to resolve uncertainty. The intended outcome is a tricycle assembled to its instructions and handed over to a rider who can control it, not a box emptied as quickly as possible. That standard makes the first ride more useful and the ownership routine easier to maintain.
Set aside enough time to inspect the package and identify the vehicle before planning a ride. Put the relevant manuals in reach, check the packing list, and record damage or missing items through the seller's process. If the delivery arrives late or the weather makes the work area unsuitable, postpone assembly rather than shorten the checks.
Group the work into identification, base assembly, critical verification, accessories, rider fit, and controlled handover. Finish and verify one stage before moving on. If a part does not match the diagram, stop that stage and contact support. Do not add accessories to distract from an unresolved frame or brake question.
Keep an open-issues list. It might contain a missing fastener, an unclear cable route, or a shop appointment. The vehicle remains out of use when a critical issue is unresolved. A visible list helps prevent a household member from assuming the tricycle is ready because it is standing in the garage.
Ask what their service includes and which specialized components they can assess. Provide the exact manual and configuration. Clarify whether they will check frame joints, wheel retention, brakes, tire specifications, drivetrain operation, and any approved electrical setup. Do not assume the phrase assembly service includes every desired task.
Request a rider handover where practical. Have them show the correct parking-brake operation, battery lock, folding latch, and owner inspections. The rider should demonstrate the basic controls under instruction so misunderstandings can be corrected before the first independent trip.
Ask how follow-up service is arranged and what symptoms require stopping use. Keep the invoice and any notes with the manual. Those records are useful for warranty inquiries and later service, but they do not remove the owner's responsibility to inspect the vehicle according to its instructions.
Seat and handlebar adjustments should remain within documented ranges. If the rider needs more reach or height than the permitted setting provides, that may indicate the vehicle is unsuitable. Do not solve the problem by ignoring an insertion mark, adding an unsupported spacer, or using the saddle rails at an extreme position.
A compatible accessory may help, but obtain approval and repeat the control and movement checks. For significant mobility needs, seek an appropriate adaptive cycling assessment. The assembler's ability to attach a seat does not establish that it suits the rider's complete task.
Record the final permitted settings and check them after the first short ride. If a component moves, stop and correct the fastening through the approved procedure. A fit reference is useful for detecting change, not a replacement for proper hardware and tightening.
The first controlled ride should answer whether the tricycle moves, steers, and stops predictably in a simple setting. It should not be used to estimate maximum range or prove hill capability. Keep the session short, unloaded, and within the recommended mode, with a clear stopping area.
After stopping, check whether anything shifted, rubbed, or loosened. Note the precise condition: a fender contact during a right turn, a saddle movement, or a cable that becomes taut. Do not keep riding to see if it wears in. The observation should lead to a documented correction or professional assessment.
Only expand the route after the basic setup and rider control are repeatable. Add ordinary cargo later and check again. This staged handover takes more care than a quick trip around the block, but it produces evidence you can actually use: identified hardware, verified critical checks, a fitted rider, and a clear follow-up plan.
Large packaging can be inconvenient, yet discarding it immediately may complicate a damage claim or return. Read the seller's current procedure and ask about any required materials. Store packaging without blocking exits or creating a household hazard. If it cannot be retained, clarify an alternative before disposing of it.
Do not use a packaging problem as a reason to accept damaged equipment. Report the condition and follow the authorized process. The goal is a usable tricycle with a sound handover, not avoiding a conversation about the box.
Research-based handover guide; no assembly or mechanical inspection was performed. Use exact manufacturer procedures and qualified help where required.
Guide
Choose your first adult tricycle by checking rider fit, storage, weight limits, gears, brakes, assembly, and service before buying.

Guide
Learn how to compare adult electric tricycles for control, fit, batteries, braking, transport, and ownership support.

Guide
Understand the leg and hip muscles used when pedaling a tricycle, plus how fit, resistance, and electric assistance change the effort.