



Guide
First Adult Tricycle Buying Guide
Choose your first adult tricycle by checking rider fit, storage, weight limits, gears, brakes, assembly, and service before buying.
We research everything we recommend. When you buy through our links, we may earn a commission. Learn more
Guide
Select compatible trike pumps and gauges, identify valves, use exact pressure guidance, manage access, and interpret repeated pressure readings.

Updated · 12 min read
A suitable pump must connect to the actual valve, reach the wheel comfortably, and operate within the tire system's instructions. A gauge adds useful measurement, but it does not select the correct pressure or diagnose a leak by itself. Adult tricycles may also have mixed wheel sizes, different loads, and awkward rear access.
This guide focuses on choosing and using compatible inflation equipment. The tire and puncture guide remains the detailed foundation for tire condition and recovery. No universal pressure is recommended for every tricycle, rider, or tire.
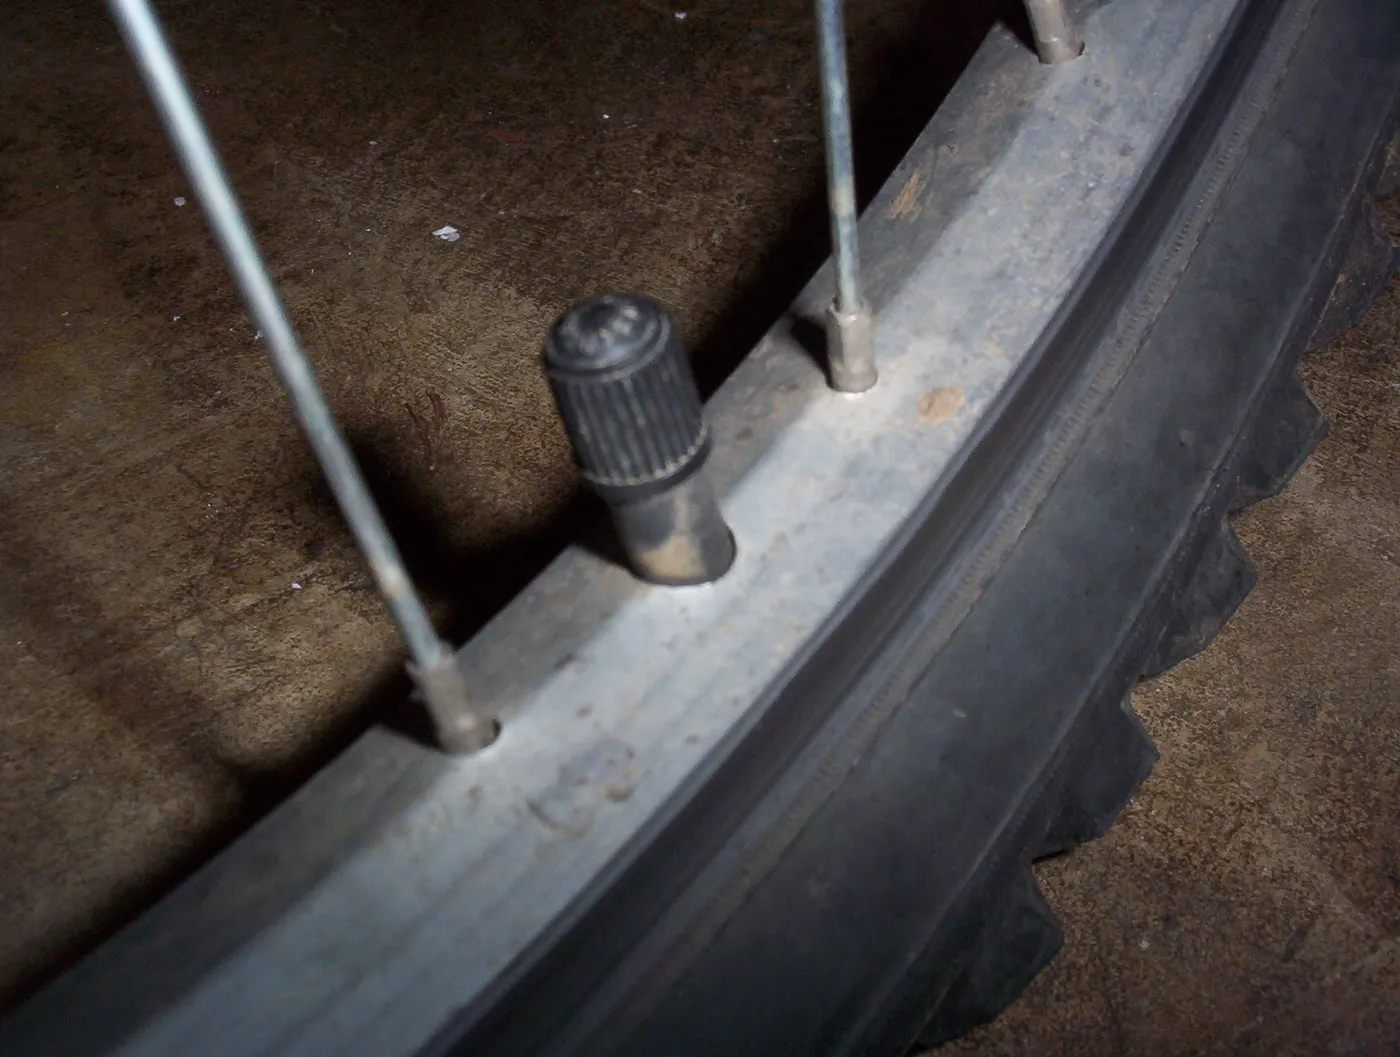
Record exact tire markings and valve type for each wheel. Do not assume the front and rear use the same parts or that a nominal wheel category identifies the valve. Mixed recumbent configurations can need different equipment.
Schwalbe's technical resources distinguish several valve systems, including traditional bicycle valves and its newer Clik Valve. Use the pump and valve instructions to establish the exact interface rather than selecting an adapter by appearance.
The wheel-size guide explains precise parts records. A wheel-by-wheel card makes future tube, pump, and service inquiries more reliable than remembering a broad sales label.
Check the tire, rim, and vehicle instructions and their relevant limits. Do not use the largest figure printed on one component while ignoring another requirement. Ask the manufacturer or mechanic when the documents conflict or the installed parts are unclear.
Load, tire construction, size, and the vehicle's setup can matter. Schwalbe's pressure guidance explains why a general figure is inadequate and why a gauge is more reliable than squeezing the tire by hand. That is context, not a tricycle-specific setting chart.
Keep the approved target or procedure in the ownership record. Do not lower pressure outside limits for comfort or assume all three tires should be set identically merely because they belong to one vehicle.
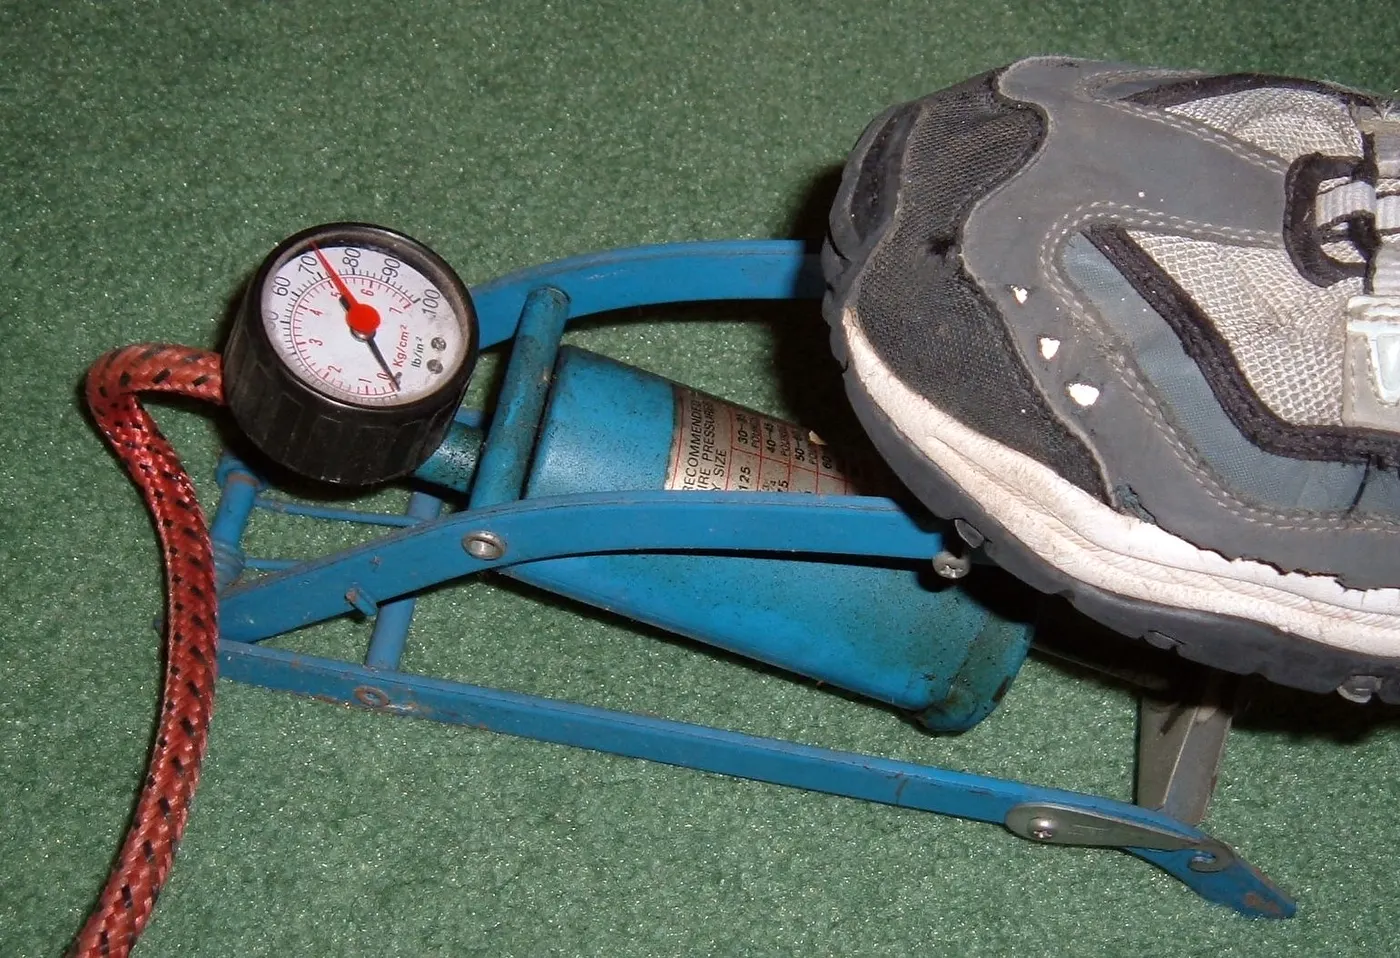
A pump's claimed maximum output does not establish that its gauge is easy to read accurately in your working range. A large scale can make small differences difficult to distinguish. Compare the actual equipment around the documented tire pressures.
A separate gauge also has a specified range, accuracy statement, and valve compatibility. Read those instructions rather than assuming a digital display is automatically more accurate than a suitable analog tool.
Do not buy purely by the highest maximum figure. The useful equipment connects correctly and gives a repeatable readable result for the actual tire system, with a manageable routine.
A stable home pump can make regular checks easier, while a compact carried pump can support permitted roadside work. Their handles, hoses, displacement, and effort can differ. One product does not need to perform every task equally well.
Consider grip, footing, reach, and the space where the vehicle is stored. A pump convenient for an experienced cyclist may be difficult for another rider to operate. Test the actual method without sacrificing valve support or vehicle stability.
The maintenance checklist helps integrate routine inflation. Keep the home equipment accessible so a simple check does not require lifting the tricycle or moving several stored items.
The basket, fender, axle, or drive components can make a valve harder to reach. Position the wheel only through a permitted controlled method and secure the tricycle as instructed. Do not operate the motor to bring a valve around during maintenance.
Check hose length and head clearance without forcing the valve sideways. A rigid gauge body may fit one wheel but be awkward beneath a fender or beside a hub component. A compatible hose or another tool can be more practical.
The fender guide covers clearance. Do not bend a guard or remove unrelated hardware simply to attach a pump without the appropriate procedure.
Read which valves the head or adapter supports and how it attaches. A dual-purpose head may require a specific change or mode; do not assume every mechanism switches automatically. Keep small compatible parts organized.
Do not force a connection, use an improvised thread match, or substitute a part from an unrelated system. If air escapes or the tool will not engage normally, stop and review the instructions and condition.
A product advertised for many valves can still need an adapter. Confirm that it is included and suits the exact setup. The accessory guide provides the general habit of checking every interface.
Use the gauge's prescribed connection and reading method and record relevant conditions consistently. A comparison is less useful if one reading is taken differently or after another tool releases air. Do not treat every discrepancy as proof of a faulty tire.
If two tools disagree materially, ask about verification or service rather than averaging the numbers automatically. Neither becomes authoritative merely because it is newer or digital. The correct process depends on the equipment and tire requirements.
Keep readings tied to wheel position and date. A simple record can reveal a recurring change without becoming a laboratory log. It supports a service inquiry while leaving diagnosis to the appropriate assessment.
Air loss can have several causes and conditions can change the reading. Inspect tire and valve through the permitted method and note the pattern. A damaged valve or repeated unexpected loss needs assessment before riding.
Use the puncture guide for repair and recovery decisions. More pumping is not a substitute for resolving an abnormal tire condition. Do not ride on a visibly deflated tire to reach the destination.
If wheel removal or valve work exceeds owner scope, arrange qualified service. A motor wheel or specialized axle can make the task different from an ordinary bicycle tube change.
Read the inflator's intended use, duty limits, charging requirements, and accuracy statements. A target-pressure setting is not a substitute for the actual tire specification or a final check through the tool's instructions.
Keep the power source and charger compatible and the equipment secured during storage or carriage. Do not connect an accessory to the tricycle battery without exact approval. The battery-care guide does not authorize inflator wiring.
Consider whether the rider can use the interface with normal eyewear and whether a depleted inflator leaves a workable alternative. Convenience should come from a reliable routine rather than a complicated display used once and forgotten.

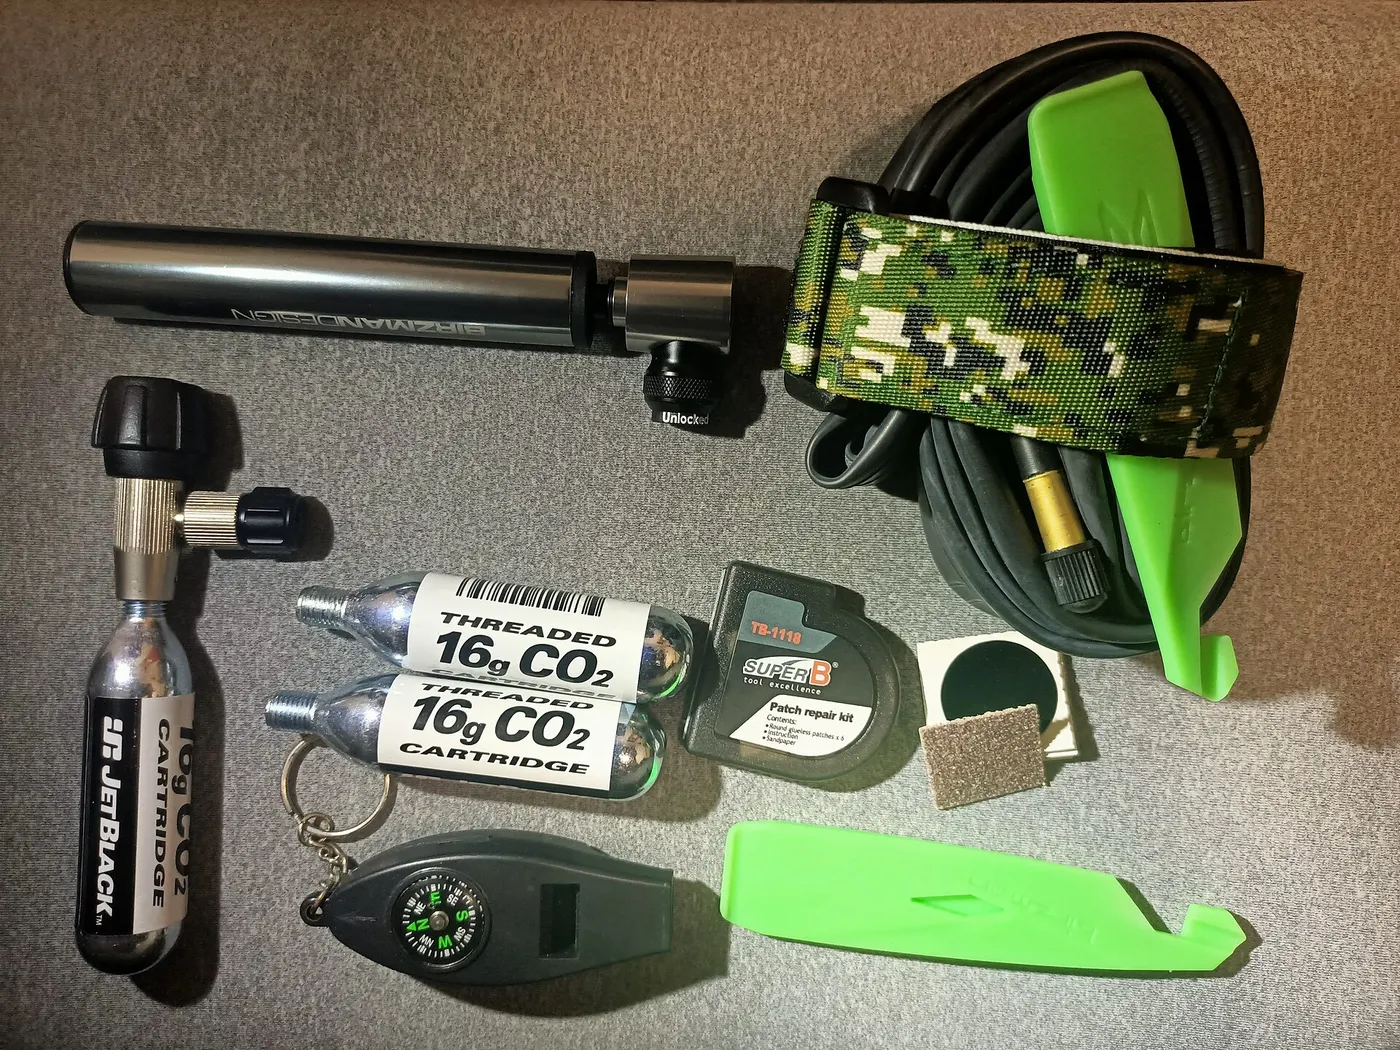
If using a cartridge system, confirm tire and product compatibility and follow its exact handling requirements. It is not equivalent to an unlimited reusable pump, and the owner needs a permitted repair and recovery plan.
Do not assume a generic bicycle cartridge has suitable capacity or a controllable interface for every large tire. Ask the provider about the actual task and preserve any applicable transport or storage requirements.
For ordinary home checks, compare whether a conventional pump better suits repeat use. This guide does not rank inflation formats universally or provide a cartridge-handling procedure.
If the manufacturer's pressure process uses loading, apply it to the actual approved configuration. A bag, cargo, or different rider can change the input. Do not invent a linear pressure increase from weight alone.
The payload guide helps keep definitions clear. Correct inflation does not raise structural limits or approve an unstable load arrangement.
After a meaningful setup change, record the source and permitted values or method. The same tricycle can have a different tire configuration after service, so update the parts card rather than retaining an old number by habit.
Follow the pump and gauge cleaning, storage, and service guidance. Damaged hoses, seals, heads, or unreadable scales can undermine the routine. Do not repair a pressure connection with an unapproved part and assume its measurement remains reliable.
Keep the equipment dry and protected as instructed, with adapters identifiable. A tool left loose in cargo can be struck or contaminate its head. The basket-bag guide covers secure carriage.
If calibration or verification is offered or required, use the provider's process. Do not invent a universal interval for all gauges or self-certify accuracy from one matching reading.
| Area | What to record |
|---|---|
| Wheels | Exact tire and valve for each position |
| Specification | Vehicle, rim, and tire pressure instructions |
| Pump | Compatible head, range, hose, and manageable effort |
| Gauge | Range, stated accuracy, interface, and reading method |
| Routine | Stable access, repeated checks, carriage, and power if applicable |
| Fault response | Unexpected loss, tool disagreement, and service route |
Use the worksheet to compare practical equipment rather than the largest output figure. The finished routine should be straightforward, repeatable, and tied to the actual tire system.

An inflation marking describes information about that tire, but it does not necessarily provide the complete permitted operating range for the installed wheel system. The rim and other components can impose relevant limits, and the trike maker may specify a particular setup. Identify the actual tire, rim, and vehicle instructions before choosing a pressure. Do not automatically inflate every tire to the largest visible number because it looks like a performance target.
Conversely, a low-pressure recommendation for a different tire or rider does not establish a safe setting for yours. Load, tire construction, wheel compatibility, and permitted use matter. A fat tire's appearance is not a pressure specification, and the two rear tires of an upright trike are not automatically equivalent to the single front tire. Obtain the maker's guidance for the exact configuration and retain it with the maintenance record. This guide deliberately avoids a universal PSI table.
When replacing a tire, revisit the pressure guidance rather than copying the old setting. A new model with the same nominal diameter may have different width, construction, or permitted limits. If the rim and tire instructions appear inconsistent, obtain a compatibility answer before riding. A better pump cannot resolve an incompatible wheel system. Inflation is a controlled task only after the permitted equipment and operating guidance have been established.
A gauge needs to display the pressures relevant to your approved setup clearly enough to use. A very broad scale can make small changes hard to read, while a narrow-range instrument may not cover a different tire on the same vehicle. Check the manufacturer's intended range, stated accuracy conditions, and care instructions. A large digital display is convenient, but the number of digits alone does not prove that the instrument is accurate.
Decide whether the gauge will be part of the pump or a separate instrument. A pump gauge allows you to observe inflation during the task, while a separate gauge can serve as a consistent checking tool if it is compatible and used correctly. Connecting and disconnecting can release some air, depending on the equipment and procedure. Follow the tool instructions and avoid turning repeated checking into an uncontrolled cycle of air loss and reinflation.
If two gauges disagree, do not assume that the one with more decimal places is correct or that their average represents the true pressure. Check units, connection, intended operating range, condition, and the makers' advice about verification. If accuracy is important and uncertainty remains, have the instruments assessed appropriately. Record which gauge you used so a future change can be interpreted without confusing instrument differences with an unexplained change in the tire.
A valve can be difficult to reach beside a rear wheel, fender, motor, or brake component. Inspect the actual space before selecting a pump head. A bulky head that works on an open bicycle wheel may not engage properly on your trike. Do not bend the valve or force the hose around a component to make an unsuitable head fit. Ask about a compatible head or approved adapter that preserves clearance and the intended connection.
Valve types require the correct procedure. Identify the installed valve from its actual construction and the relevant instructions rather than assuming every adult trike uses the same type. Some pump heads must be configured for a particular valve; others use separate ports or a different connection method. Learn which parts open, lock, or release and how to remove the head without pulling sideways. If the valve is damaged or loose in a way the tire instructions do not permit, stop and arrange service.
Consider the user's position while pumping. A floor pump, foot pump, or compact hand pump can create different reaching and balance demands. Use a stable, permitted location and secure the trike appropriately. A person who can read a gauge easily while standing may struggle to see it at the rear wheel or while using a compact pump. Evaluate the complete task, including setup, pressure reading, disconnection, and restoring any required valve closure.
Pressure can vary with temperature, so compare observations under the conditions specified by the tire or vehicle maker. Do not apply an invented correction formula to compensate for a hot ride or a cold storage space. Check through the prescribed routine and record unusual conditions when they help explain a reading. A consistent measurement practice makes the record more useful than occasional readings taken under very different conditions.
A tire that repeatedly needs attention deserves inspection rather than automatic reinflation. Note how often pressure is checked, which wheel is affected, the instrument used, and any visible damage or valve concern. These observations help a service provider assess whether there is leakage, equipment error, or another issue. Do not diagnose a puncture solely from one changed reading, and do not dismiss a recurring loss because the tire still looks round.
After inflation, inspect the tire and complete the required wheel and pre-ride checks. An appropriate reading does not establish that a damaged tire, incorrectly seated bead, or compromised wheel is ready to ride. If you observe an abnormal bulge, damaged sidewall, unusual seating, or another stop-use condition, follow the tire and vehicle guidance and obtain service. The gauge answers a pressure question; it does not perform the rest of the wheel inspection.
Carry a pump and any repair equipment that are compatible with the actual tire and valve system. Learn the permitted procedure in advance rather than discovering the pump-head configuration beside a road. A compact pump may be practical for emergency use while a larger pump is easier for routine home inflation. That distinction is about handling and the intended task, not a claim that every compact pump can reach every trike tire's required setting efficiently.
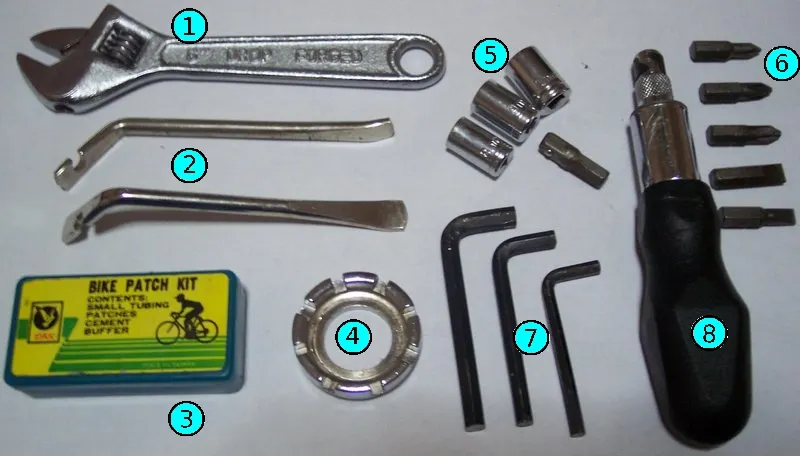
Plan what you will do if the problem cannot be addressed within your equipment and skills. A pump does not repair a damaged tire, wheel, valve, motor connection, or brake assembly. A loaded trike can also be awkward to support safely for roadside work. Have a recovery option and choose a stopping location that protects you from traffic. If a wheel must be removed, follow the exact trike procedure and recognize when the job belongs with a qualified technician.
Keep pump and gauge maintenance simple and documented. Protect connectors from contamination, inspect hoses and seals through their instructions, and investigate readings or operation that have become inconsistent. Replace or service parts through the maker's guidance. A dependable inflation routine comes from compatible equipment, known pressure instructions, repeatable use, and condition checks. It does not require an elaborate collection of tools; it requires that each tool in the routine answers the task it is intended to perform.
Research-based equipment guide; no gauge accuracy, pump output, or leak diagnosis was tested. Exact product and tire-system instructions govern use.
Guide
Choose your first adult tricycle by checking rider fit, storage, weight limits, gears, brakes, assembly, and service before buying.

Guide
Learn how to compare adult electric tricycles for control, fit, batteries, braking, transport, and ownership support.

Guide
Understand the leg and hip muscles used when pedaling a tricycle, plus how fit, resistance, and electric assistance change the effort.