
Guide
First Adult Tricycle Buying Guide
Choose your first adult tricycle by checking rider fit, storage, weight limits, gears, brakes, assembly, and service before buying.
We research everything we recommend. When you buy through our links, we may earn a commission. Learn more
Guide
Plan tricycle flags, lights, reflectors, clothing, and cargo clearance without mistaking visibility accessories for a guarantee of detection.

Updated · 11 min read
A bright flag can make a low tricycle easier to notice above some visual clutter, but it cannot guarantee that a driver sees the rider or understands the vehicle's position. Effective daytime visibility is a combination of a suitable route, predictable movement, lights where appropriate, unobstructed reflectors, and accessories that remain securely mounted.
Choose the setup for your actual tricycle rather than copying a photograph. This guide explains flags, mounting height, clothing, cargo obstruction, and a simple visibility inspection. It addresses being noticed in daylight; the separate night guide covers illuminating the road and maintaining a usable lighting system after dark.
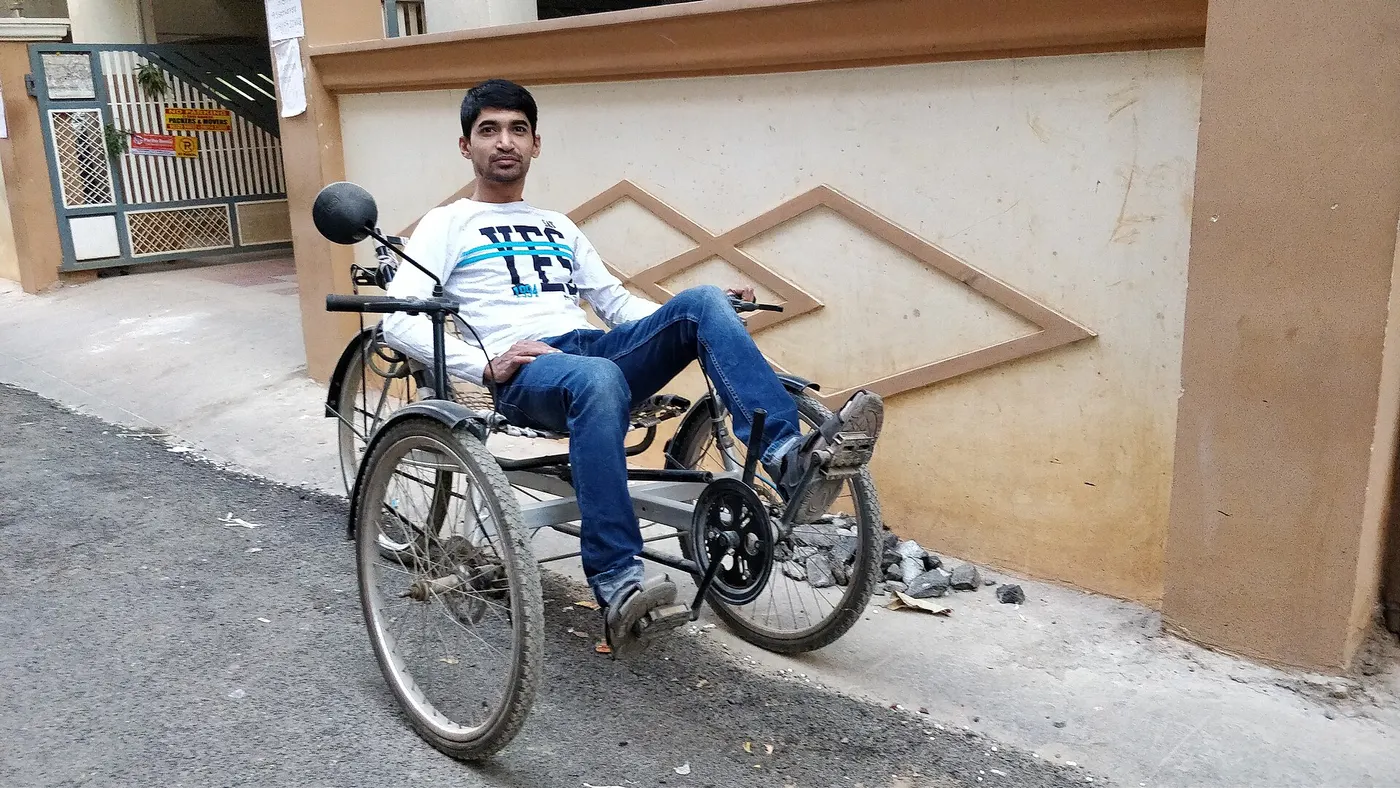
Being conspicuous means attracting attention. Being identifiable means another person can recognize a cyclist or vehicle. Showing position and direction means they can understand where you are moving. A flag may help with the first job without completing the others. A driver might see fabric above a parked car while the tricycle below remains hidden.
Consider the viewing directions that matter on your route: behind, ahead, beside, and across an intersection. A fluorescent shirt can be visible from the front but partly hidden by a recumbent seat from the rear. A large basket can obscure a low taillight. Accessories should be evaluated from all relevant directions.
Do not interpret a brighter setup as compensation for a poor sight line. If an intersection hides the rider until the last moment, change the approach or route and get local instruction if needed. Visibility equipment should support sound route planning rather than invite a riskier maneuver.
A flag raises a moving visual element above the frame and rider. That can be useful on a low recumbent and sometimes on an upright tricycle surrounded by clutter. The effect depends on background, pole position, fabric movement, and the observer's angle. There is no universal flag height or color that guarantees recognition.
Fabric can hang edge-on when the air is still, and a flag that looks large in a shop can present a narrow profile from behind. Wind can move it unpredictably. Reflective accents may help when illuminated but should not be described as a replacement for active lights in poor visibility.
Choose a design compatible with the manufacturer's mount and your storage constraints. Avoid claims that a specific color is always safest without applicable evidence. You can compare contrast against the typical background on your route, but that personal observation is not a controlled road-safety study.
Look for a dedicated flag socket or approved accessory bracket. Recumbent manufacturers often offer model-specific mounting options. The bracket needs to hold the pole without interfering with steering, suspension travel, folding, or cargo. A convenient hole in the frame is not necessarily an intended attachment point.
Do not attach the pole to brake hoses, electrical wiring, or a loose basket liner. A flag that contacts a wheel or catches a moving part creates a new hazard. Use the stated fasteners and check any restrictions on frame material or clamp position. Ask the dealer if the mounting instructions are unclear.
Keep the pole clear of the rider's entry and exit path. A person stepping over a low frame should not have to dodge a flexible pole under tension. If assistance is needed for mounting the tricycle, demonstrate the setup to the helper before leaving. The accessory compatibility guide provides a broader method for checking attachments.
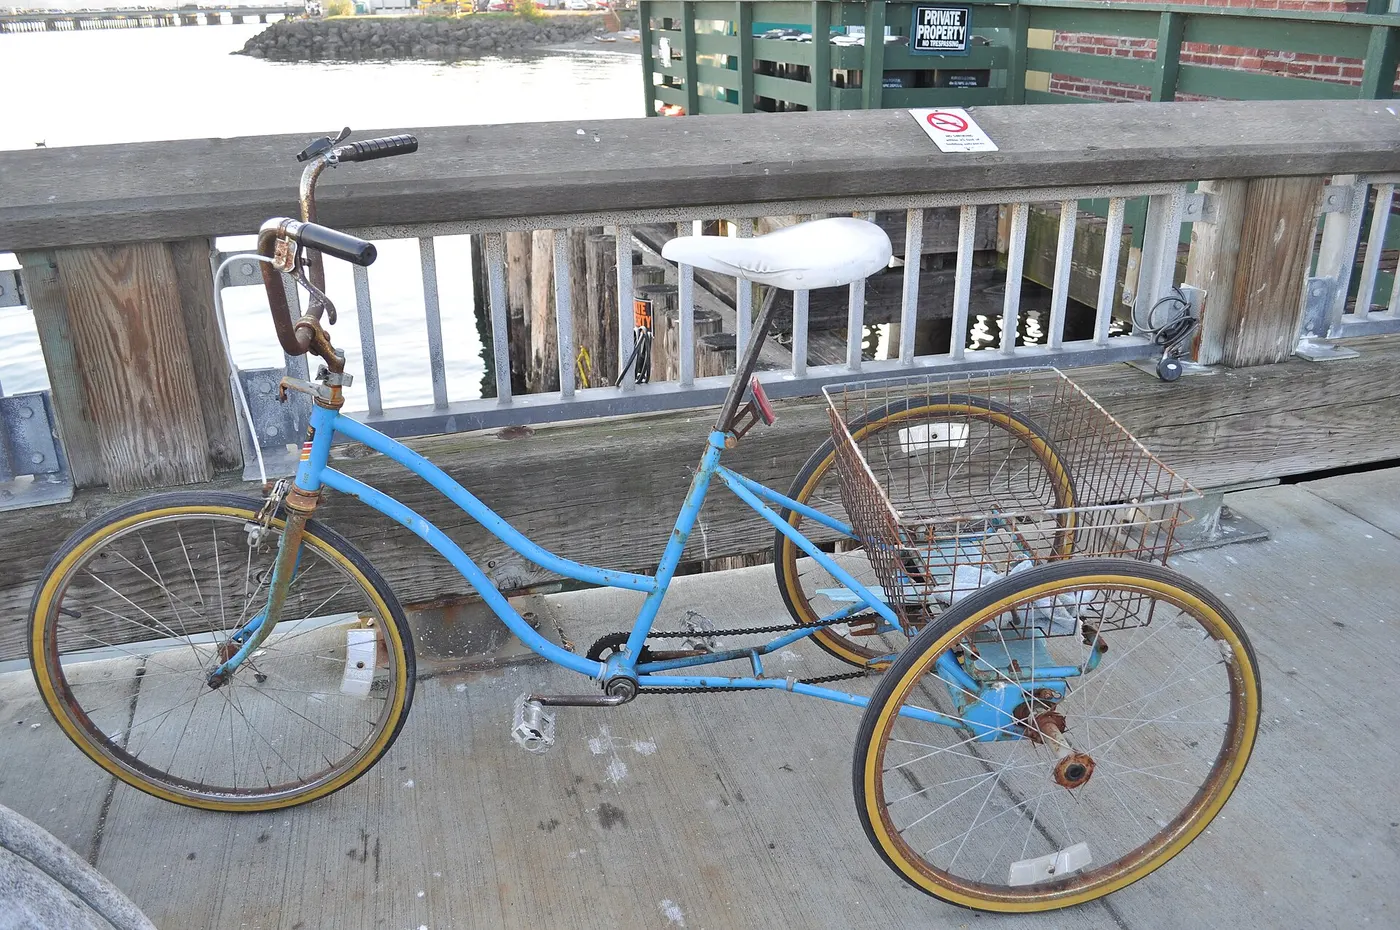
The raised position that helps a flag stand out can conflict with garages, trees, doors, and covered parking. Measure the installed height and note whether the pole can be removed or folded as instructed. Include the height in your path-clearance worksheet.
Never assume the flexible pole will harmlessly bend through every obstruction. It can spring toward a person, pull the mount, or damage a low ceiling. Remove it before entering a restricted space when the manufacturer permits that step. Do the task while stopped on stable ground.
For car transport, follow the rack and tricycle instructions and normally remove accessories that are not intended to remain exposed. A flag flapping at road speed on a transported tricycle faces a different environment from a cycling trip. Secure it separately so it cannot become loose cargo inside the vehicle.
Daylight includes shade, cloud, rain, and transitions beneath trees. Front and rear lights can be useful even when the sun is up. Choose equipment appropriate to the vehicle and local requirements, and check that the beam or lens is visible from the intended direction with the rider seated.
Do not rely on a bright flashing mode without considering the context. Flashing may attract attention, but legality and suitability vary. A front lamp that dazzles people on a shared path is poorly aimed regardless of its output. Follow manufacturer instructions and applicable local rules for modes and positioning.
Integrated lights may depend on the main battery and controller. Separate lights need their own charge routine. Before a longer trip, know what happens when assistance is switched off or battery power is low. Our night lighting guide discusses redundancy and runtime planning in more detail.
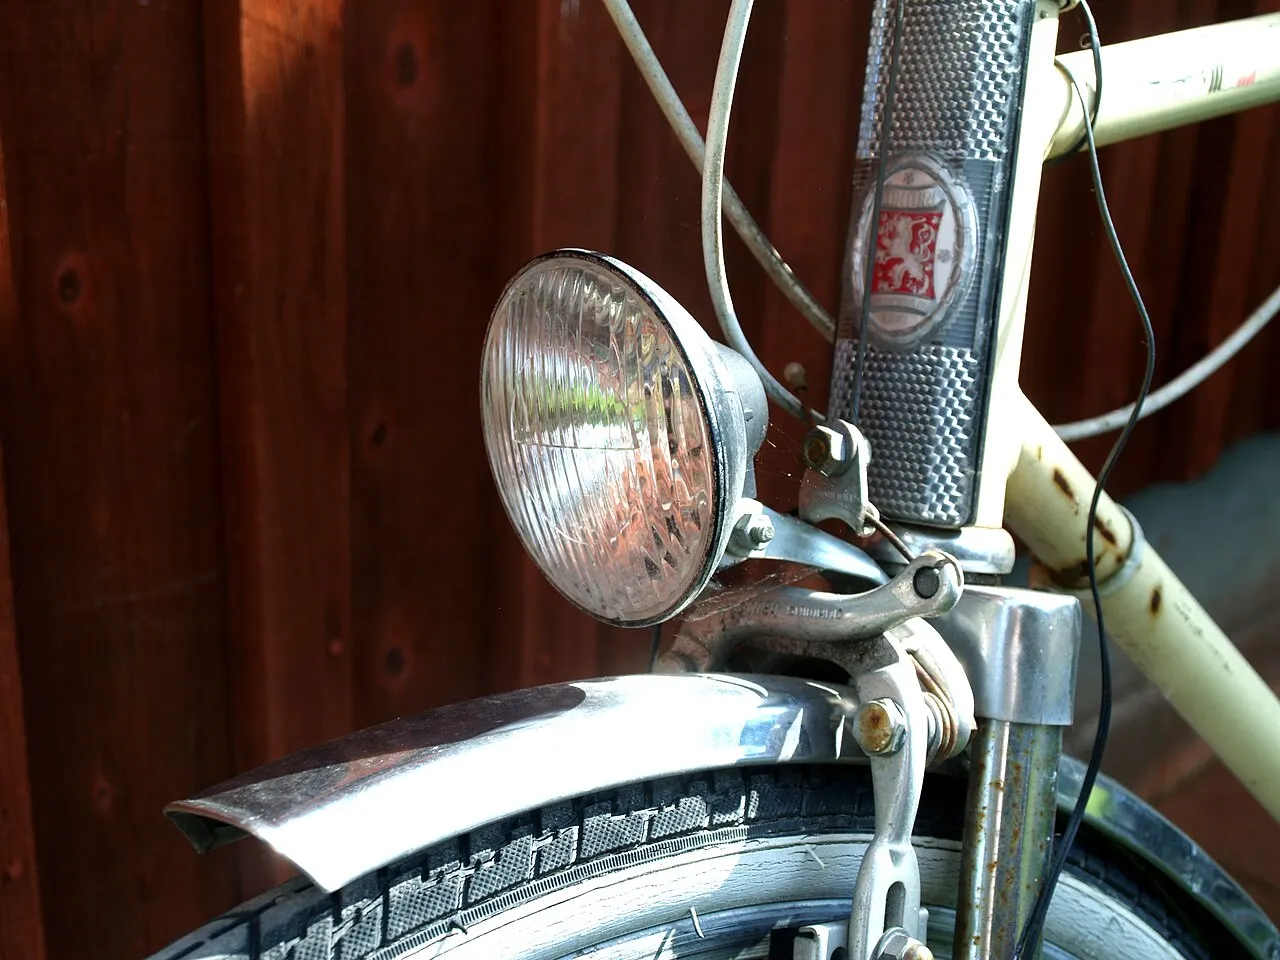
Reflectors work when light reaches them and returns toward an observer under suitable geometry. Dirt, a grocery bag, or a turned bracket can reduce that function. Check the original equipment required by the manufacturer and your location before adding decorative reflective accessories.
Side-facing reflective details on wheels or approved accessories can provide additional cues, but attachment matters. Do not place loose strips where they can catch a brake or detach into a wheel. Avoid coating a braking surface or covering a manufacturer's warning label with adhesive material.
Assess the setup from the side with the usual load fitted. A wide rear basket can hide parts of the frame. On a recumbent, the seat and bags may cover clothing. You are checking for unobstructed equipment, not proving that drivers will detect the vehicle at a particular distance.
Bright clothing can contrast with the background during the day, while reflective elements can be useful when illuminated in poor light. Wear items that fit the riding task and do not introduce loose fabric near wheels or chains. The visibility of a garment should not come at the expense of control or comfort.
On a recumbent, look at what is actually exposed. A fluorescent panel across the rider's back may sit against the seat and be invisible from behind. Sleeves or a helmet cover might be more visible from some directions, but each needs to preserve normal function and fit.
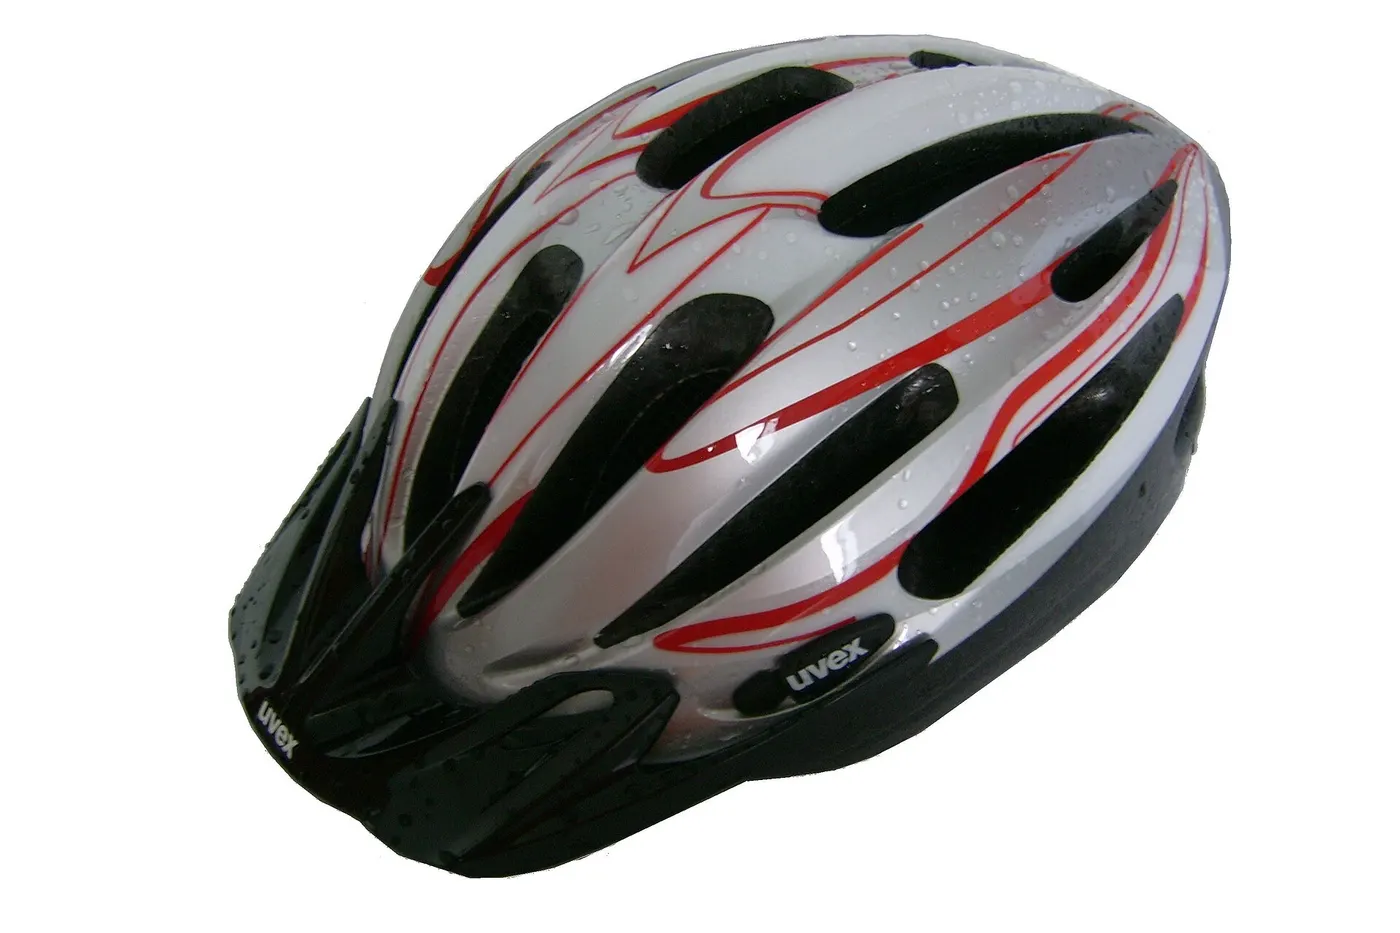
Do not add unapproved items to a helmet or pull its straps out of position to accommodate a hood. Check the helmet manufacturer's guidance. The helmet fit guide covers fit and replacement separately from visibility. A well-fitted protective helmet remains the priority.
Before shopping, inspect the empty vehicle's rear light and reflector positions. After loading, check them again from behind and at an angle. A basket that does not obscure the lens when empty may do so with a tall bag. The cargo can also block a flag socket or bend the pole.
Keep the approved load low and restrained where possible. Do not move a safety device to an unsupported position merely to fit an oversized purchase. If your routine regularly needs taller loads, ask the manufacturer about an approved alternative light mount or choose a different carrying arrangement.
The grocery and cargo guide covers limits and packing. Visibility is one of the reasons to make two smaller trips rather than filling every available space. An item below a weight limit can still be unsuitable because of its shape or projection.
Choose a level, safe area and secure the tricycle according to its instructions. Fit the rider's normal clothing and representative permitted load. Have a helper walk around the vehicle at ordinary observation positions, staying outside any traffic. Check whether the flag, lenses, reflectors, and required markings are unobstructed.
Repeat with the steering turned and with any seat adjustment normally used. Look for accessory contact and a lamp aimed into the basket or ground. Photographs can help document the setup, but phone exposure and image processing can exaggerate brightness. Use them for layout records, not distance or performance claims.
Write down any obstruction and correct it before the ride. This short inspection is more actionable than saying “the trike is bright.” It identifies a blocked taillight, a loose flag bracket, or a reflector facing the wrong direction. Recheck after changes and after a pole has struck an obstacle.
Visibility is only useful if other people have time to interpret your movement. Maintain a controllable line, signal as appropriate, and avoid sudden direction changes. Mirrors can help gather information, but they do not notify another person of a turn. See the mirror setup guide for the observation routine.
Do not assume eye contact confirms that a driver has seen the complete tricycle or will yield. Look for the actual vehicle movement and preserve a stopping option. At obstructed junctions, a higher flag does not show where your wheels are or make a hidden approach suitable.
On shared paths, a flag also does not replace a courteous audible announcement and space for passing. People may be looking in another direction or unable to hear you. Slow, wait, and choose a broad section rather than relying on an accessory to solve the interaction.
A tall pole and large flag add an exposed area. Wind can move the accessory, and larger attachments such as canopies can affect the vehicle more substantially. Follow the manufacturer's limits and avoid building an improvised mast or oversized display that was not considered in the tricycle's design.
If gusts make steering or observation uncomfortable, shorten or abandon the trip. Do not use an electric motor to push through conditions that compromise control. Rain can darken backgrounds, reduce visibility, and increase stopping demands simultaneously. A well-equipped tricycle still needs a conservative decision about whether to ride.
Check the flag and mount after bad weather. Wet fabric may wrap around the pole, and a loose joint may rotate. Let materials dry according to their instructions before enclosed storage. Do not store a damp flag against electrical contacts or leave a pole projecting into a walkway.
Product descriptions may call a flag “essential,” “high visibility,” or “safety approved” without explaining the basis. Look for clear dimensions, material, mounting compatibility, and care instructions. Ask what any certification actually covers. A material specification is not evidence of guaranteed driver behavior.
Prioritize correcting a blocked existing light and establishing a suitable route before adding decorative lights or multiple flags. More equipment also means more mounts to inspect, more batteries to charge, and more obstructions to manage. A simple setup that is correctly used can be more practical than a crowded handlebar and basket.
Keep purchase decisions tied to an identified gap: a low profile, an unobstructed approved mount, or a need for side visibility. Do not claim a measurable safety improvement for an accessory you have not tested or for which no applicable evidence is available.
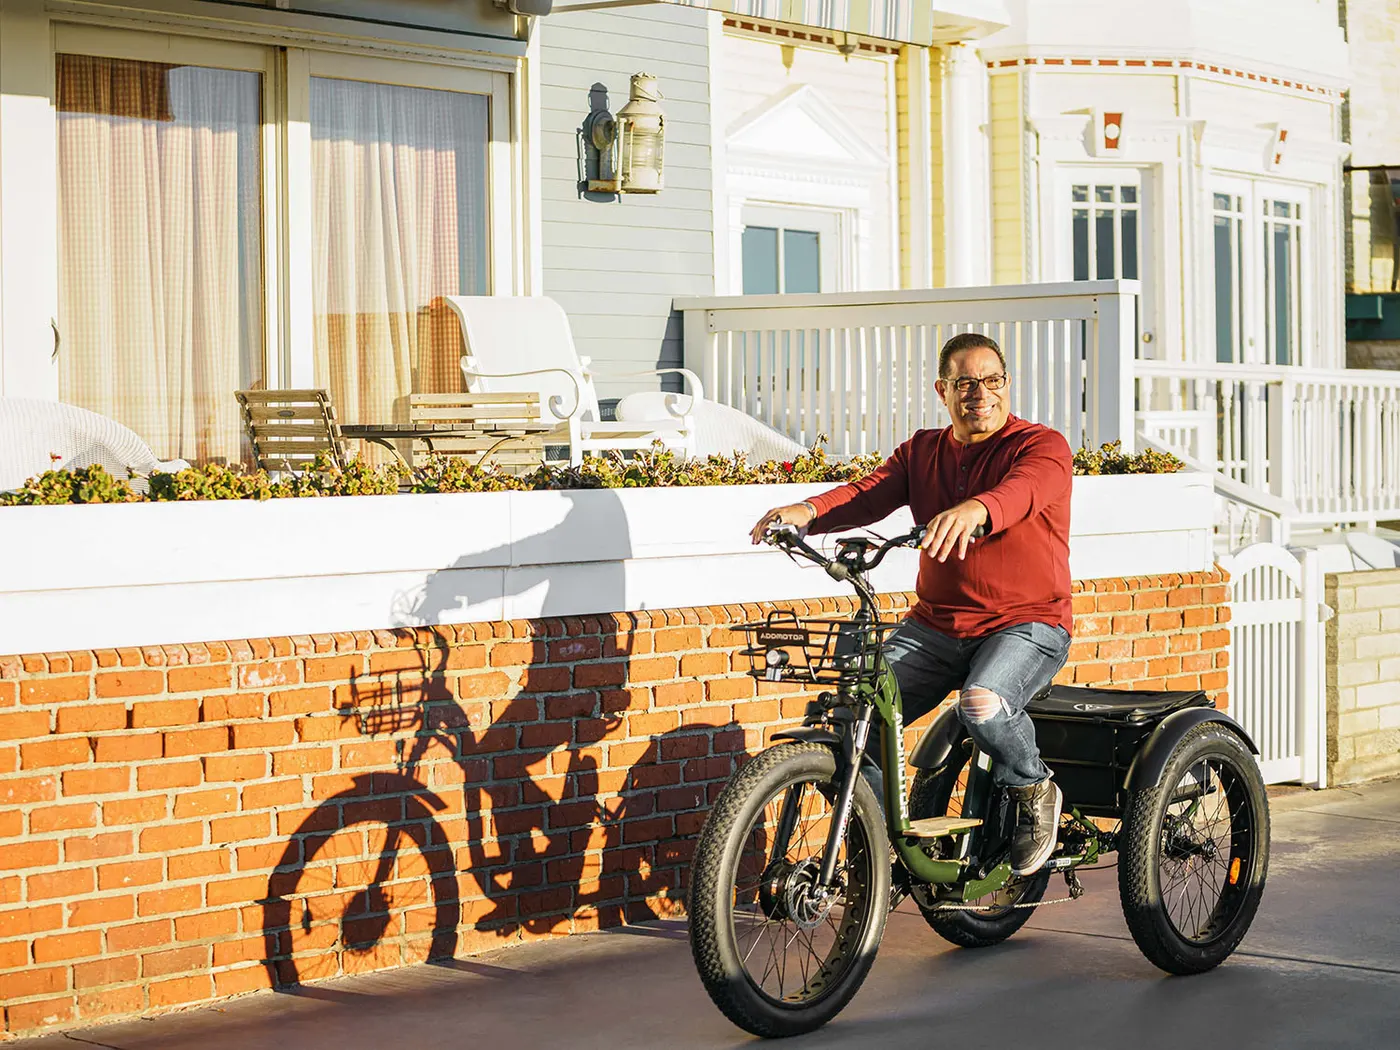
Consider a low recumbent approaching a junction bordered by parked cars. A flag may appear above a car while the rider and wheels remain obscured. That is a visibility clue, not proof that another driver knows the tricycle is entering the junction. Walk the location first where practical and identify sight lines from the actual approach. Do not stage a risky moving demonstration in live traffic.
Check where the rider can stop and observe without placing the vehicle in a conflict area. If the view only becomes clear after the front wheels project into traffic, seek a different approach or qualified local guidance. A taller pole does not solve the missing sight line for the rider. Treat route suitability and accessory conspicuity as separate entries in your plan.
Document the obstruction and an alternative. A longer route with clearer intersections may reduce the number of demanding decisions. If the obstruction is temporary, recheck when conditions change rather than assuming the original audit still applies. The flag setup can remain useful while the route decision changes independently.
Examine the flag and clothing against the backgrounds you commonly encounter, such as vegetation, pale walls, or busy shop signs. Contrast can vary, and the fabric may hang differently in still air. Check front, rear, and side views while stationary with the rider seated. A product photograph against a plain studio background offers limited information about those conditions.
Look at whether the material remains exposed. A bright back panel hidden by a seat cannot contribute from behind. A flag partly covered by a bag may show a smaller area than expected. Correct these practical obstructions before considering a second flag or a more elaborate lighting accessory.
Do not convert the comparison into a numerical safety score. Without controlled observation and applicable evidence, you can describe contrast and obstruction, not a percentage reduction in crash risk. That restraint keeps the guide useful without exaggerating what the equipment can establish.
If the flag must come off for storage, give it a safe place where it will not be stepped on or left projecting into a walkway. Record how it refits and check the mount before the next ride. A pole assembled from several sections may need its own connection checks. Do not assume a partially seated joint will hold because the fabric is light.
Before departing, walk around the loaded vehicle and confirm the flag, lights, reflectors, and loose straps. After arriving, remove accessories only by the permitted method and keep the tricycle secured. A visibility setup should be easy enough to restore that you do not routinely leave it incomplete on a short errand.
If the mount loosens repeatedly, stop adding improvised packing or tape and seek the correct hardware or service. Reliable attachment is the foundation. A flag that detaches or enters a wheel path has created a problem even if it was conspicuous a moment earlier.
Research-based guide; no visibility-distance or crash-risk testing was performed. The walk-around inspection checks obstruction and configuration, not guaranteed detection by road users.
Guide
Choose your first adult tricycle by checking rider fit, storage, weight limits, gears, brakes, assembly, and service before buying.

Guide
Learn how to compare adult electric tricycles for control, fit, batteries, braking, transport, and ownership support.

Guide
Understand the leg and hip muscles used when pedaling a tricycle, plus how fit, resistance, and electric assistance change the effort.