



Guide
First Adult Tricycle Buying Guide
Choose your first adult tricycle by checking rider fit, storage, weight limits, gears, brakes, assembly, and service before buying.
We research everything we recommend. When you buy through our links, we may earn a commission. Learn more
Guide
Identify the installed tricycle caliper, rotor, approved pads and package contents before comparing compounds or arranging brake replacement.

Updated · 11 min read
The right replacement disc brake pad is the one approved for the installed caliper and rotor, not the one with the most convincing photograph or the word tricycle in its title. Adult trikes can use different brakes across models, production revisions, and previous repairs. Even the front and rear positions on one vehicle may require different parts. A careful identification process is therefore the most useful starting point for a purchase.
This guide focuses on choosing and documenting replacement pads. It is not a universal installation procedure or a brake inspection. It explains how to build a compatibility record, compare compound choices within the permitted options, and arrange service when identification or condition is uncertain. No pad recommendation here substitutes for the brake manufacturer's current instructions, including wear limits, installation details, and bedding-in requirements.
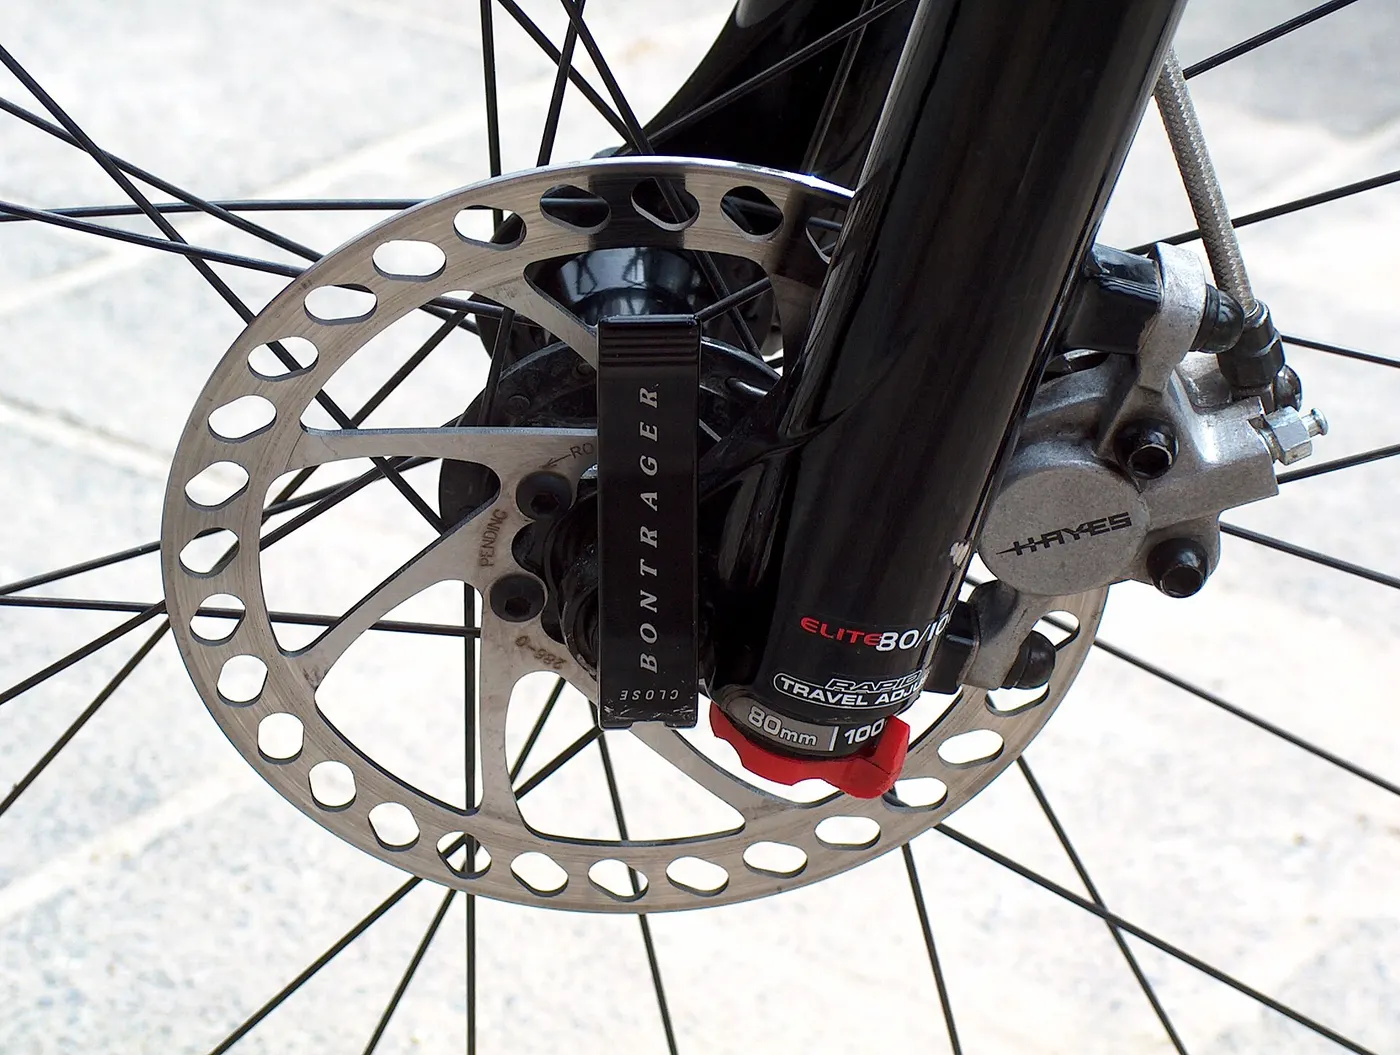
Begin with the caliper, the component at the wheel that holds the pads. Record its brand and model marking if visible without taking the assembly apart. Photograph the whole brake and the marking. A lever brand alone may not identify the caliper, especially if the vehicle has been repaired or modified. A trike model name is useful background, but it may not resolve production changes.
Map each brake position separately. On a recumbent with two front brakes, do not assume both sides remain identical if one has been replaced. On an upright trike, establish whether the rear brake acts at a wheel, axle, or another mechanism. If the system is not a disc brake, this pad-selection guide does not apply. The brake controls guide helps organize that initial map.
Record the vehicle's model and approximate year alongside the caliper information. If its maker provides a parts list, compare it with the installed equipment rather than treating the list as proof that nothing changed. When markings are hidden or unreadable, a qualified shop can identify the assembly. Avoid removing a wheel or pad merely to answer a shopping question unless you have the correct procedure and capability.
A mechanical disc brake uses a cable arrangement; a hydraulic system uses fluid to transmit force. That distinction helps understand service requirements, but it does not by itself identify pad shape or part number. A seller's description of pads for hydraulic brakes is too broad, and pads for cable brakes is no better without a specific compatibility list.
The mechanical versus hydraulic disc brake guide covers operating differences. For this purchase, write the exact caliper and approved pad family. A brake with unusual actuation or an integrated hydraulic mechanism especially deserves identification through its own documentation rather than a label inferred from the visible cable.
Parking functions are another separate question. A trike's lever may have a locking feature, but that does not create a new universal pad category. If the manufacturer specifies a particular brake configuration for the parking function, keep it intact. Do not change calipers or pad compounds solely because an advertisement describes better holding power without confirming the complete system's requirements.
The most reliable shopping record starts with an approved part number or an explicit compatibility entry from the brake maker. Save the page, document revision, or written response that identifies it. Then compare the item offered by a retailer with that reference. This order is less error-prone than beginning with a cheap listing and searching for reasons it might fit.
Similar-looking backing plates are useful clues, but they are not sufficient confirmation on their own. Dimensions, retaining arrangements, springs, and other details can differ. Park Tool discusses the challenge of finding replacement disc pads and directs riders toward specific caliper identification. Treat visual matching as supporting evidence while resolving the actual part through documentation or a competent shop.
If a seller lists an equivalent aftermarket pad, ask whether the equivalence includes the exact caliper version and required hardware. A phrase such as fits many models is not a specific answer. Keep the reply with the purchase record. Where compatibility remains unclear, selecting the maker's documented replacement or having the shop supply it is usually a clearer route than guessing from a marketplace image.
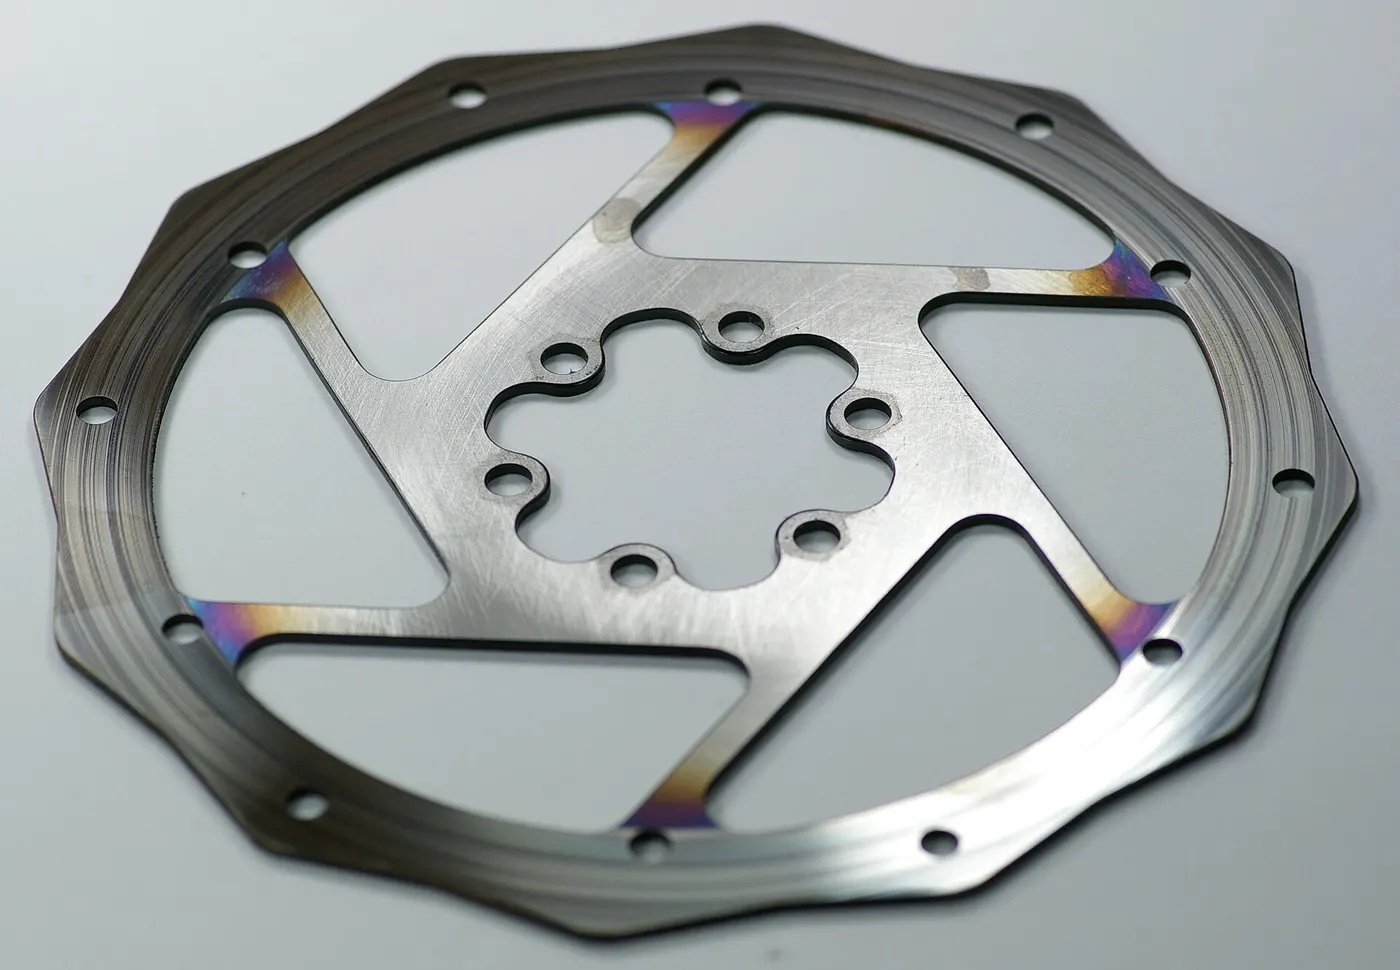
Pads and rotors work together. Some rotors restrict the permitted pad material, so a compound change requires checking the rotor marking and documentation as well as the caliper. A physically fitting pad can still be an unsuitable pairing. Record any visible material restriction and give it to the shop or seller before ordering.
Do not infer a rotor's material requirements from color, price, or its diameter. If the marking is missing, ask the manufacturer or technician to identify it. A previous owner may have changed the rotor while leaving the caliper original. The compatibility record should describe installed components, not simply the specification of the new vehicle as it appeared in a catalog.
Rotor condition is also distinct from pad selection. A new set of pads does not establish that the rotor is within its wear limit, securely mounted, or free of damage. When brake performance has changed, request an assessment of the system rather than treating the purchase as a guaranteed cure. This is particularly important when a complaint appeared suddenly or follows contamination or impact.
Retailers commonly describe organic, metallic, and intermediate compounds. The useful comparison is between options explicitly compatible with your caliper and rotor. General claims about noise, longevity, or wet conditions cannot override a component restriction. Compound names can also vary among manufacturers, so read the specific maker's description instead of assuming identical behavior from a shared label.
Describe your use to the provider: ordinary neighborhood errands, frequent wet commuting, long descents, or another pattern. Ask which approved option suits that use and what tradeoffs to expect. Do not present an increased total load as something a different pad can authorize. Vehicle capacity, braking configuration, and route suitability remain separate constraints.
A compound described as racing or high performance is not automatically the best choice for a slow upright trike. Likewise, a quiet pad is not proof of adequate braking or correct installation. Focus the decision on documented suitability and service requirements. The route gradient guide helps frame descending demands without promising that a pad purchase resolves a difficult route.
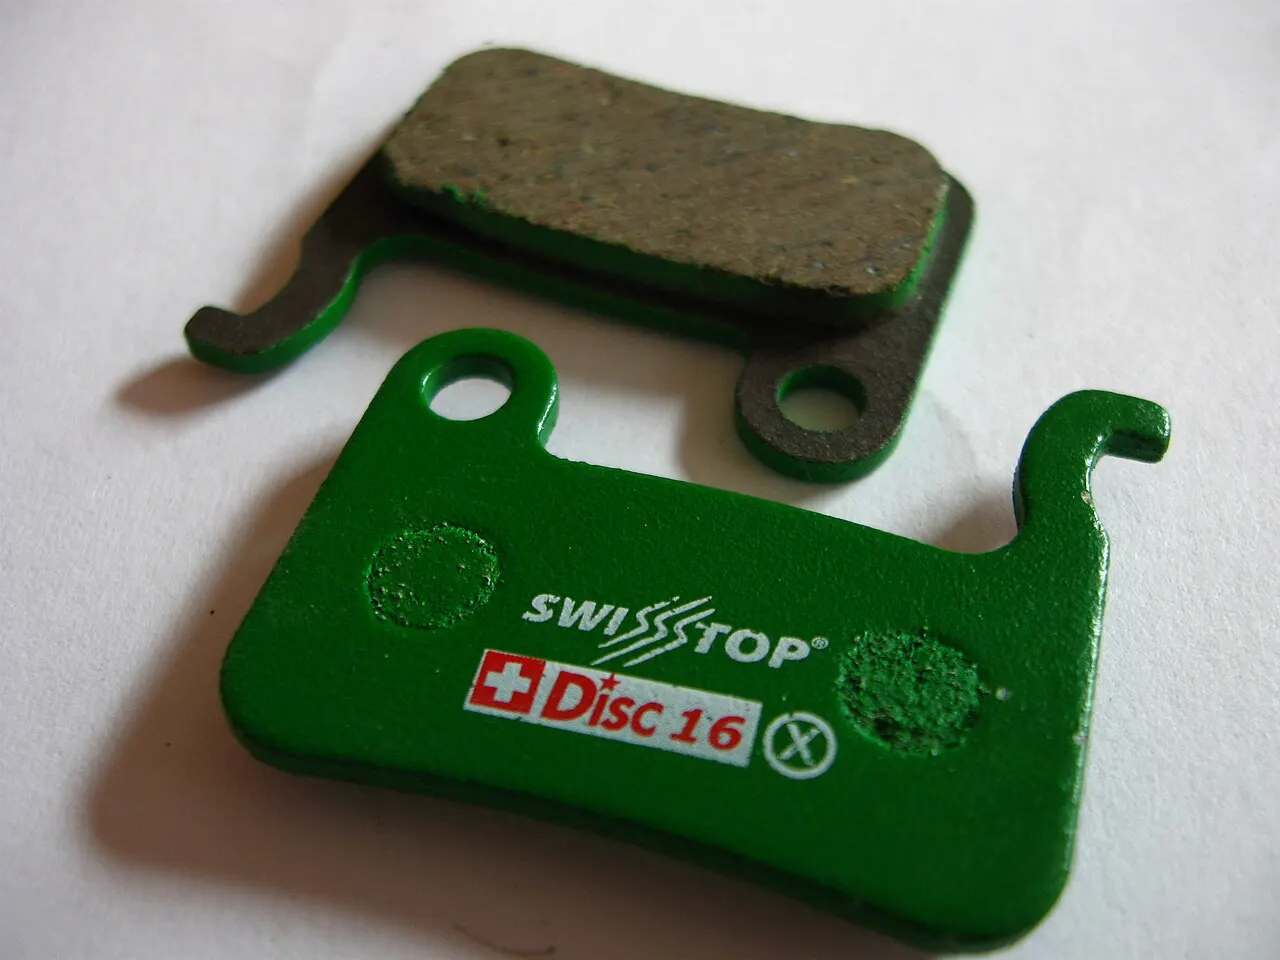
Photographs can show a pair of pads, a spring, retaining hardware, and other items even when the description does not include everything. Read the package contents carefully. Establish how many calipers the set services and whether the required hardware is included, reused, or supplied separately according to the brake maker's instructions.
This matters on trikes because the number and arrangement of brakes differ. Buying one package for a vehicle with two calipers does not necessarily provide two complete replacements. Conversely, do not assume that all positions should receive the same part merely to simplify ordering. Create a per-position shopping list before calculating the total quantity.
If a shop will install the pads, ask whether it prefers to supply them. A shop-supplied part may simplify responsibility for identification and package completeness. If bringing your own parts, send the exact listing before purchase and confirm acceptance. Avoid arriving with an opened set that the technician cannot confidently match to the system.
Squealing, rubbing, increased lever travel, or reduced braking may have different causes. Pads can be worn or contaminated, but other components and adjustments may also be involved. A noisy brake does not identify a compound problem by itself. The owner should describe the change and arrange assessment rather than ordering a different material solely to silence it.
If oil or another substance reached the brake, mention it explicitly. Do not try to hide the event by wiping the assembly and continuing to ride. Contamination may involve both pads and rotor, and the source should be addressed. Keep chain lubricant, general-purpose sprays, and greasy cloths away from braking surfaces during routine work.
The washing guide and chain lubrication guide discuss separating those tasks from brake surfaces. This article does not recommend household solvent treatments, heating pads, or sanding as universal remedies. A method that appears in a forum is not evidence that a compromised brake has been restored to its maker's standard.
Buying the right pad is only part of returning a brake to use. Installation may involve component-specific access, retaining hardware, piston or adjuster preparation, wheel security, alignment, and the maker's bedding-in procedure. A trike wheel's mounting can differ from the ordinary bicycle in a general tutorial. Decide who will perform the work before ordering parts.
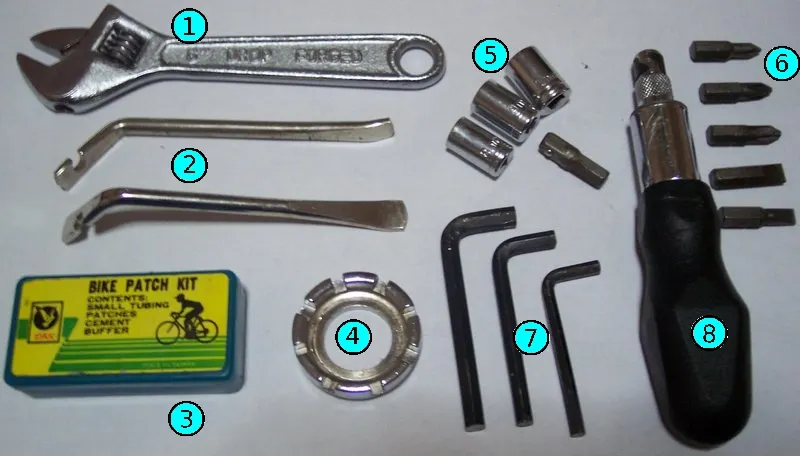
If you intend to do it yourself, read the exact instructions from start to finish and identify the tools, specifications, and steps you can carry out correctly. A missing torque value or unclear retaining arrangement is a reason to resolve the instructions, not improvise. The home support guide addresses why a secure working position is a separate requirement.
For shop installation, ask whether the quote includes rotor assessment, complete brake checks, and any necessary follow-up. A pad-only price may exclude additional work if the system has another fault. Discuss how extra work will be authorized. The service guide helps compare scope rather than treating all replacement quotes as equivalent.
Keep spares in their original labeled package, protected from oil, lubricant, and dirt. Do not place them loose in a repair bag beside a greasy chain tool. Retain the compatibility label and receipt. A clean, identifiable spare is more useful than an unmarked pair whose compound or intended caliper can no longer be established.
Store the package where it will not be confused with removed pads. If keeping old parts for reference, label them as removed and record the reason. A used backing plate can help a professional identify a shape, but its appearance does not prove the new product's compatibility. Make the written part reference the primary record.
Check current instructions before using a spare purchased long ago. The vehicle may have been modified in the meantime, and a package intended for an earlier brake no longer answers the present question. Update the parts record after every caliper or rotor change. This is especially useful when several household cycles have similar-looking components but different replacement requirements.

Use one line per caliper: wheel position, caliper model, rotor identification, approved pad part, compound, package quantity, and required hardware. Add the source that confirmed compatibility and the service plan. This is practical shopping information, not a technical certification. Blank fields show which questions remain unresolved before you place an order.
For example, an owner may know the front caliper model but be unable to read the rear marking. The worksheet should show the front as identified and the rear as pending, rather than copying the front specification into both rows. If the shop later confirms different parts, the record already has room to preserve that distinction.
Keep a date beside each source because retailer descriptions and manufacturer ranges can change. A screenshot can preserve what was offered, while the maker's current documentation governs the installation. If a listing silently substitutes a different item after purchase, compare the delivered package before opening it. Resolve discrepancies before the part reaches the brake assembly.
Imagine a rider preparing an upright electric trike for regular errands. One brake has become noisy after chain maintenance. Rather than purchasing metallic pads advertised for all e-bikes, the rider parks the vehicle, records the contamination possibility, and asks a shop to identify the brake and inspect the affected surfaces. The parts order follows that assessment.
The shop confirms an approved replacement and explains whether additional work is needed. The rider checks package quantity against the actual number of calipers being serviced and keeps the invoice with the component record. The result is a documented replacement process, not a claim that one material is best for every tricycle or that noise alone established worn pads.
For a recumbent with two independently operated front brakes, the same process begins by identifying both sides and their rotors. If the owner requests a compound change, the discussion includes both systems and the manufacturer's permitted combinations. Matching labels are helpful, but correct installation and return-to-use checks remain necessary. A shopping decision does not replace verification of the complete brake arrangement.
After service, record the installed part, compound, brake position, date, and any rotor work. Keep the maker's bedding-in and recheck instructions in the same folder. If the original symptom remains, contact the provider rather than assuming it is harmless because the pads are new. A new part can coexist with an unresolved problem elsewhere in the system.
The useful long-term habit is to buy from a confirmed compatibility record and revise it whenever equipment changes. That makes the next purchase quicker and reduces reliance on vague marketplace titles. It also helps another workshop understand the trike without repeating the identification process from the beginning. Accuracy here is more valuable than accumulating spares that merely resemble the installed pads.
It is useful to think of the job as three decisions with different evidence. The purchase needs confirmed part compatibility. The installation needs the appropriate procedure, tools, and complete system checks. The follow-up needs the maker's return-to-use instructions and attention to unresolved symptoms. Completing the first decision does not automatically complete the other two. Keep all three visible on the worksheet so a successfully delivered package is not mistaken for a finished brake repair.
If ordering for a future appointment, tell the shop whether the package will arrive directly or be brought by the owner. Compare the delivered model and quantity with the agreed record before the appointment. If a substitution arrives, resolve it with the supplier and technician rather than leaving the discrepancy for the installation day. This small check can prevent wasted travel and pressure to fit an uncertain component merely because the trike is already in the workshop.
After the job, retain the exact compatibility reference alongside the invoice. A future listing may use a different title or include a different compound under a similar photograph. Your own record should identify the installed part clearly enough that another provider can repeat the assessment. That is the practical value of documentation: it supports a consistent replacement process without assuming that every future product carrying the same broad marketing description is identical.
Research-based buying guide, reviewed 14 October 2026. No hands-on brake inspection, pad comparison, or performance testing was performed.
Guide
Choose your first adult tricycle by checking rider fit, storage, weight limits, gears, brakes, assembly, and service before buying.

Guide
Learn how to compare adult electric tricycles for control, fit, batteries, braking, transport, and ownership support.

Guide
Understand the leg and hip muscles used when pedaling a tricycle, plus how fit, resistance, and electric assistance change the effort.