



Guide
First Adult Tricycle Buying Guide
Choose your first adult tricycle by checking rider fit, storage, weight limits, gears, brakes, assembly, and service before buying.
We research everything we recommend. When you buy through our links, we may earn a commission. Learn more
Guide
Understand trike loading ramps: wheel paths, ratings, slope measurements, attachment, operator footing, and loading versus transport restraints.

Updated · 12 min read
A ramp reduces one lifting task but introduces others: supporting every wheel, securing the ramp, controlling the tricycle, and transferring it onto a vehicle or platform. A high load rating does not prove that a ramp fits a three-wheel layout or that the rider can manage the movement independently.
Use this guide to evaluate a loading arrangement with the ramp, tricycle, carrier, and vehicle manufacturers. It does not certify a ramp combination, prescribe a universal angle, or recommend riding the tricycle up a loading ramp. Follow exact intended-use and installation instructions and arrange qualified help when the task is uncertain.
Record the exact tricycle, its complete loading configuration, and the receiving vehicle or platform. A car cargo floor, trailer deck, and specialized hitch carrier have different support and attachment requirements. Do not treat them as interchangeable destinations.
Measure the opening, sill or deck height, available approach, and receiving space. A ramp can reach the platform while the basket cannot pass through the opening. The clearance guide helps distinguish straight passage from a receiving turn.
Check how the tricycle will be secured after loading. A workable ramp movement is only one stage of transport. The storage and transport guide covers the broader vehicle and cargo plan.
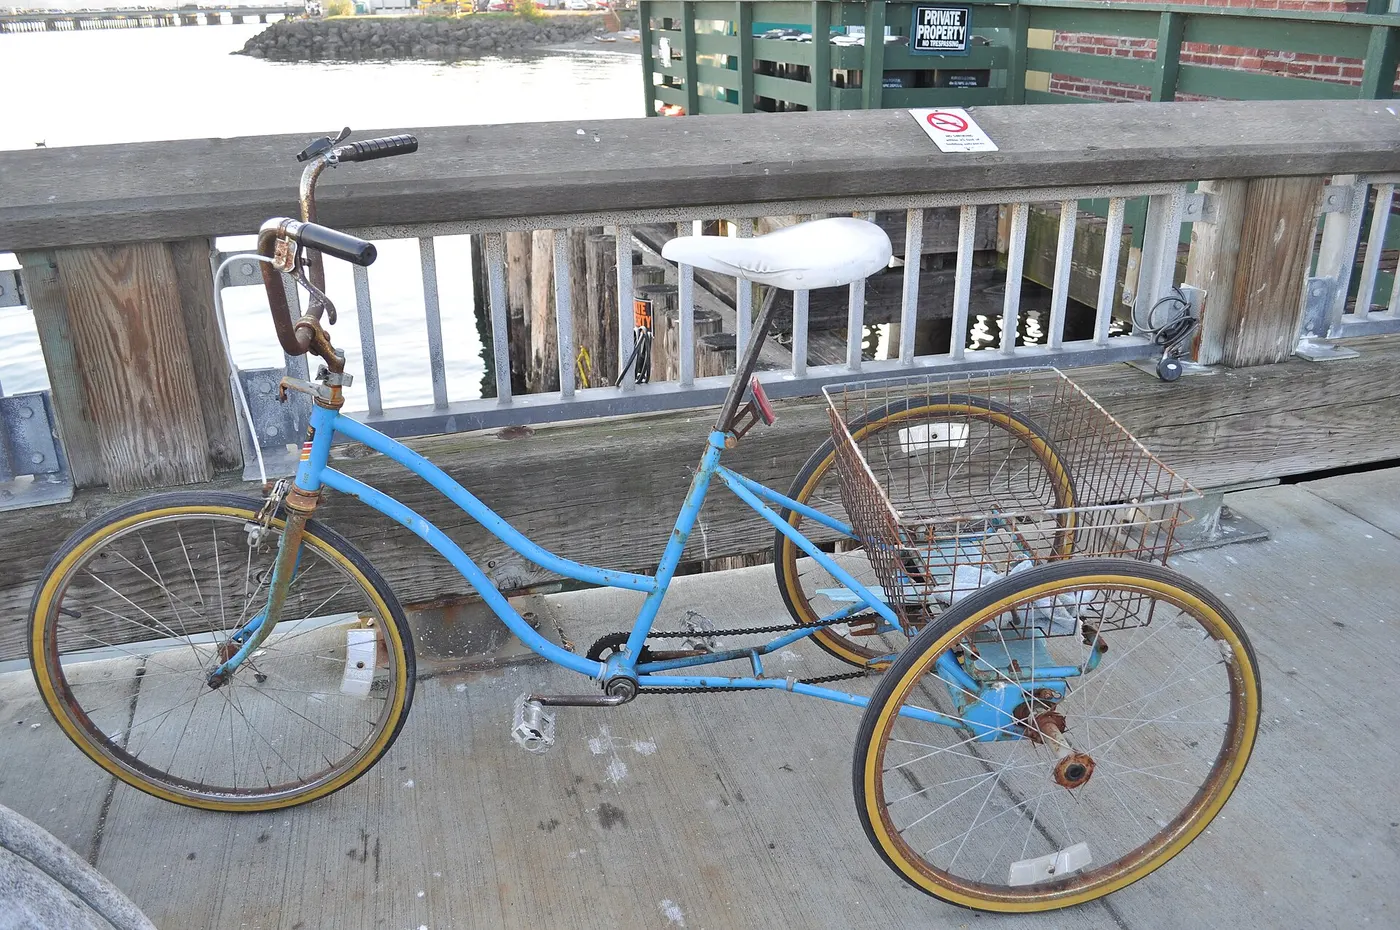
A delta tricycle has paired rear wheels, while a tadpole has paired front wheels. Separate narrow ramps or one wide deck can support those layouts differently. Ask the ramp maker about the actual spacing, wheelbase, tire width, and intended loading method.
Do not assume two motorcycle ramps support a three-wheel vehicle. A third path or full-width deck may be needed, but the correct arrangement must be approved rather than assembled from parts that happen to fit. Each component's instructions and load distribution matter.
Inspect transitions at the top and bottom. A wheel can remain on the ramp while another reaches the platform or ground, changing the load and control demands. Static wheel spacing alone does not describe the whole movement.
Determine whether a stated rating applies to one ramp, a matched pair, a complete deck, or a particular loading condition. Never divide the tricycle's weight by three and assume each wheel carries that amount. Weight distribution and transitions vary.
Include every category the ramp manufacturer requires, such as vehicle, cargo, equipment, or a person where that use is permitted. Do not add a rider to a loading method that prohibits riding. A combined rating does not authorize a different use.
The payload guide provides the habit of keeping definitions separate. The tricycle's rider capacity and the ramp's loading capacity answer different questions and neither increases the other's permission.

The receiving height is the vertical rise. Horizontal distance is the run. Ramp length follows the slope and is different from the run. Keeping these definitions clear prevents a product length from being used as the wrong measurement in a plan.
For an illustrative geometry calculation, a ramp two units long rising one unit has a different relationship from a two-unit horizontal run rising one unit. This is elementary geometry, not a permitted loading-angle recommendation. Obtain the manufacturer's allowed setup for the actual product.
A longer ramp can require more approach space and different handling. Do not assume it is automatically practical because it reduces steepness. Check opening clearance, ground support, storage, and the receiving transition at the same time.
Read the attachment requirements for the exact vehicle or carrier. A lip resting on a sill may not be the complete prescribed restraint. Use required pins, straps, brackets, or other hardware only as instructed.
Do not attach a ramp to a trim panel, unapproved rack part, or unrelated tow point because it is convenient. The receiving structure must support the intended use. Ask the relevant manufacturers where compatibility is unclear.
Inspect condition and full engagement before loading and follow the prescribed checks. A photograph showing a ramp in place cannot establish its structural attachment. If the method cannot be verified, stop the loading plan rather than improvising a cord.
Use the surface and conditions specified by the ramp instructions. Uneven, loose, wet, or obstructed ground can change stability and footing. A ramp with a sound top attachment can still be unsuitable at its lower end.
Keep the approach clear enough for the handler and complete vehicle. Do not plan to stand in traffic or between the tricycle and a rigid obstruction while moving it. Arrange a permitted loading location with room to stop the task.
Check the unloading location too. A setup that works on a level home driveway may not work on a sloping destination parking area. Transport planning should include both ends rather than treating arrival as an exact reverse under different conditions.

Follow the tricycle's power-disable, battery, lifting, and handling instructions. Do not use motor assistance as an improvised substitute for a controlled loading arrangement. A throttle input or pedal movement can introduce unexpected motion in confined space.
Do not assume the parking brake holds every ramp gradient or load. Its documented function belongs to the vehicle's intended conditions. If the handler cannot control the movement through the approved method, arrange appropriate assistance or another transport solution.
The mounting guide covers stationary rider entry separately. Loading equipment is not automatically a riding route, and a high ramp rating does not authorize staying seated during the process.
Pedals, chain tubes, battery mounts, frame sections, or other parts may approach the ramp or platform edge. Use the exact clearance inspection and manufacturer guidance. Do not discover contact by forcing the tricycle over the break in slope.
If clearance fails, ask about an approved arrangement or choose another receiving platform. Do not remove a structural part or raise a ramp on loose blocks to create a new angle. The solution should preserve the intended support and attachment.
For a folding vehicle, identify which configuration is approved for loading and whether removal steps are required. The folding guide explains why compact dimensions do not guarantee an easy handling sequence.
If the manufacturer requires or permits removal for transport, include unlocking, lifting, safe placement, securing, and refitting in the routine. A reduced vehicle weight is useful only if the rider can handle the battery correctly.
Keep the pack away from impact and unintended contact according to its instructions. Do not place it loose in a basket or use its handle to lift the whole tricycle. The battery-care guide covers those boundaries.
Record the weight and dimensions of the actual approved loading configuration. Do not quote a battery-removed figure while loading the complete powered vehicle. Consistent inputs are necessary for a meaningful compatibility inquiry.
Ask what the documented method requires and whether assistance is necessary. A demonstration by two experienced people is not evidence that one owner can perform it alone. Keep the dependency visible in the purchase decision.
Helpers should understand the power state, approved handling points, and agreed sequence. Do not grab mirrors, cables, or a basket to arrest movement. If specialized handling or lifting is needed, use appropriate qualified support.
Rehearse only within the approved process at a suitable location. Start with inspection and positioning rather than a rushed loading attempt before a trip. Stop for uncertainty or contact and obtain the correct guidance.
After loading, follow the receiving vehicle or carrier's restraint instructions. The ramp should not remain an unapproved structural support. Verify the complete transport configuration and required visibility before travel.
Stow the ramp and removed parts securely so they cannot move during braking. Check whether folded ramp joints or sharp edges can damage nearby equipment. A compact storage shape does not establish a safe loose-cargo arrangement.
At arrival, inspect the location and perform the documented unloading sequence. Do not assume the home method applies unchanged on wet or uneven ground. The carrier guide addresses external transport separately.
| Area | Evidence needed |
|---|---|
| Tricycle | Exact model, layout, dimensions, and loading configuration |
| Destination | Opening, height, receiving space, and structural permission |
| Ramp | Intended use, rating definition, deck arrangement, and setup limits |
| Attachment | Approved hardware and verification method |
| Handling | Power state, handler ability, and assistance |
| Clearance | All wheel paths and low components through transitions |
| Transport | Vehicle restraints and secure ramp storage |
Keep unresolved questions visible. A load rating, a wide deck, or a product photo can each be useful evidence without establishing the whole system. The practical result is an approved repeatable movement at both ends of the trip.
A ramp listing may state a capacity for one ramp, a pair, or an entire loading system. Read the exact label and instructions before doing arithmetic. Two products with the same advertised number may describe different conditions. A pair rating does not establish that each ramp can accept the complete load, and a single-ramp rating does not certify any improvised arrangement using several pieces. Ask the maker what the figure includes and what vehicle, wheel, surface, and attachment conditions apply.
A three-wheel layout makes the load path especially important. An upright delta trike normally has one front wheel and two rear wheels, while a tadpole recumbent has two front wheels and one rear wheel. The load distribution can change while the vehicle crosses the transition, and the person controlling it may need separate footing. Do not assign one third of the total weight to every wheel and assume the result validates a ramp. Obtain approval for the complete loading configuration rather than treating nominal capacity as an engineering certificate.
Include the vehicle's real loading condition in the inquiry. Note installed accessories and any items removed through their instructions before loading. If the ramp maker distinguishes empty vehicle loading from loaded cargo handling, follow that distinction. A product approved for a particular machine does not automatically cover a trike with different wheel spacing, tire width, ground clearance, and restraint points. A seller should be able to address those differences in writing or direct you to the appropriate specification.
Measure wheel spacing at the points relevant to the ramp system, following the seller's requested method. Also measure tire width and the outside envelope of hubs, guards, baskets, and other protrusions. An open space between tires does not mean there is no low frame member in that space. A recumbent's frame, chain route, or steering parts can sit near a loading surface even when all three tires appear to fit. Include underside clearance in the inquiry.
Trace where each wheel will travel from the ground, onto the ramp, across its upper connection, and onto the receiving surface. A photograph showing all wheels on the main ramp section may conceal a difficult entry or exit. At the top, a wheel can cross a gap, a lip, or a change in angle. Confirm the intended arrangement at these transitions instead of evaluating only the middle span. The ramp instructions and receiving vehicle restrictions both apply.
The operator needs a path too. A setup that fits the trike but forces someone to stand on a narrow edge, reach across moving wheels, or walk backward into an obstruction is incomplete. Describe where the person will stand and how the load will remain controlled throughout the process. If the manufacturer requires assistance, obtain that assistance rather than compensating with speed. When a safe operator position cannot be established, choose a different approved loading method.
Rise is the vertical difference between the lower and upper surfaces. Horizontal run is the horizontal distance covered by the ramp, and ramp length is the sloping distance between its ends. These are different measurements. If rise is known, a longer ramp generally produces a shallower slope, but that geometric observation does not establish a permitted loading angle. The manufacturer's limits, attachment geometry, surface, and vehicle clearance remain decisive.
For illustration, imagine a vertical rise of 0.5 metres and a horizontal run of 2 metres. The rise-to-run ratio is 0.25, or a 25 percent grade. The sloping length is slightly more than 2 metres, so substituting ramp length for horizontal run gives a different figure. This example explains terminology only; it is not a recommended gradient for a tricycle. Avoid converting a convenient number into an acceptable slope without the relevant product instructions.
Ask a supplier which measurement its specification uses. A listed maximum loading height may assume a particular ramp length, support arrangement, and cargo type. Your tailgate, threshold, or platform may introduce another contact point. Ground clearance can also be limited at the crest, even when the ramp's main slope appears manageable. Supply a side-view photograph and the measured height so the supplier can assess the actual transition instead of responding to a description such as a small van.
Read the complete setup sequence in advance, including required supports, fastenings, inspections, and prohibited conditions. With the loading area empty, establish where the ramp sits, how its attachment is verified, and where the operator and any assistant will stand. This preparation is not a substitute for the maker's checks. It makes omissions easier to notice before vehicle weight obscures the attachment or blocks access to a strap.
Prepare the unloading plan at the same time. A successful upward movement does not prove that the reverse procedure will be equally straightforward, particularly with restricted visibility or a different operator position. Check the approved method for maintaining control while descending. Do not ride the trike on a loading ramp unless that exact use is expressly permitted; the example loading-ramp source for this guide specifically prohibits riding cargo up or down its ramps.
After loading, transport restraints are a separate system. A ramp does not hold the vehicle securely during travel, and a parking brake is not a substitute for approved cargo restraint. Follow the receiving vehicle and trike instructions for securement. Store the ramp so it cannot become loose cargo itself. Before the next use, inspect contact surfaces, attachments, and any damage arising during transport. An approved product used in a different configuration needs a fresh compatibility assessment rather than reliance on the previous successful trip.
Research-based selection guide; no ramp, loading method, or complete transport combination was tested or certified. Geometry examples are not use limits.
Guide
Choose your first adult tricycle by checking rider fit, storage, weight limits, gears, brakes, assembly, and service before buying.

Guide
Learn how to compare adult electric tricycles for control, fit, batteries, braking, transport, and ownership support.

Guide
Understand the leg and hip muscles used when pedaling a tricycle, plus how fit, resistance, and electric assistance change the effort.