



Guide
First Adult Tricycle Buying Guide
Choose your first adult tricycle by checking rider fit, storage, weight limits, gears, brakes, assembly, and service before buying.
We research everything we recommend. When you buy through our links, we may earn a commission. Learn more
Guide
Find exact trike fastener specifications, choose a suitable torque wrench, understand units and joint conditions, and recognize when service is needed.

Updated · 12 min read
A torque wrench measures an applied tightening action; it does not identify the correct specification or make damaged hardware serviceable. On an adult tricycle, frame joints, seats, bars, axle hardware, and accessories can require different procedures. Start with the exact component instructions rather than a universal bicycle bolt chart.
This guide explains selecting and using the right measuring tool within permitted owner work. It does not provide generic fastening values for a tricycle or authorize work reserved for a qualified mechanic. Follow both the tool and component instructions and stop when identity, condition, or procedure is unclear.
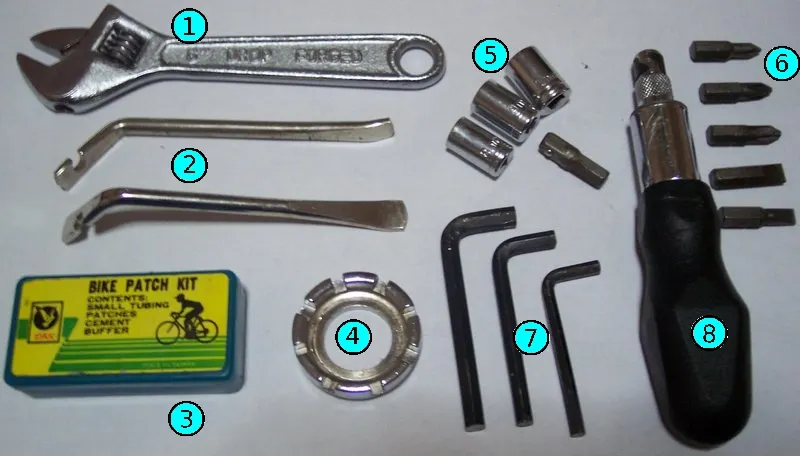
Record the vehicle, component, fastener location, and document governing the work. Similar-looking bolts can serve different functions and use different materials or preparation. A stem value should not be transferred to an axle or folding joint.
Read whether the procedure specifies dry threads, lubricant, threadlocker, assembly compound, washers, or a tightening order. Torque is part of that complete instruction. Changing thread preparation can alter the result even when the number is unchanged.
The assembly guide explains critical verification. If the manual and installed parts disagree, ask the manufacturer or mechanic before applying a convenient value from another model.
Torque describes a turning moment. For a simple perpendicular force, it relates to force multiplied by lever length. That explains why a longer handle can apply more torque with the same hand effort. It does not calculate the required clamping condition for an unknown joint.
Friction, thread condition, material, and preparation influence how the action affects the assembly. A torque wrench cannot tell whether a washer is missing or a thread has been damaged. Correct hardware and seating remain essential.
Do not use the tool to force a component into position. The prescribed assembly should be correctly arranged first. If parts will not seat or the thread will not engage through the documented method, stop and seek assessment.
Check whether the specification uses newton-meters, inch-pounds, foot-pounds, or another stated unit. Similar abbreviations can be misread, and foot and inch units are not interchangeable. Confirm the wrench's scale before setting it.
Use an authoritative conversion method when necessary and preserve the original specification in the record. Do not estimate by shifting a decimal point. A unit error can be much more significant than the small setting difference you were trying to achieve.
If the tool does not display a suitable scale or range, choose another appropriate tool or service. The number on the fastener's instruction should remain the reference rather than being altered to suit the wrench you happen to own.
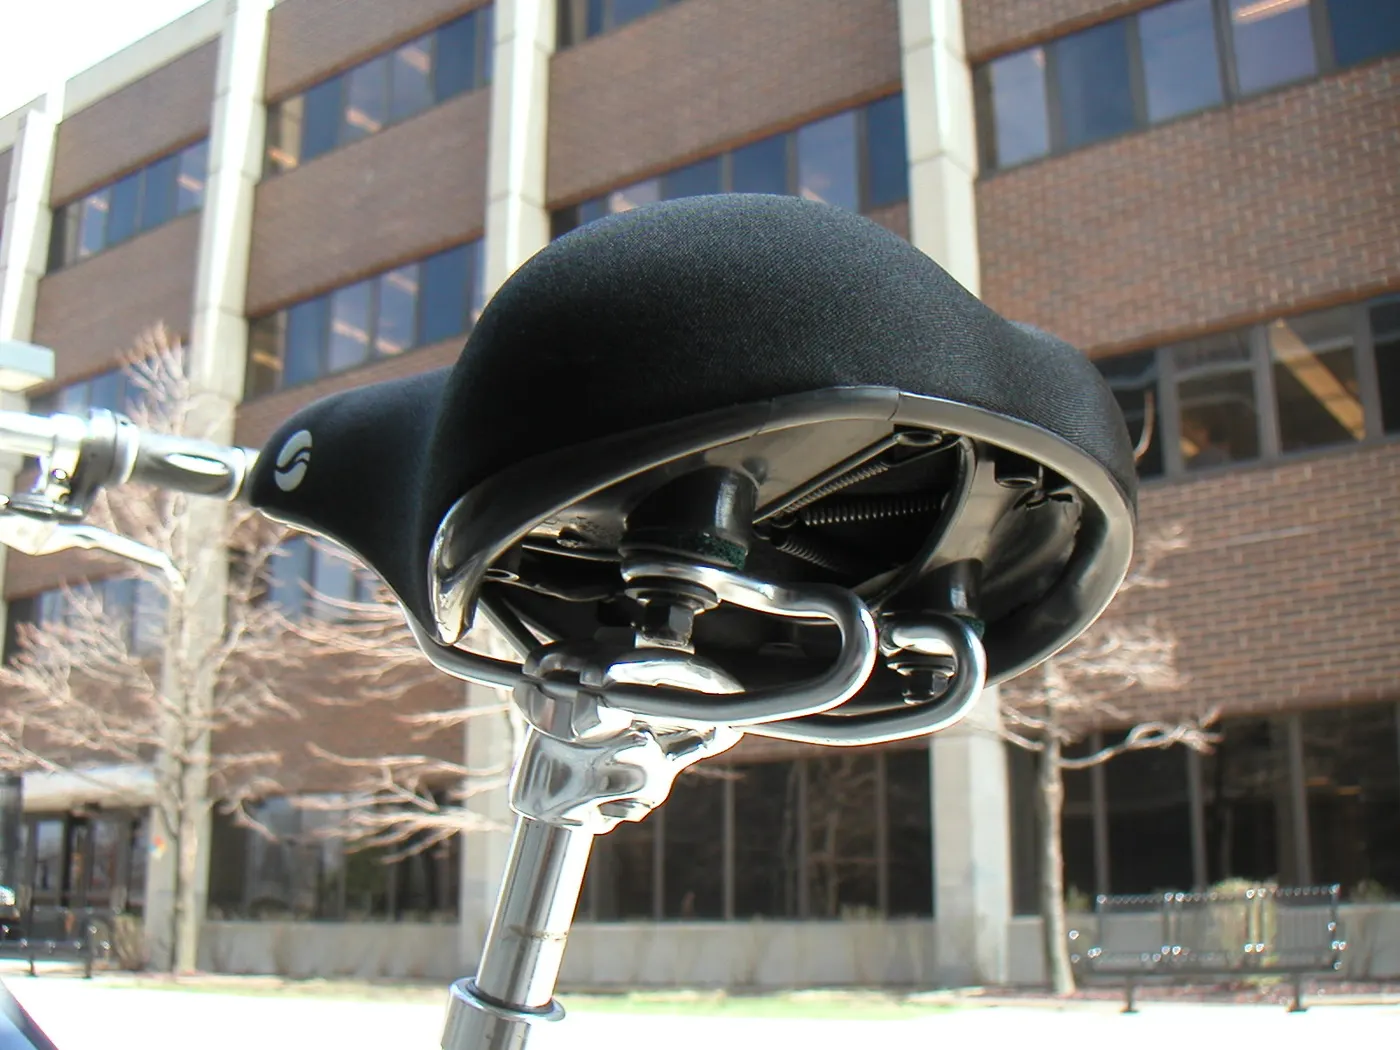
List the documented fastening tasks within your owner's scope and their required values. Choose a tool whose stated measuring range covers them appropriately. A large automotive wrench may not suit small bicycle fasteners.
Check accuracy statements, direction of measurement, compatible drive, and the tool's instructions. A wrench fitting the bit is not necessarily appropriate for the torque or thread direction. Do not assume every ratchet measures torque both ways.
Some tasks may need more than one tool or a professional service rather than a universal purchase. The ownership-cost guide helps compare useful scope instead of buying the most expensive wrench by default.
A click-type wrench signals a set condition through its mechanism, a beam tool shows a reading, and a limiting driver can release through another design. Use the specific tool's method rather than treating all signals as identical.
Park Tool's guidance distinguishes these styles and their care. A click is not an instruction to continue clicking repeatedly, while a beam reading depends on the specified viewing and hand position. Follow the tool documentation.
Choose based on the actual tasks and ability to use it correctly. A convenient fixed driver can suit a narrow permitted job but does not cover every value on a tricycle. Keep the specification ahead of the product format.
Identify the fastener interface and use the correct size and type in sound condition. A near-fitting bit can damage the recess or slip. Ensure it engages through the prescribed method and that access allows appropriate alignment.
The square drive and the bit's working size are different specifications. Confirm adapters and sockets are compatible with the wrench and task. An extension or offset attachment can require specific instructions; do not assume every arrangement preserves the reading.
If the component is inaccessible without unsafe support or disassembly beyond owner scope, arrange qualified service. A tool that can reach the bolt does not automatically make the whole procedure appropriate.
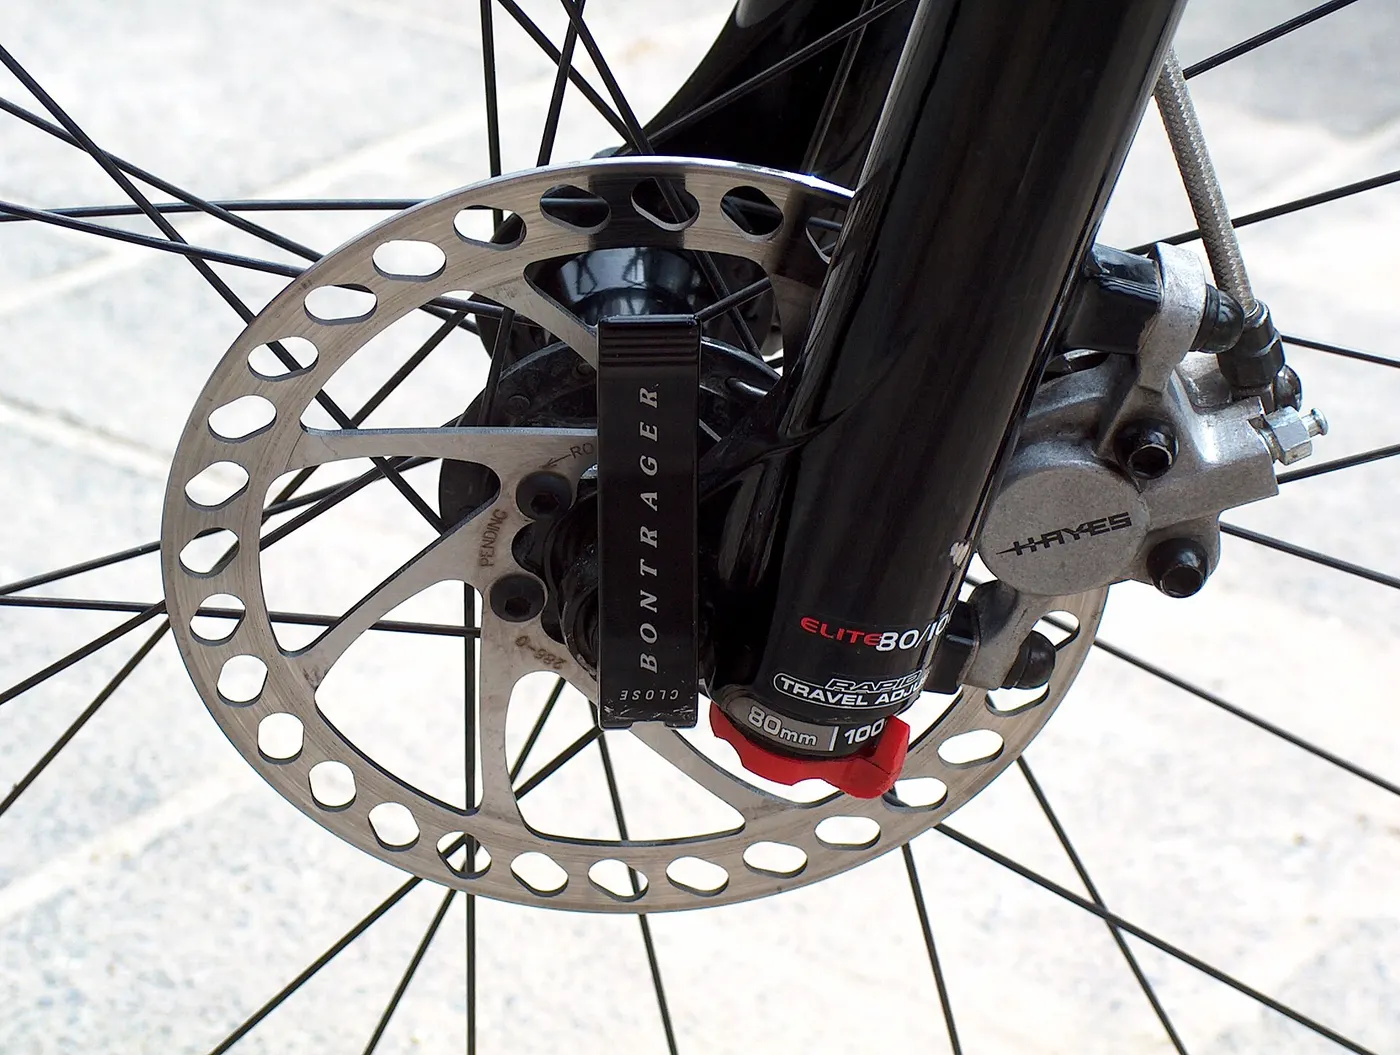
Look for damaged threads, rounded interfaces, corrosion, missing parts, or a component that no longer behaves normally. Tightening does not repair those conditions. A recurring loose joint needs a cause assessed rather than a higher arbitrary setting.
For critical frame, steering, wheel, or brake uncertainty, stop use and get the appropriate service. Do not disguise a fault by adding threadlocker or a different bolt without approval. The maintenance checklist provides the wider stop-use boundary.
Keep observations factual: which part moved, when it happened, and any recent adjustment or impact. A good service report is more useful than declaring the threads stripped from a single symptom.
Support the vehicle appropriately and disable electric power as instructed before mechanical work. Arrange the parts and thread preparation exactly as specified. Keep hands, clothing, and tools clear of moving components.
Follow any alternating or staged sequence and the tool's signal or reading procedure. Do not tighten one fastener fully merely because it is easiest to reach when the component instructions prescribe another order.
Afterward, complete the component's verification checks. A measured action is not the entire inspection. Confirm seating, permitted movement, and the absence of control interference before any resumed ride.
The effort required to undo a fastener is not a reliable substitute for the prescribed installation procedure. Condition and friction can differ, and the joint may have been installed incorrectly. Do not measure removal effort and reinstall to that result.
Use a suitable ordinary removal tool where permitted and follow torque-wrench care instructions. Park Tool advises against treating click-type measuring tools as general ratchet handles for removal. That is tool guidance, not a reason to improvise a longer lever on a damaged joint.
If removal is difficult or outside owner scope, seek service. Forcing an unidentified assembly can damage components while still failing to answer what value or procedure is correct.
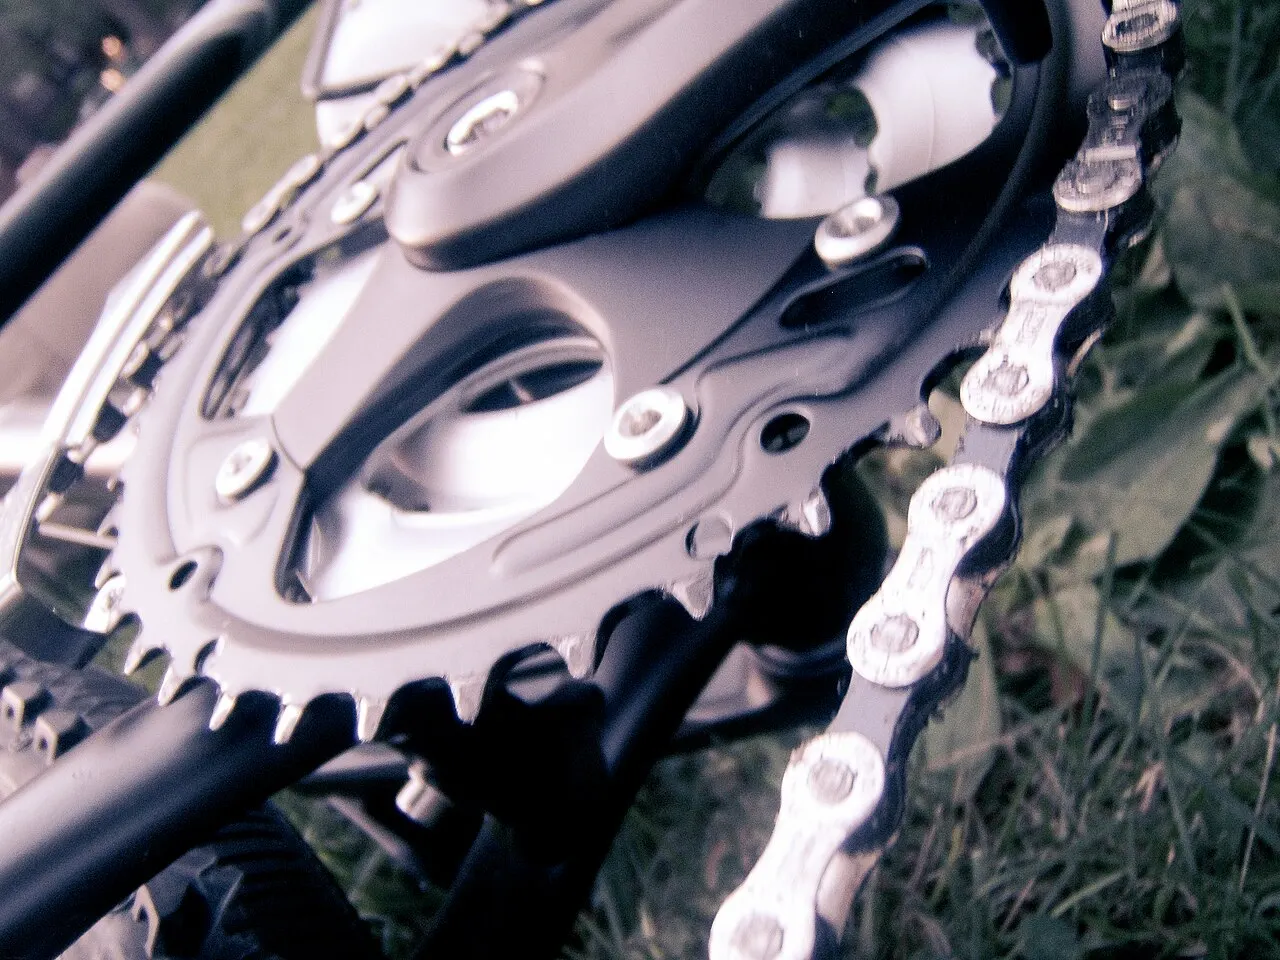
Follow storage, adjustment reset, calibration, and handling instructions for the exact wrench. Different styles can have different requirements. Do not generalize one maker's lowest-setting guidance to every tool or assume zero is always the right storage setting.
Protect the tool from misuse and record service or calibration where appropriate. A dropped or abused wrench may need assessment before relied-on work. A familiar click does not prove that its measurement remains within the stated accuracy.
Ask the tool maker about the correct process and interval for your use. Do not invent a universal calendar rule. A workshop tool used frequently can have a different practical service need from one used occasionally at home.
Read which inspections the tricycle maker requires and how they are performed. Repeatedly applying tightening torque to every visible bolt is not automatically the right check. Some joints or retention systems use another verification method.
A quick-release or folding latch should not be treated as an ordinary bolt simply because it feels loose. Use its exact instructions and qualified help when condition changes. The folding guide covers closure as a separate task.
Keep the routine short and accurate. Inspection should reveal a problem, not become indiscriminate tightening that changes the vehicle without a documented reason.
A mirror, phone mount, fender, rack, or support seat can have different material and fastening requirements. Use both accessory and vehicle guidance. A clamp diameter match does not establish permission to tighten it onto any tube.
The accessory guide helps check structural and functional effects. Do not choose a wrench setting to make an incompatible clamp stop moving. Obtain the correct approved hardware or another arrangement.
After installation, inspect steering, braking, visibility, and storage. Accurate tightening cannot resolve a mount that presses a throttle or catches a cable.

| Entry | What to keep |
|---|---|
| Component | Exact identity and fastener location |
| Source | Current manufacturer procedure |
| Preparation | Required parts, thread condition, and specified products |
| Tool | Appropriate range, direction, bit, and care status |
| Sequence | Staged or alternating method where specified |
| Verification | Required functional checks and any unresolved observation |
Use the record for work actually permitted and completed. It is not a certificate that the whole tricycle was professionally inspected. Keep the scope honest and get help when a task exceeds your experience.
A number on its own leaves important questions unanswered. Identify which fastener or joint the value applies to, whether it is a target or a limit, which units are used, and what condition the parts should be in. Some instructions distinguish dry threads from lubricated threads or require a particular compound. Do not add grease, oil, or threadlocker because it seemed helpful on another job. That changes the specified condition and can alter the relationship between the reading and the force in the joint.
Also determine whether the procedure has a sequence. A clamp with several bolts may require staged or alternating tightening, a particular gap, or a specified positioning step. Applying the final number to one bolt first may not follow that procedure. Read the whole section before touching the joint. If the printed component and the trike manual appear to conflict, ask the relevant manufacturer for clarification rather than choosing whichever number is easiest to remember.
Specifications can differ between revisions even when the component names sound alike. Keep the exact model identity and document version with the work record. A broad bicycle torque chart can explain the existence of different ranges, but it cannot establish the requirement for an unidentified tricycle axle, proprietary steering joint, or unfamiliar accessory clamp. This guide therefore does not offer a table of universal values. The safest useful reference is the instruction for the actual installed part.
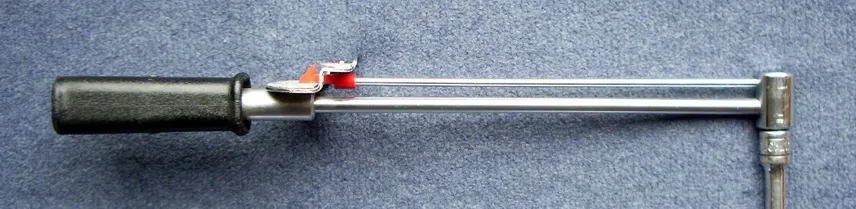
A torque wrench needs a suitable operating range for the specified task. A tool intended for much larger fasteners may not be appropriate for a small accessory clamp, even if a low number appears on its scale. Read the tool maker's usable range and accuracy conditions. Choose a tool that covers the required values within its intended use, and obtain the appropriate socket or bit without creating an unsupported adapter arrangement.
Understand the indication before working on the trike. A click tool signals in a different way from a beam wrench or a preset limiter. Learn how to read the scale, set and lock the value where applicable, and stop when the tool gives its intended indication. Repeated clicking does not improve the joint. It can add unintended tightening. If the indication is difficult to detect or the tool seems inconsistent, stop and consult its instructions or have it checked.
Handle position and attachments can matter. Use the grip location and operating direction specified by the maker. An extension or offset attachment may change the effective arrangement, and any required correction must come from an appropriate instruction rather than a guessed formula. A socket that seats poorly creates another problem even with a correctly set wrench. Confirm the fastener type and bit engagement before applying load, particularly where access is restricted by a basket or recumbent seat.
A loose fastener may be a symptom of damaged threads, a worn clamp, missing hardware, incorrect assembly, or movement elsewhere in the system. Increasing torque does not identify that cause. Look for the condition specified in the service procedure and stop if a part is stripped, cracked, distorted, or otherwise abnormal. Do not chase a torque reading when the fastener continues to turn without the expected joint behavior. A wrench reading is not evidence that damaged threads have become sound.
Likewise, a component that moves despite correctly documented tightening needs assessment. A seat clamp, handlebar joint, wheel attachment, or steering connection can have requirements beyond the torque number. These may include mating-surface condition, insertion position, hardware orientation, or replacement parts. Follow the applicable inspection and service instructions. Where the affected part controls steering, braking, or wheel retention, unresolved movement should prevent riding until the joint has been evaluated and corrected.
Keep your work within the intended owner-maintenance scope. Owning the right wrench does not automatically make an unfamiliar axle, differential, motor attachment, or recumbent steering linkage an appropriate home task. A good service request includes the symptom, component identity, manual reference, and any work already performed. It does not need a guessed diagnosis. This information lets a shop determine which inspections are necessary without assuming the last bolt tightened was the original cause.
Store, clean, transport, and check the wrench through its own instructions. Park Tool's guidance discusses different tool types; a click wrench's storage setting is not automatically the rule for every torque tool. Avoid using a precision torque tool as a general breaker bar or removal ratchet unless its maker expressly permits that use. After a drop, overload, or abnormal operation, follow the maker's evaluation or calibration guidance before relying on the tool for a critical joint.
Record what was actually done: the part, source of the specification, units, required condition, tool identity, and any issue that prevented completion. Do not label a joint professionally inspected when you only tightened a visible bolt. If a specification is unavailable, write that the task was deferred pending advice. A truthful partial record is more useful than a completed checklist that hides uncertainty. Keep replacement hardware receipts or part numbers where those details affect the procedure.
Finally, verify the result through the component's stated post-work checks. This might involve alignment, clearance, control operation, or another inspection specified by the manufacturer; it is not a universal invitation to test everything by riding. If a problem remains, stop and seek service. Correct torque is one controlled part of assembly, not a complete assessment of the trike. Combining the right instruction, suitable tool, sound joint, and required verification makes the process reviewable and repeatable without inventing precision.
Research-based guide; no tool accuracy, fastener, or structural testing was performed. No generic tricycle torque specification is supplied.
Guide
Choose your first adult tricycle by checking rider fit, storage, weight limits, gears, brakes, assembly, and service before buying.

Guide
Learn how to compare adult electric tricycles for control, fit, batteries, braking, transport, and ownership support.

Guide
Understand the leg and hip muscles used when pedaling a tricycle, plus how fit, resistance, and electric assistance change the effort.